This guide explains how to add extra past or future placement days, check their times and confirm attendance for past dates.
1. Open the Placement module
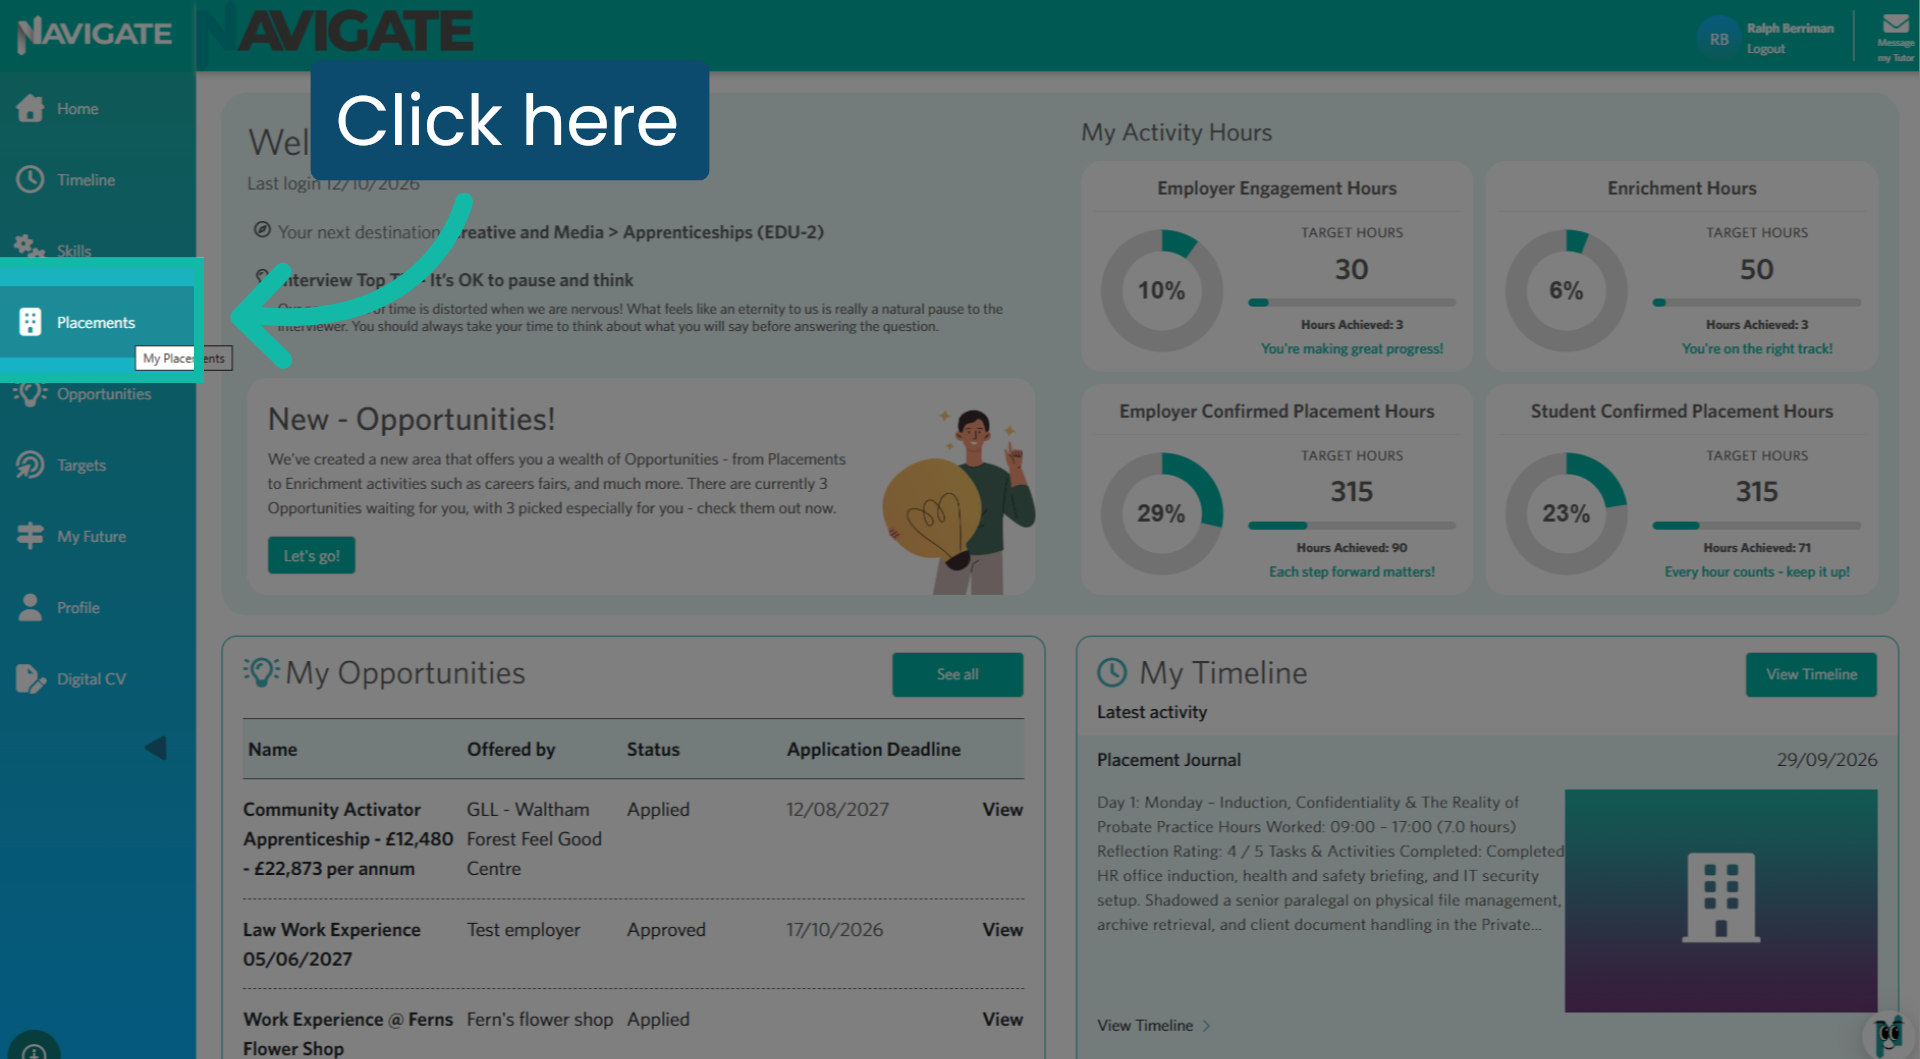
You may need to add past or future placement days that are not already scheduled. From your home page, select the ‘Placement module’ in the module list.
2. Edit Placement Details
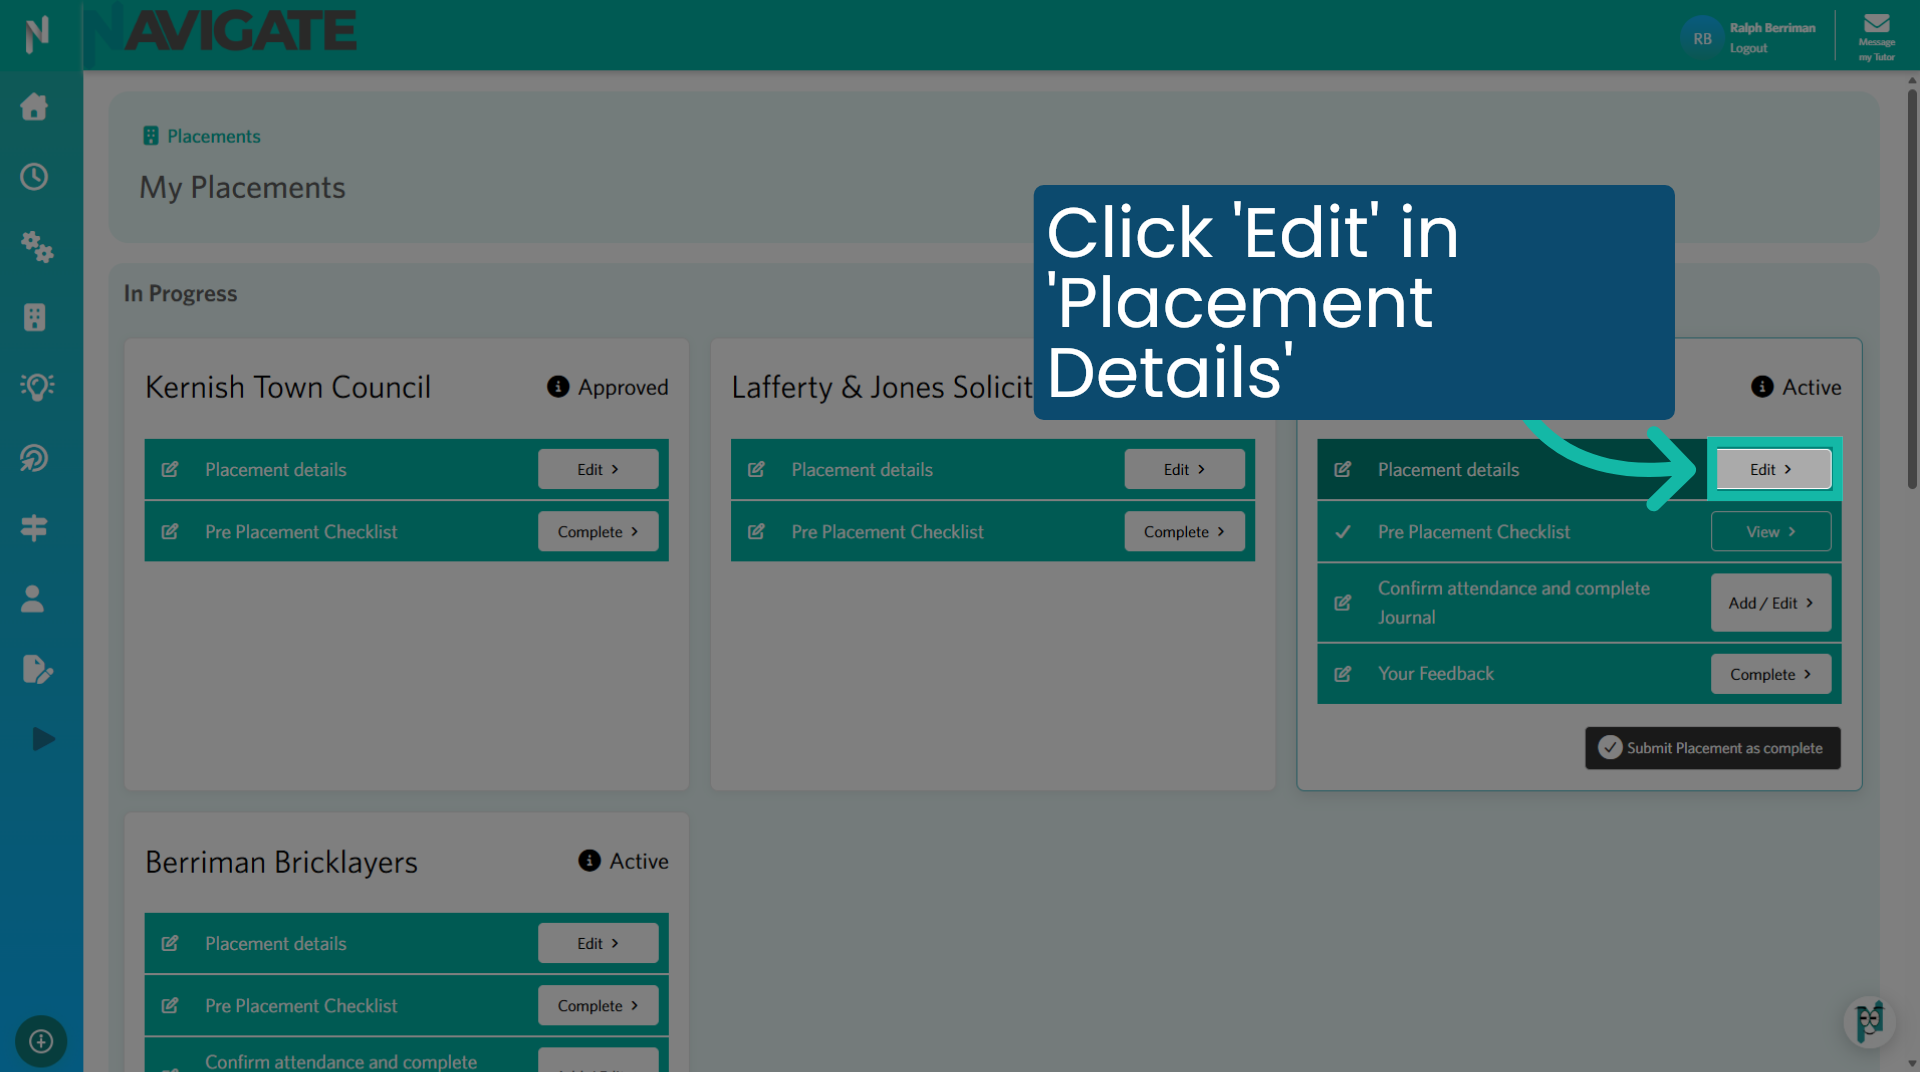
On the relevant placement, click ‘Edit’ in the ‘Placement Details’ section.
3. Open the month drop-down menu
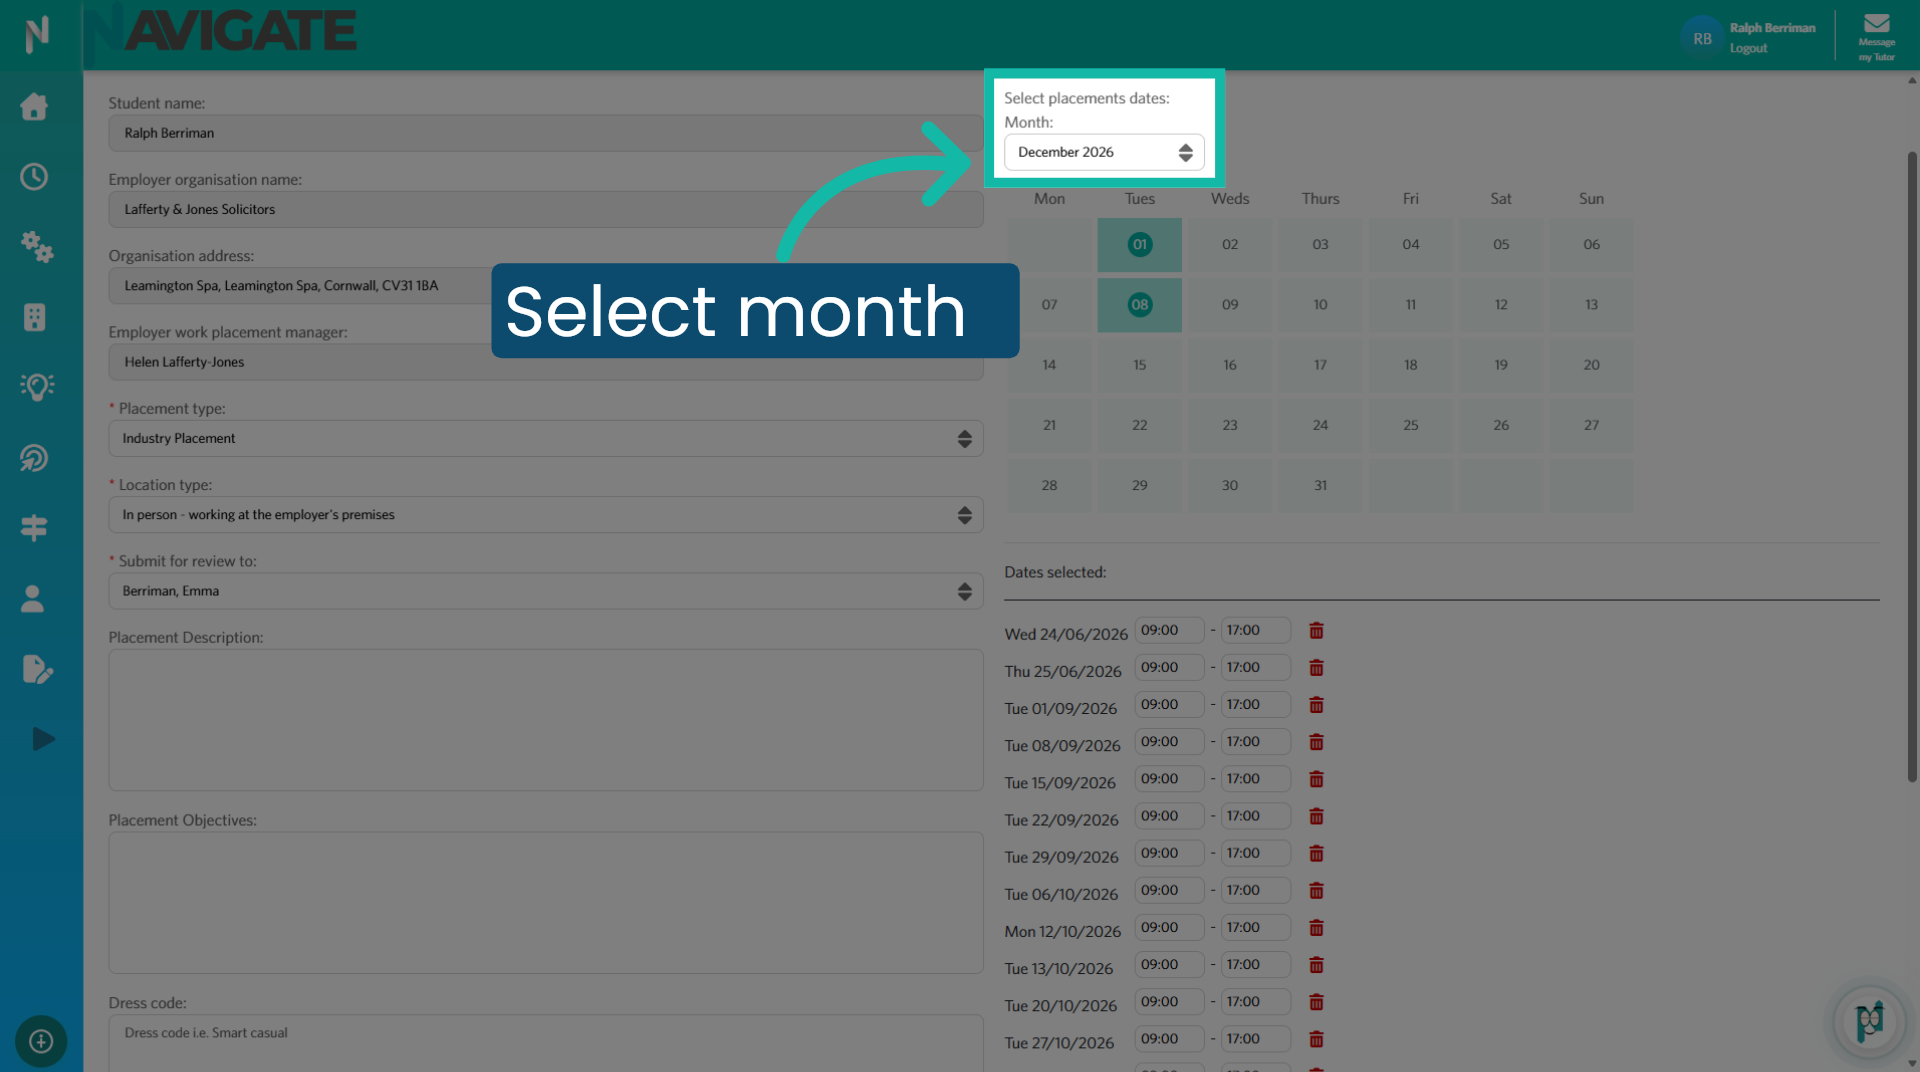
Click the month drop-down menu to choose a month.
4. Choose a month
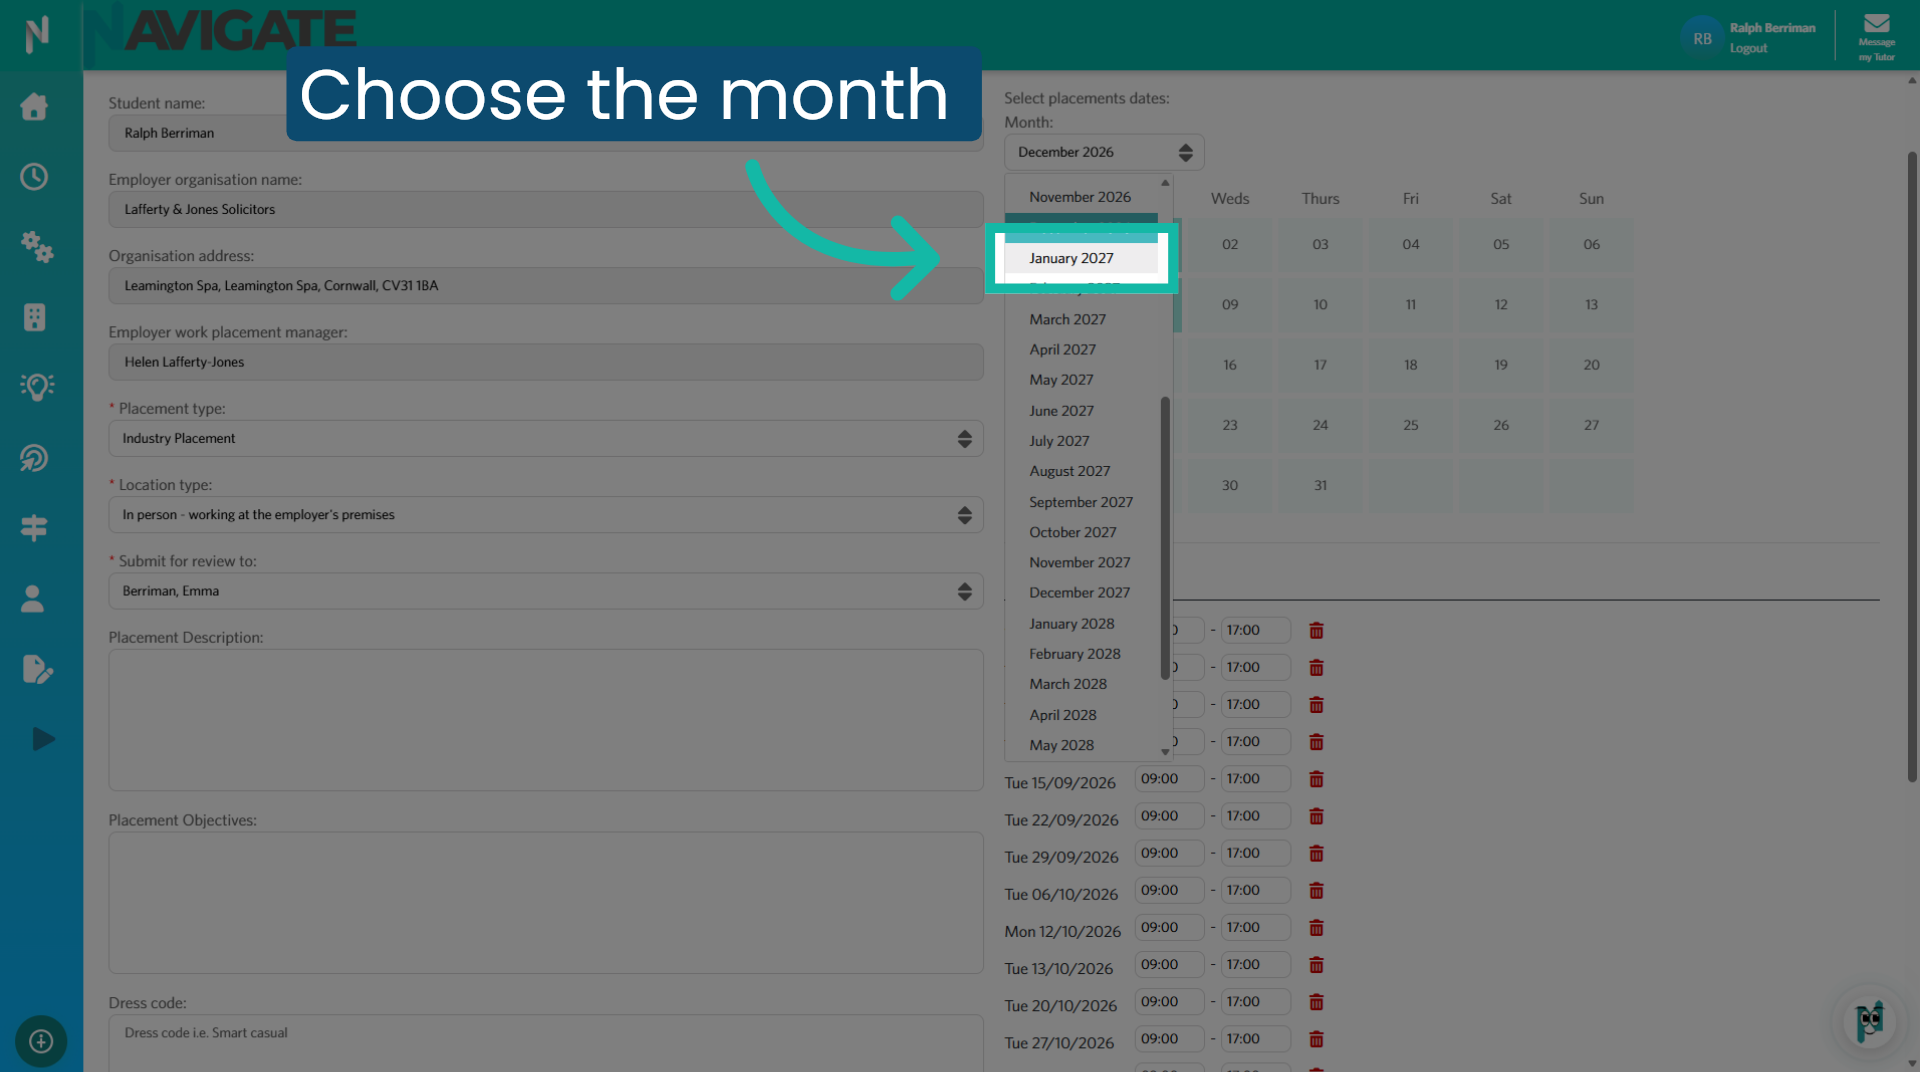
Select the correct month to view the relevant calendar.
5. Select additional dates
Select the additional dates on the calendar that you would like to schedule.
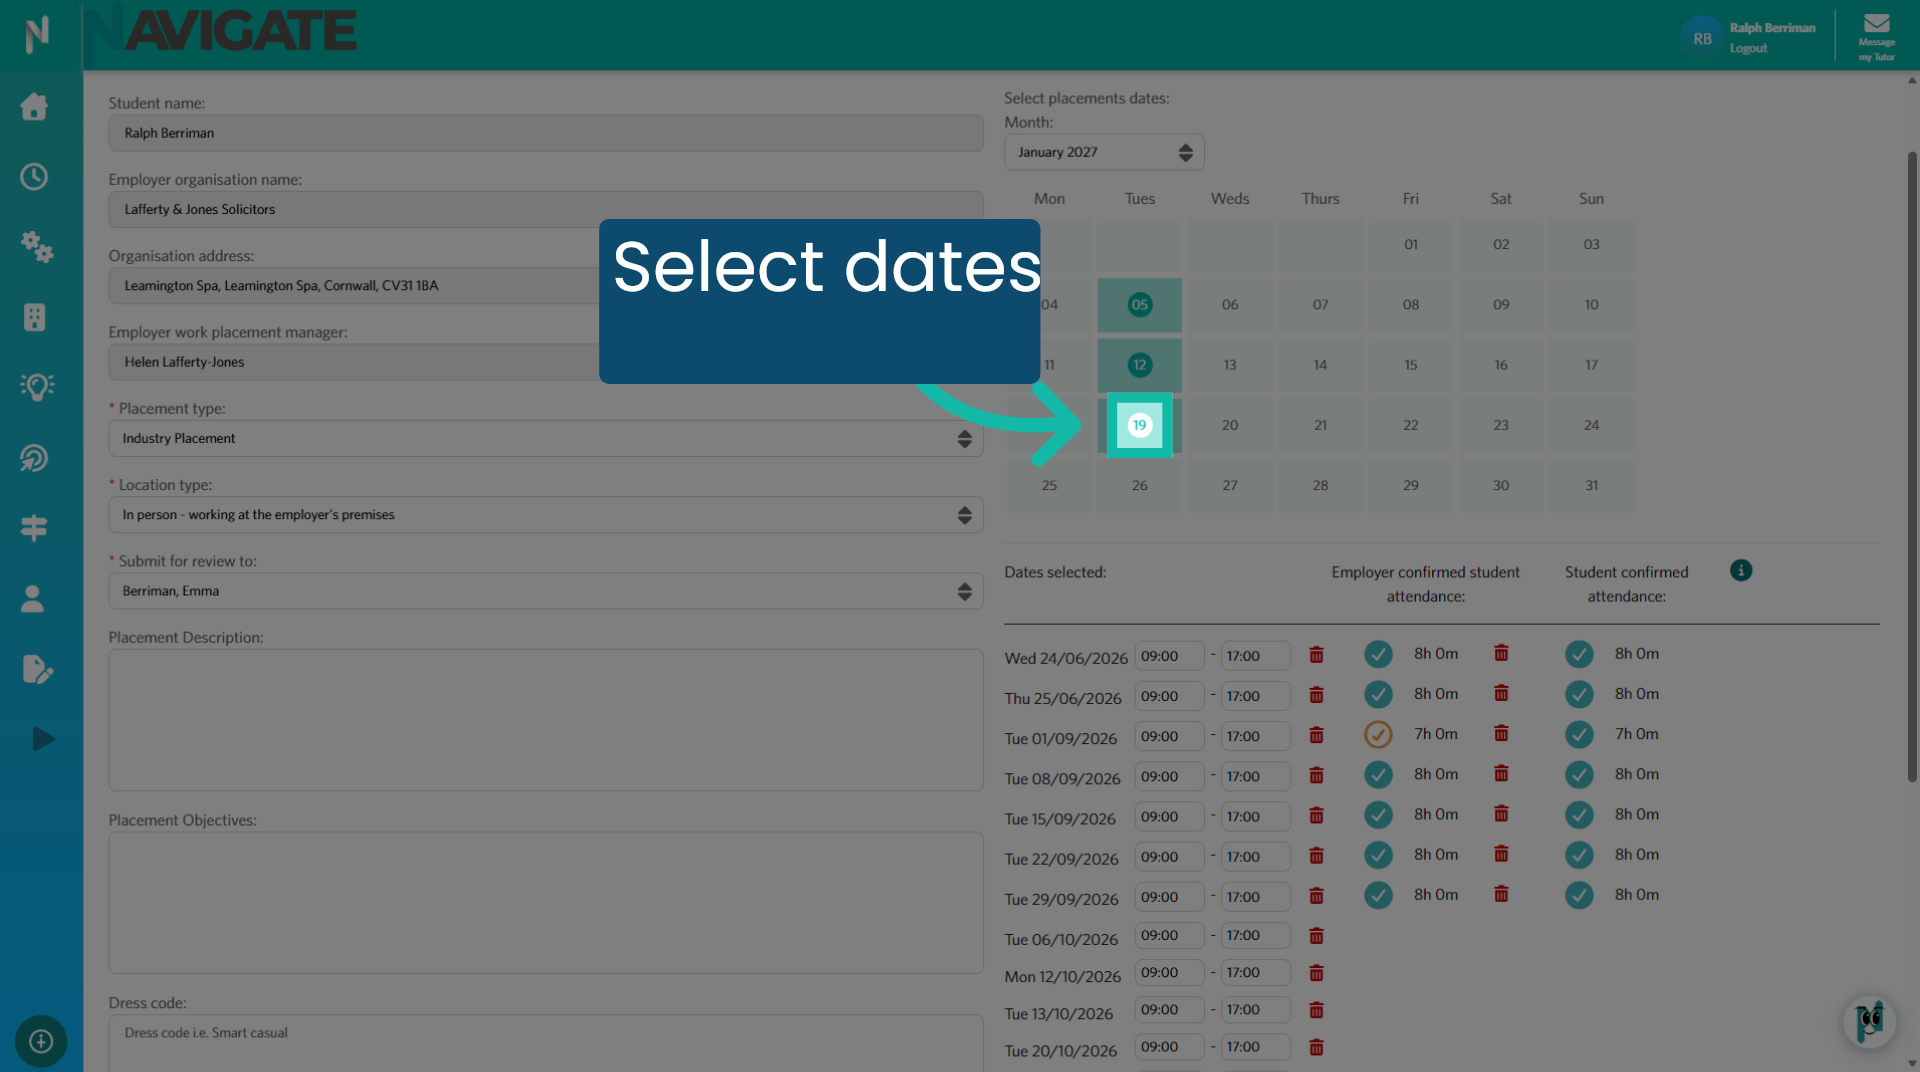
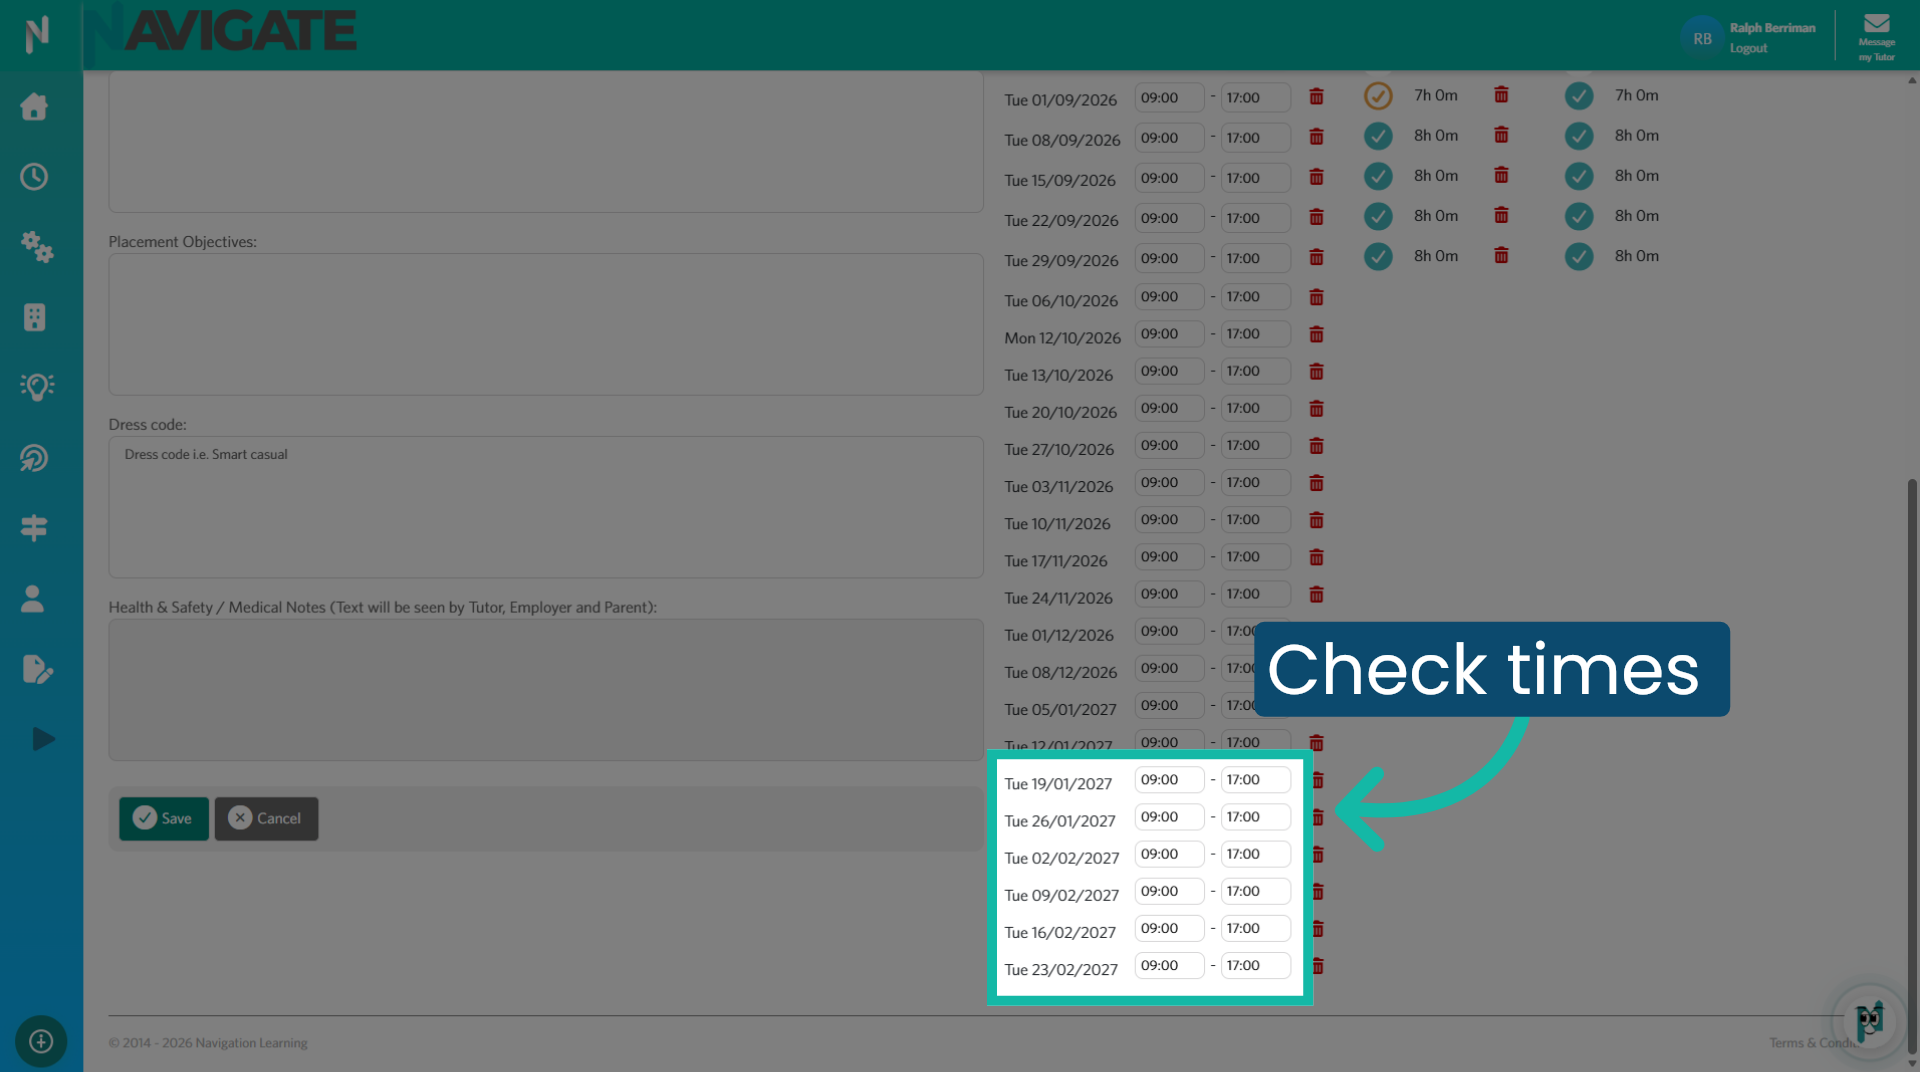
6. Check start and end times
Navigate automatically aligns the start and end times with previously scheduled dates. If adjustments are necessary, you can modify the times here.
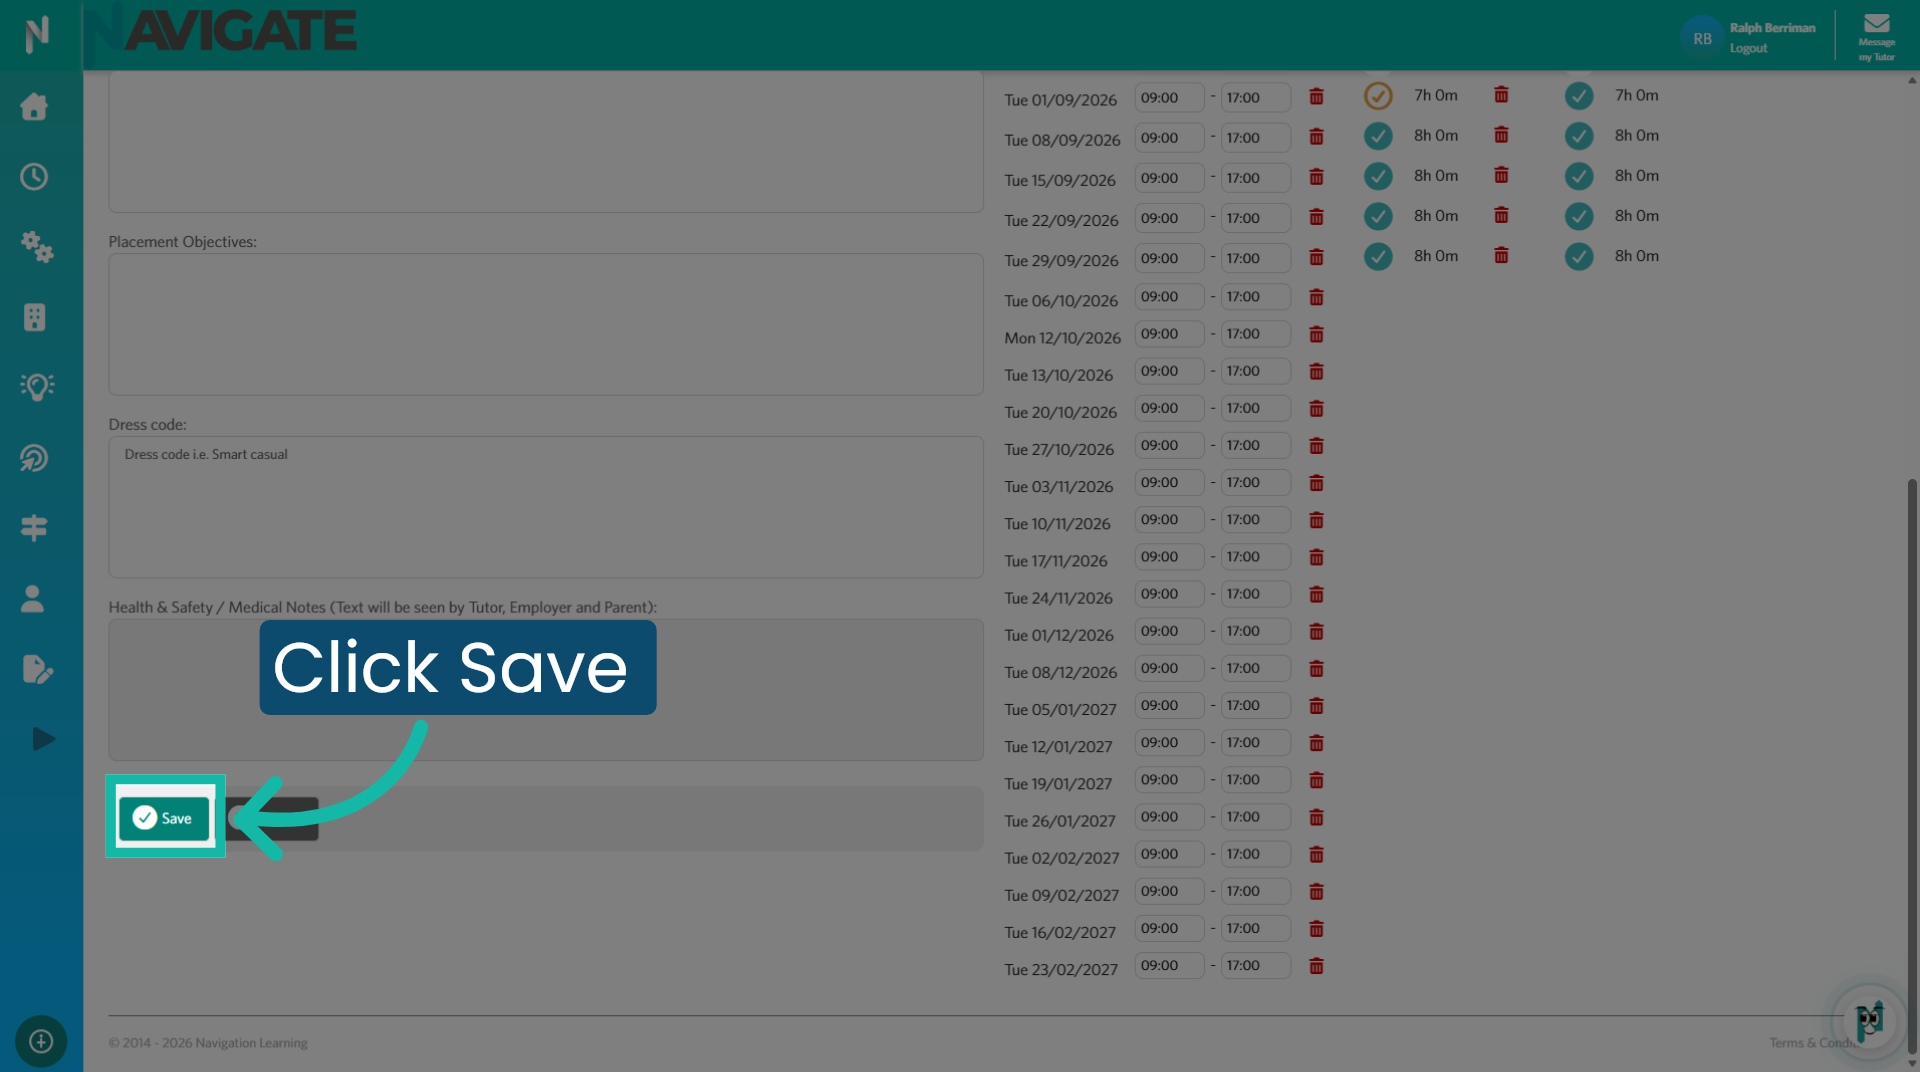
7. Save placement changes
To add the new dates to your schedule, click ‘Save’.
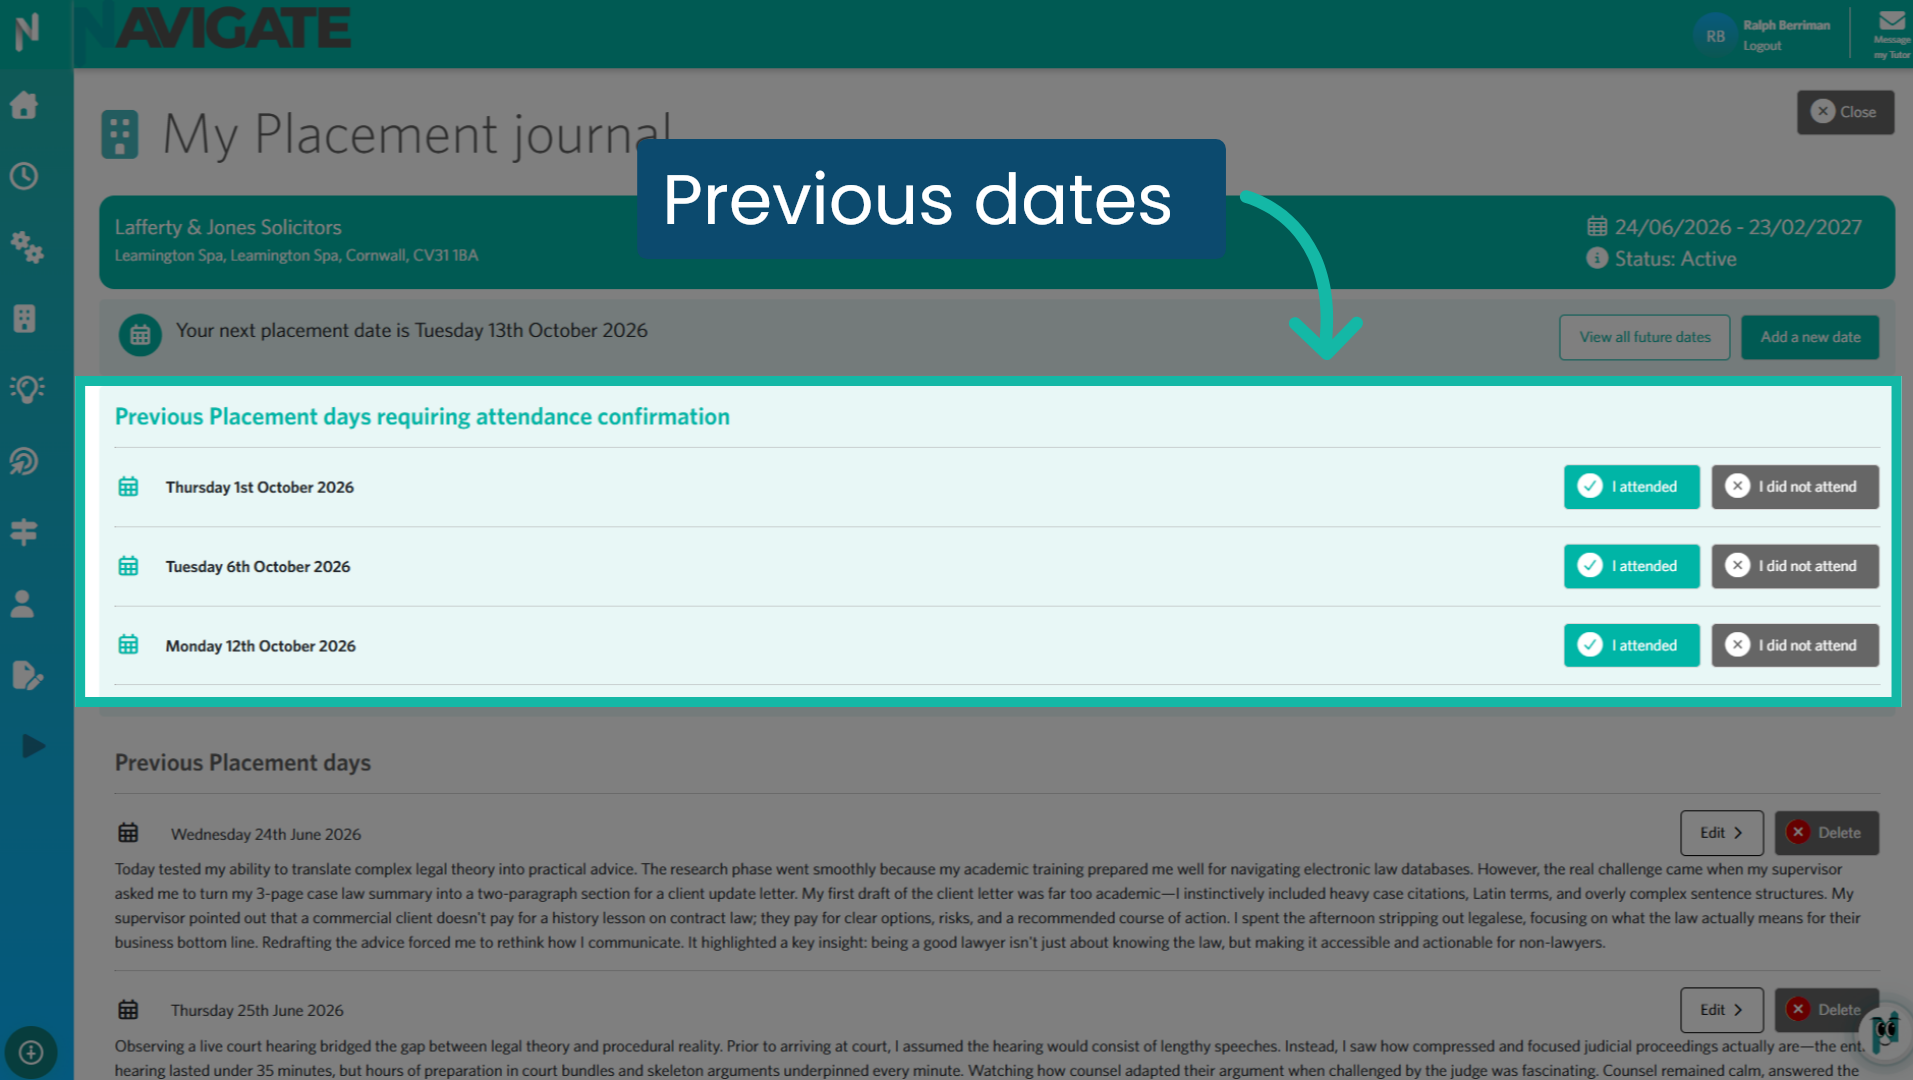
8. Confirm past attendance
If you have added extra past dates, they will be available in the ‘Previous Placement Days Requiring Attendance Confirmation’ section. Click ‘I Attended’ to write your journal.
You have successfully updated the placement schedule by selecting specific dates across multiple months and saving the changes. This ensures your placement details are current and accurately reflect your intended timeline.
Was this article helpful?
That’s Great!
Thank you for your feedback
Sorry! We couldn't be helpful
Thank you for your feedback
Feedback sent
We appreciate your effort and will try to fix the article