Go to login.navigate.uk.com
1. Introduction
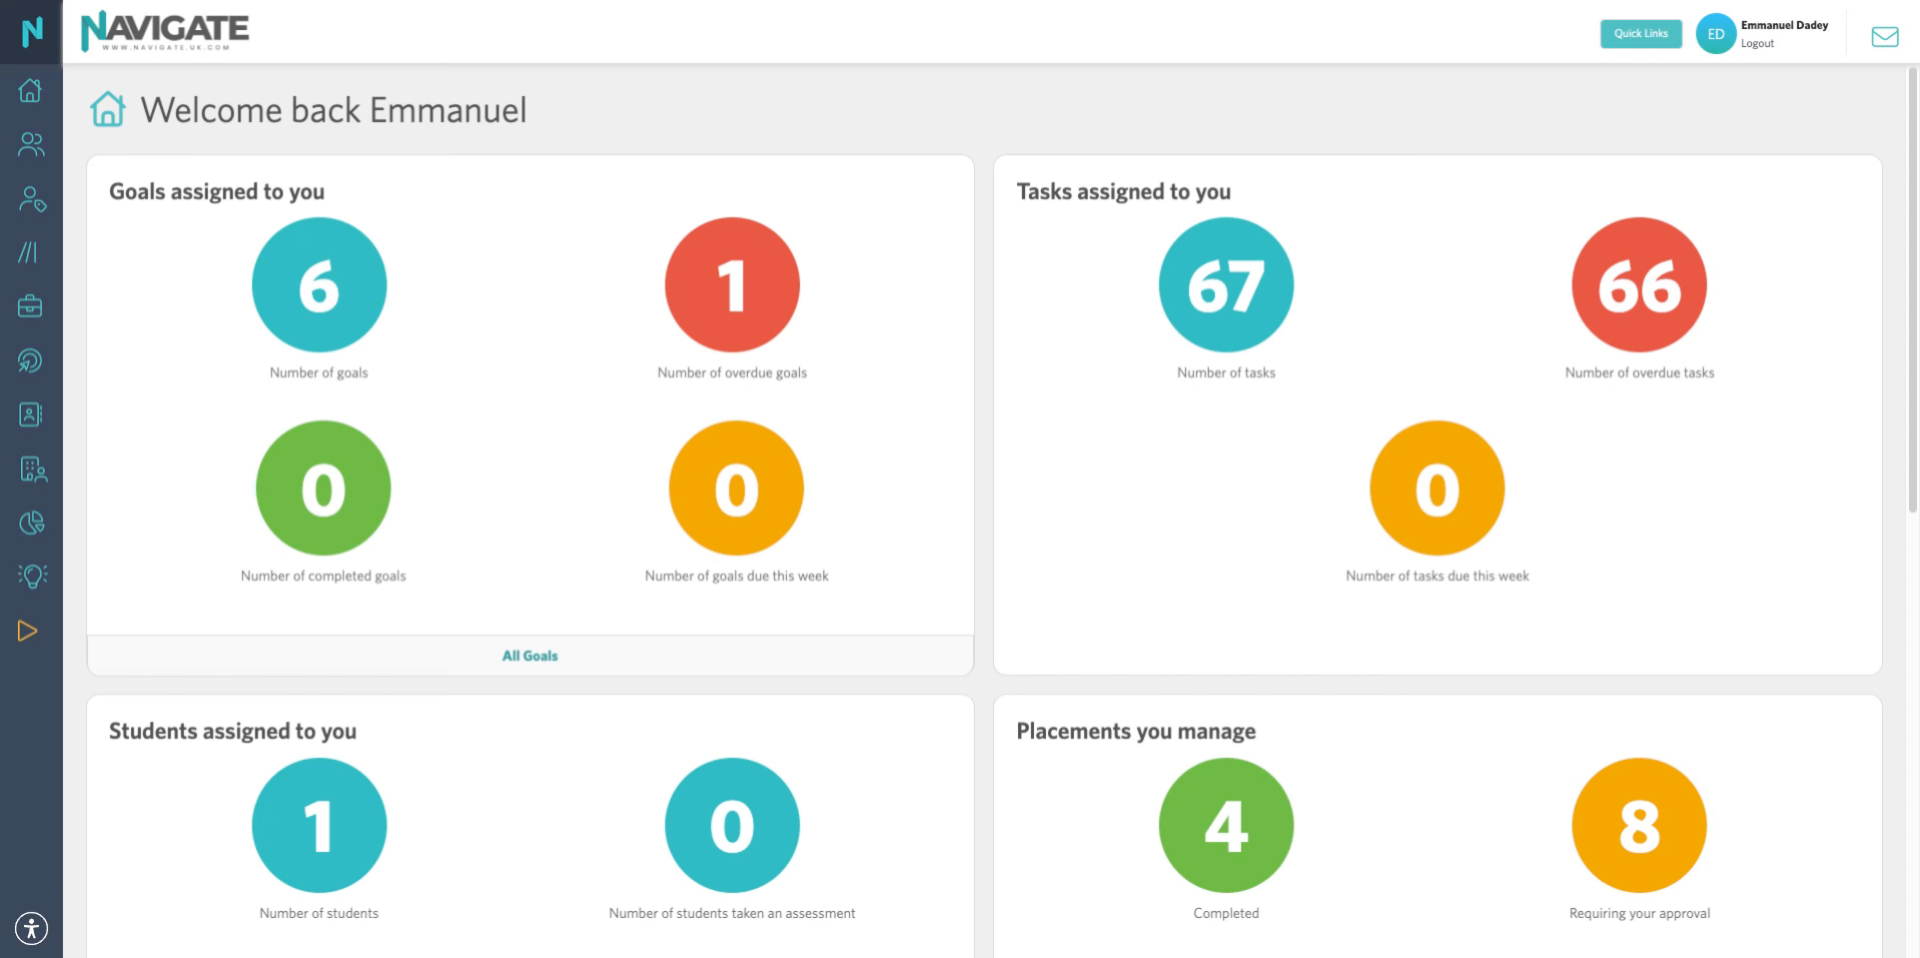
To mark a placement as complete or incomplete, log in to your Navigate account and open the relevant placement record.
2. Access Quick Links Menu
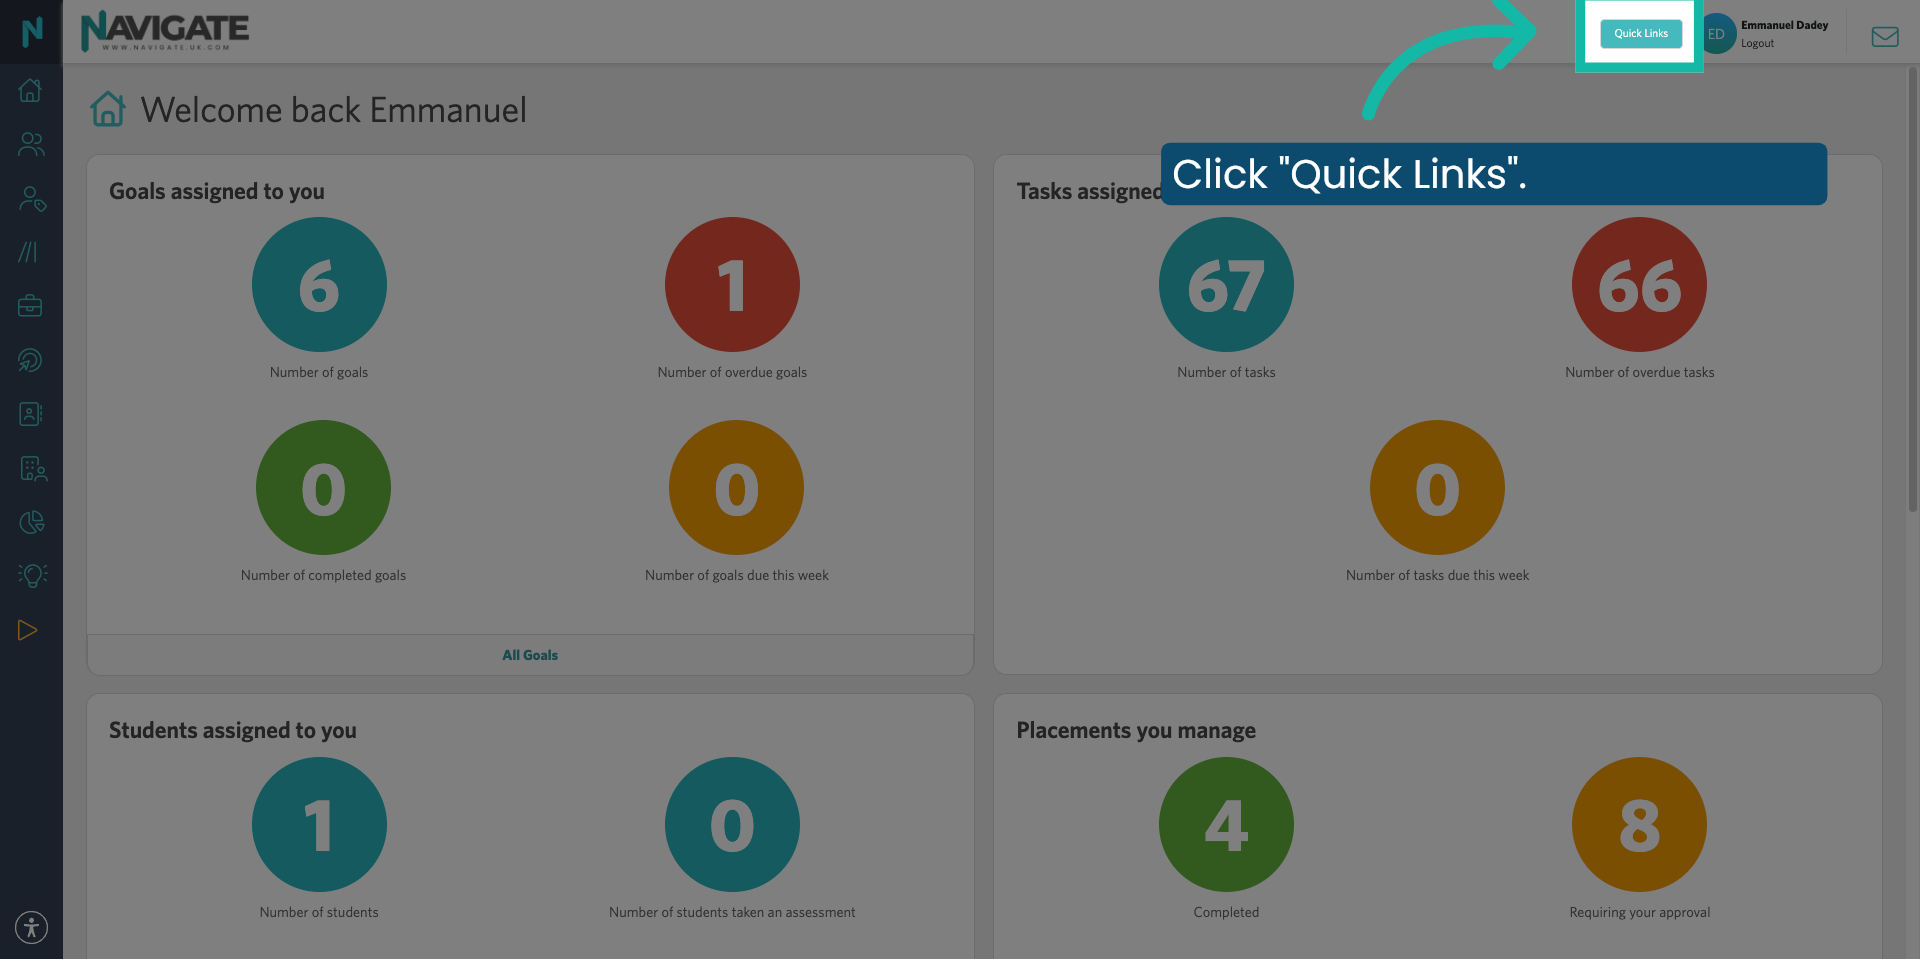
Click the Quick Links button at the top of the page.
3. Search for a Placement
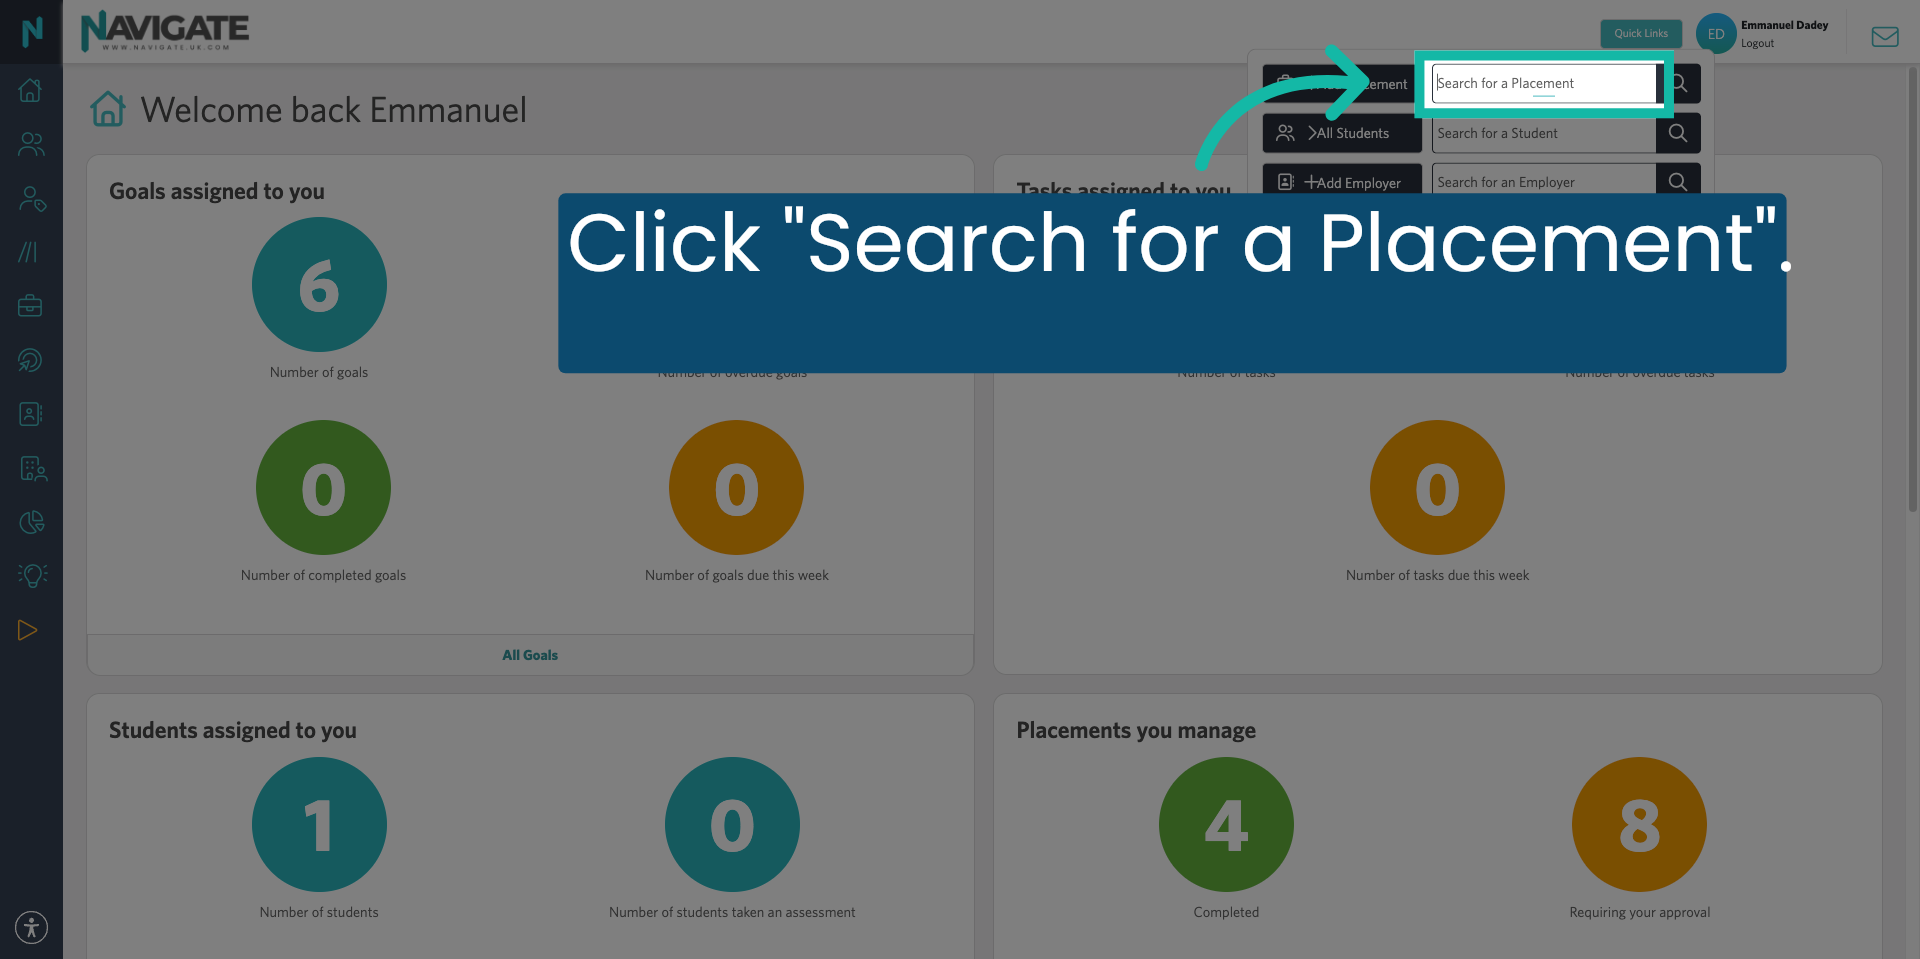
Click the "Search for a Placement" box.
4. Select Placement from Search Results
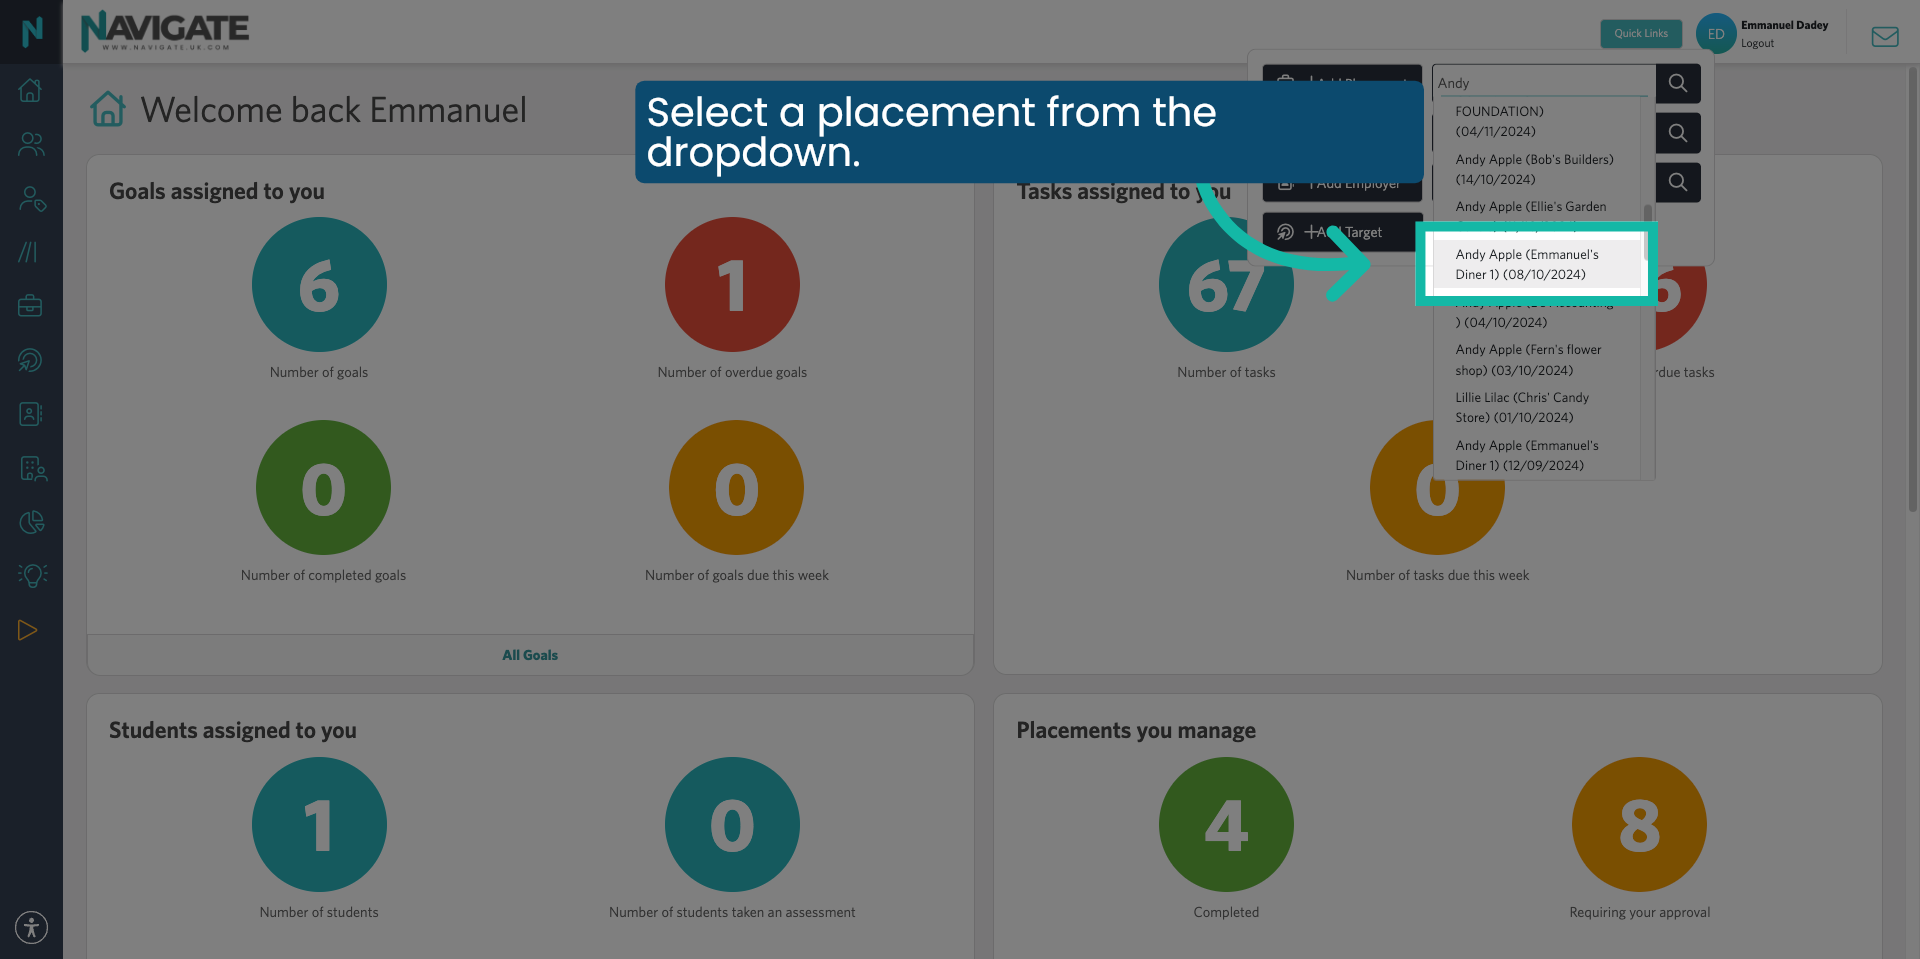
Enter the student's or employer's name, then select the placement from the drop-down list.
5. Navigate to Completion Tab
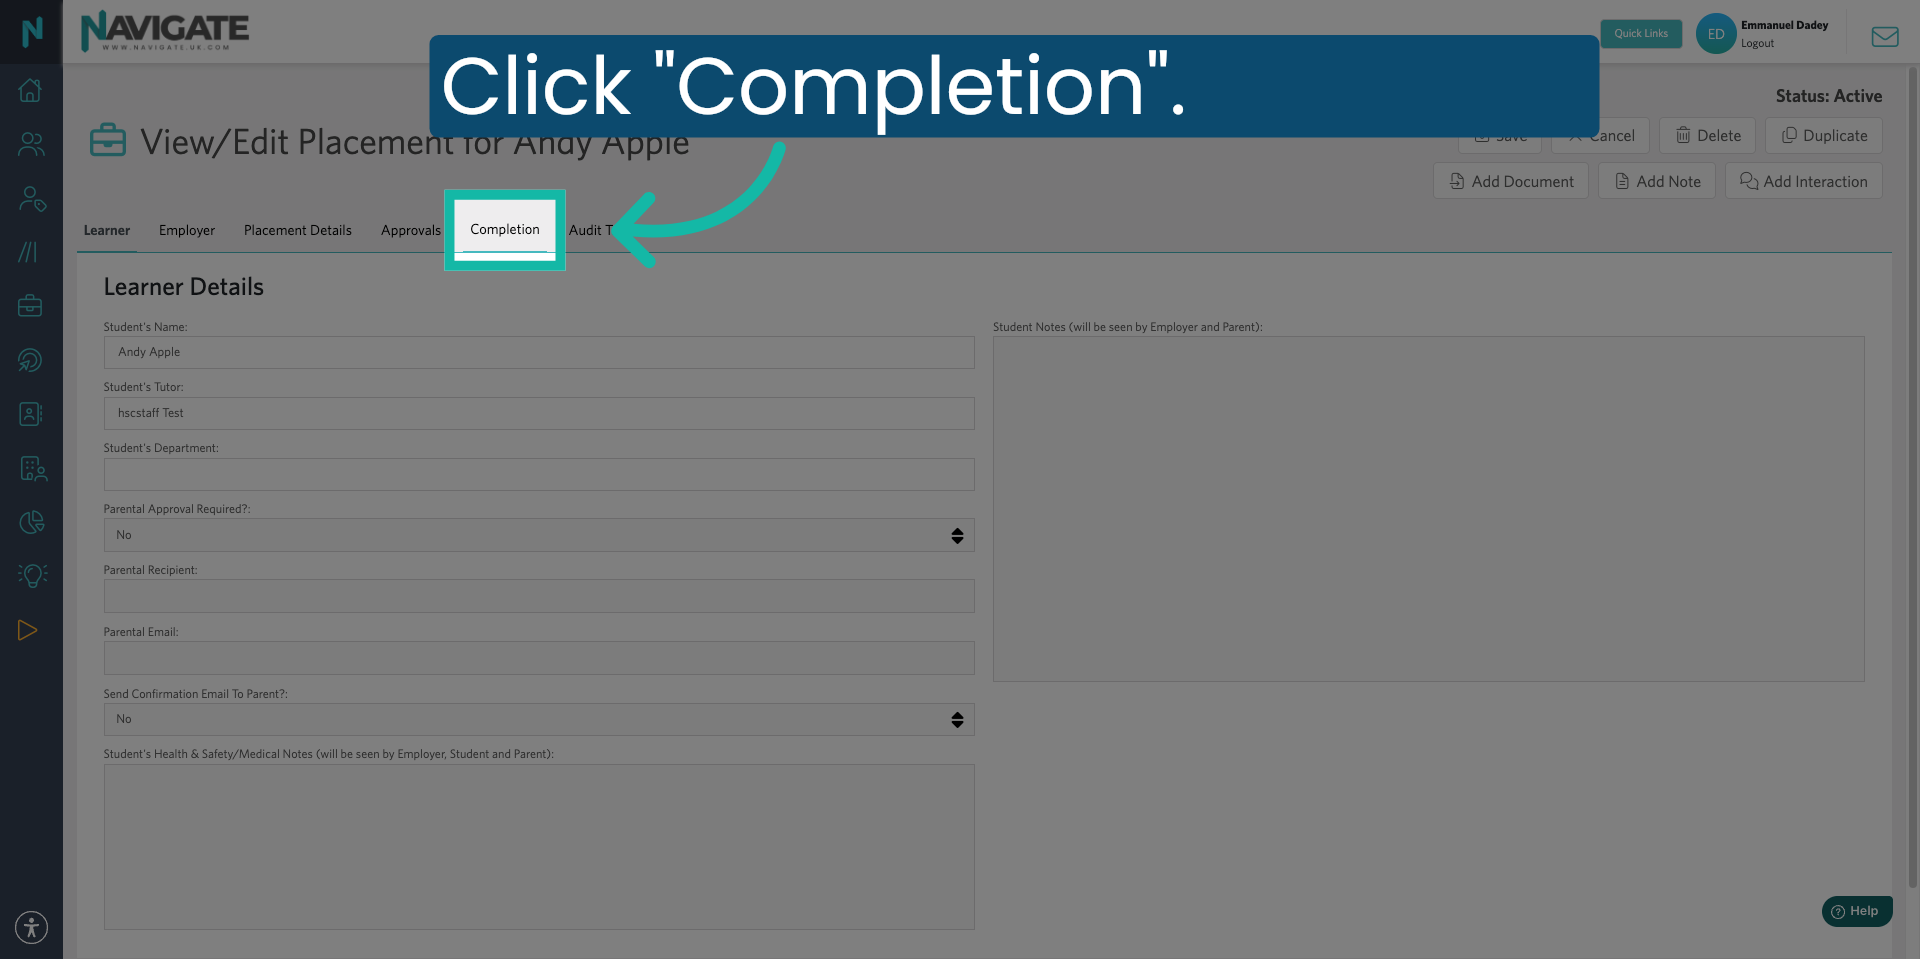
This opens the placement details. Click the Completion tab to view and manage the placement's completion status.
6. 3 Completion Options
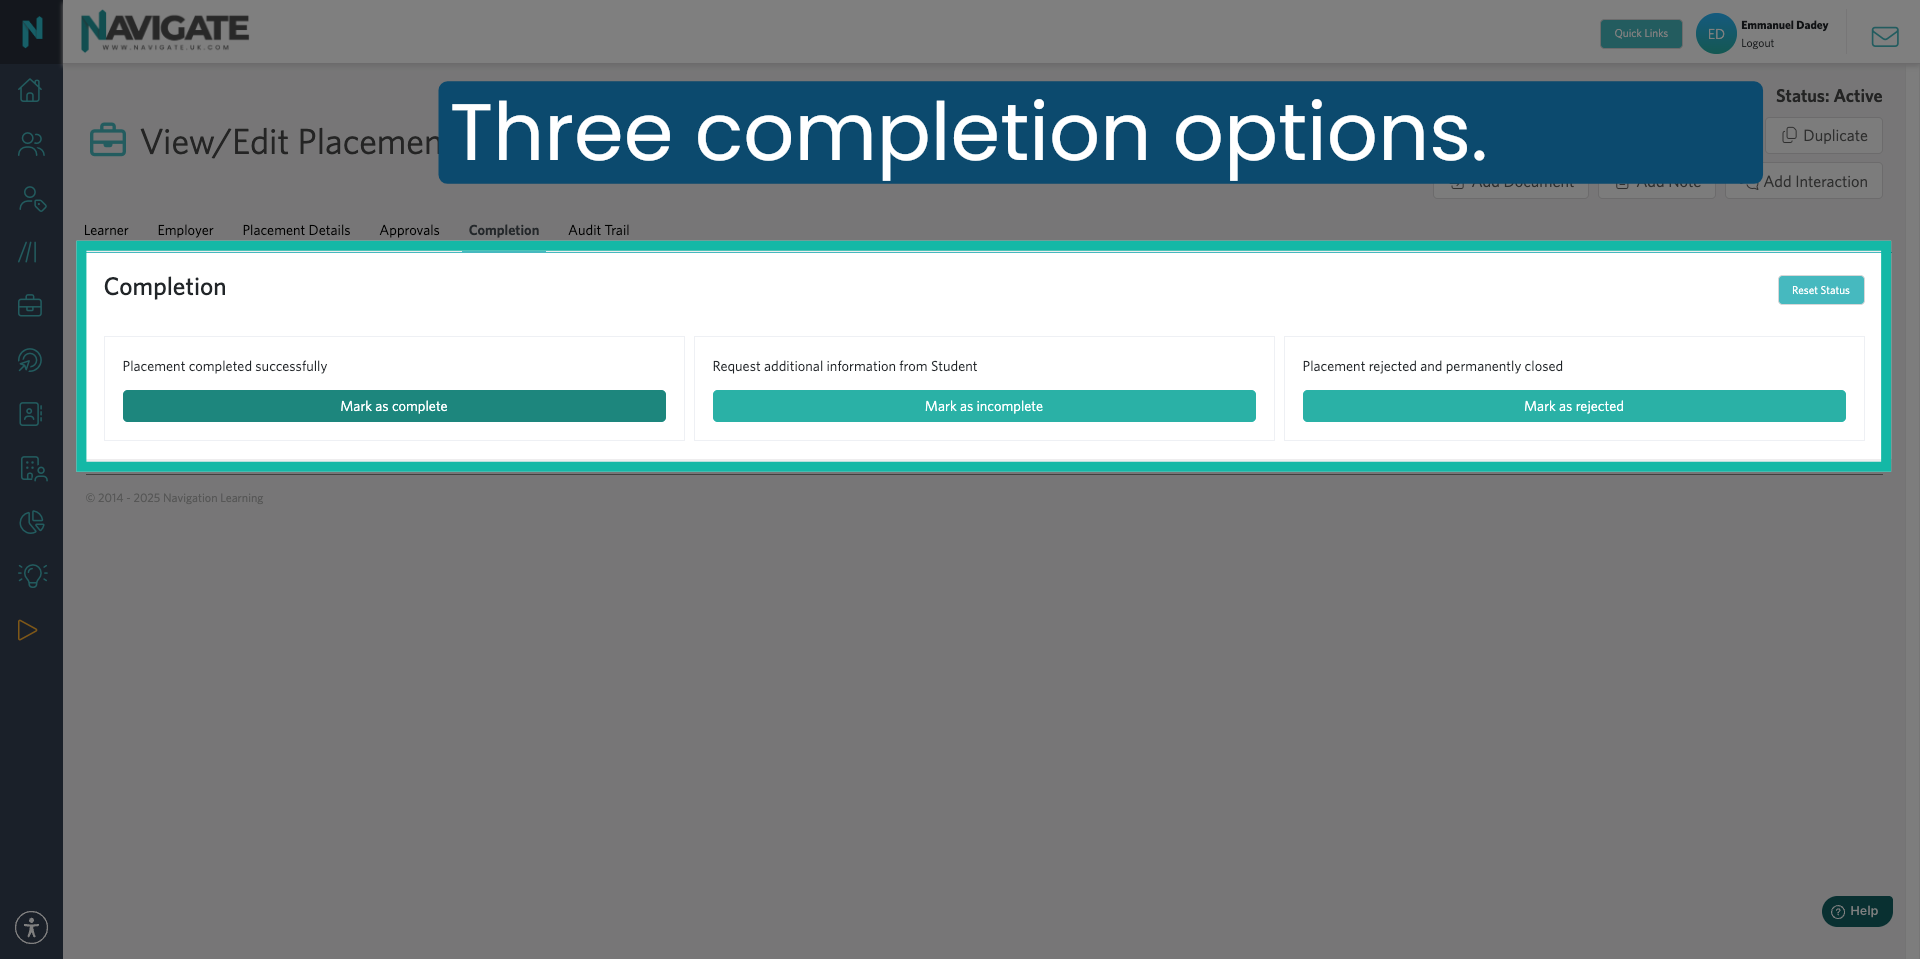
The Completion panel offers three options.
7. Mark Placement as Complete
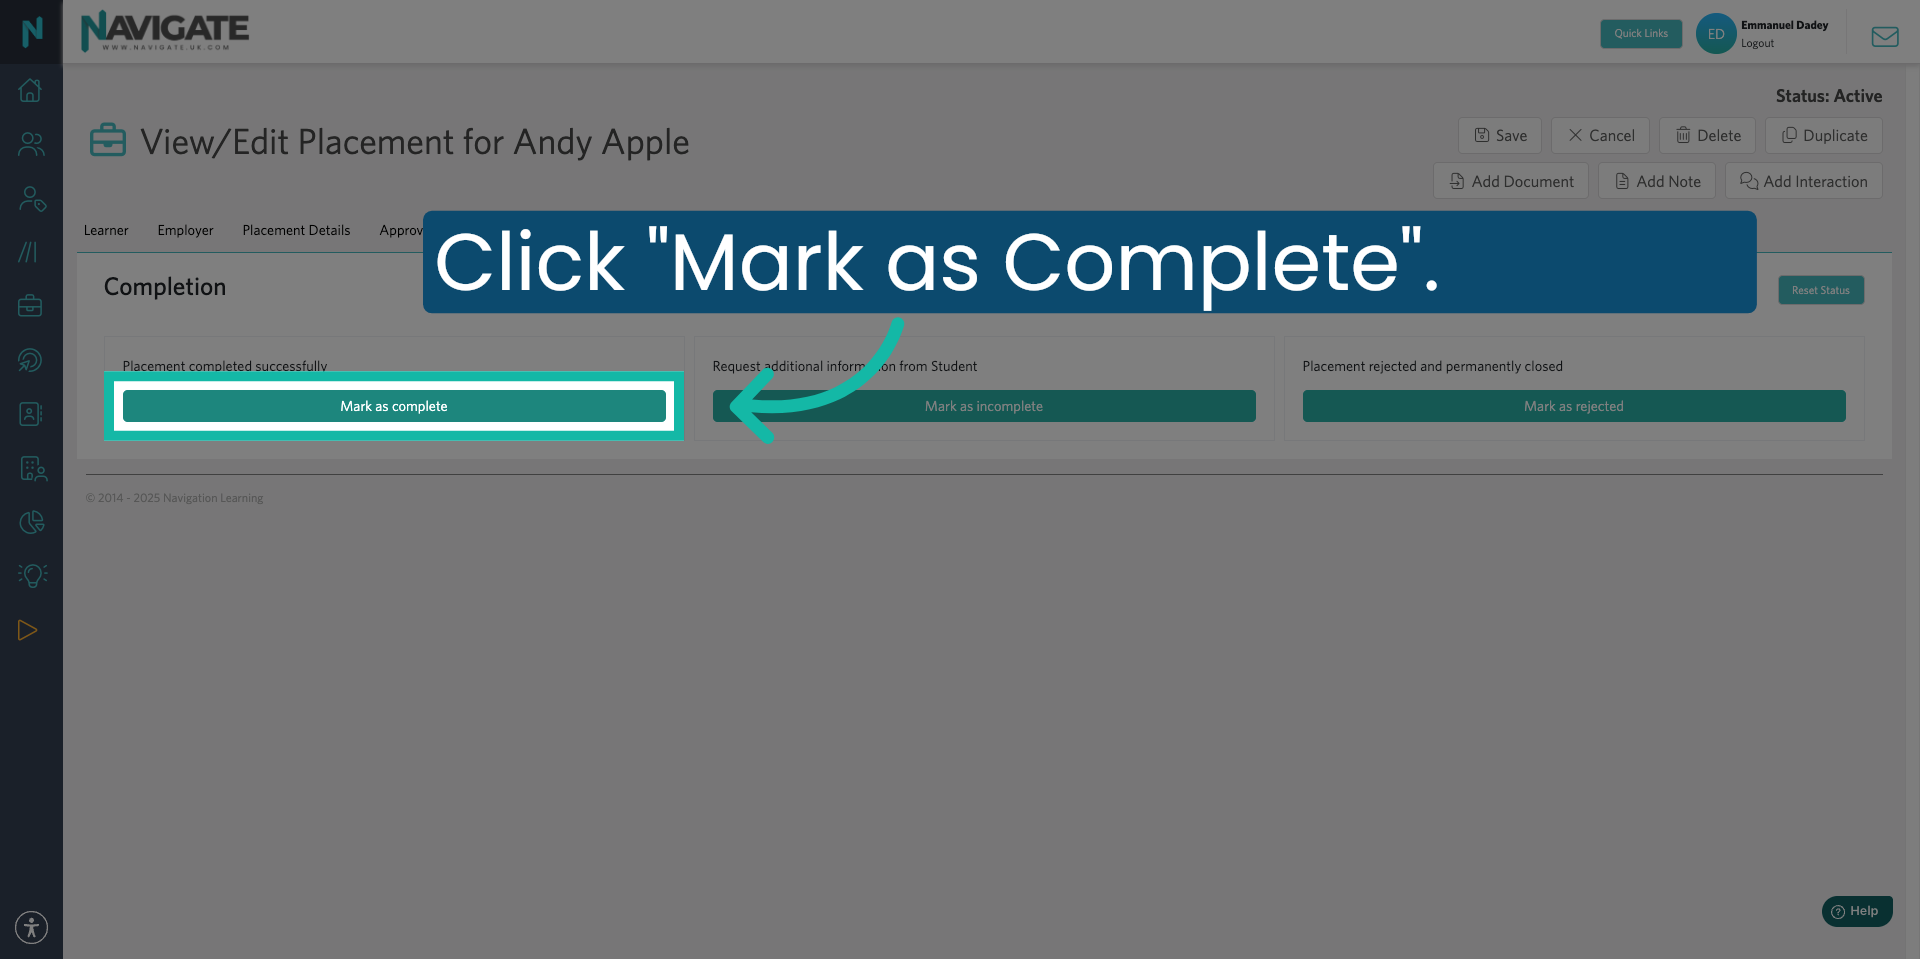
Mark the placement as complete. Click "Mark as Complete" if you are satisfied that all the data in the record is correct.
8. Complete Popup Form
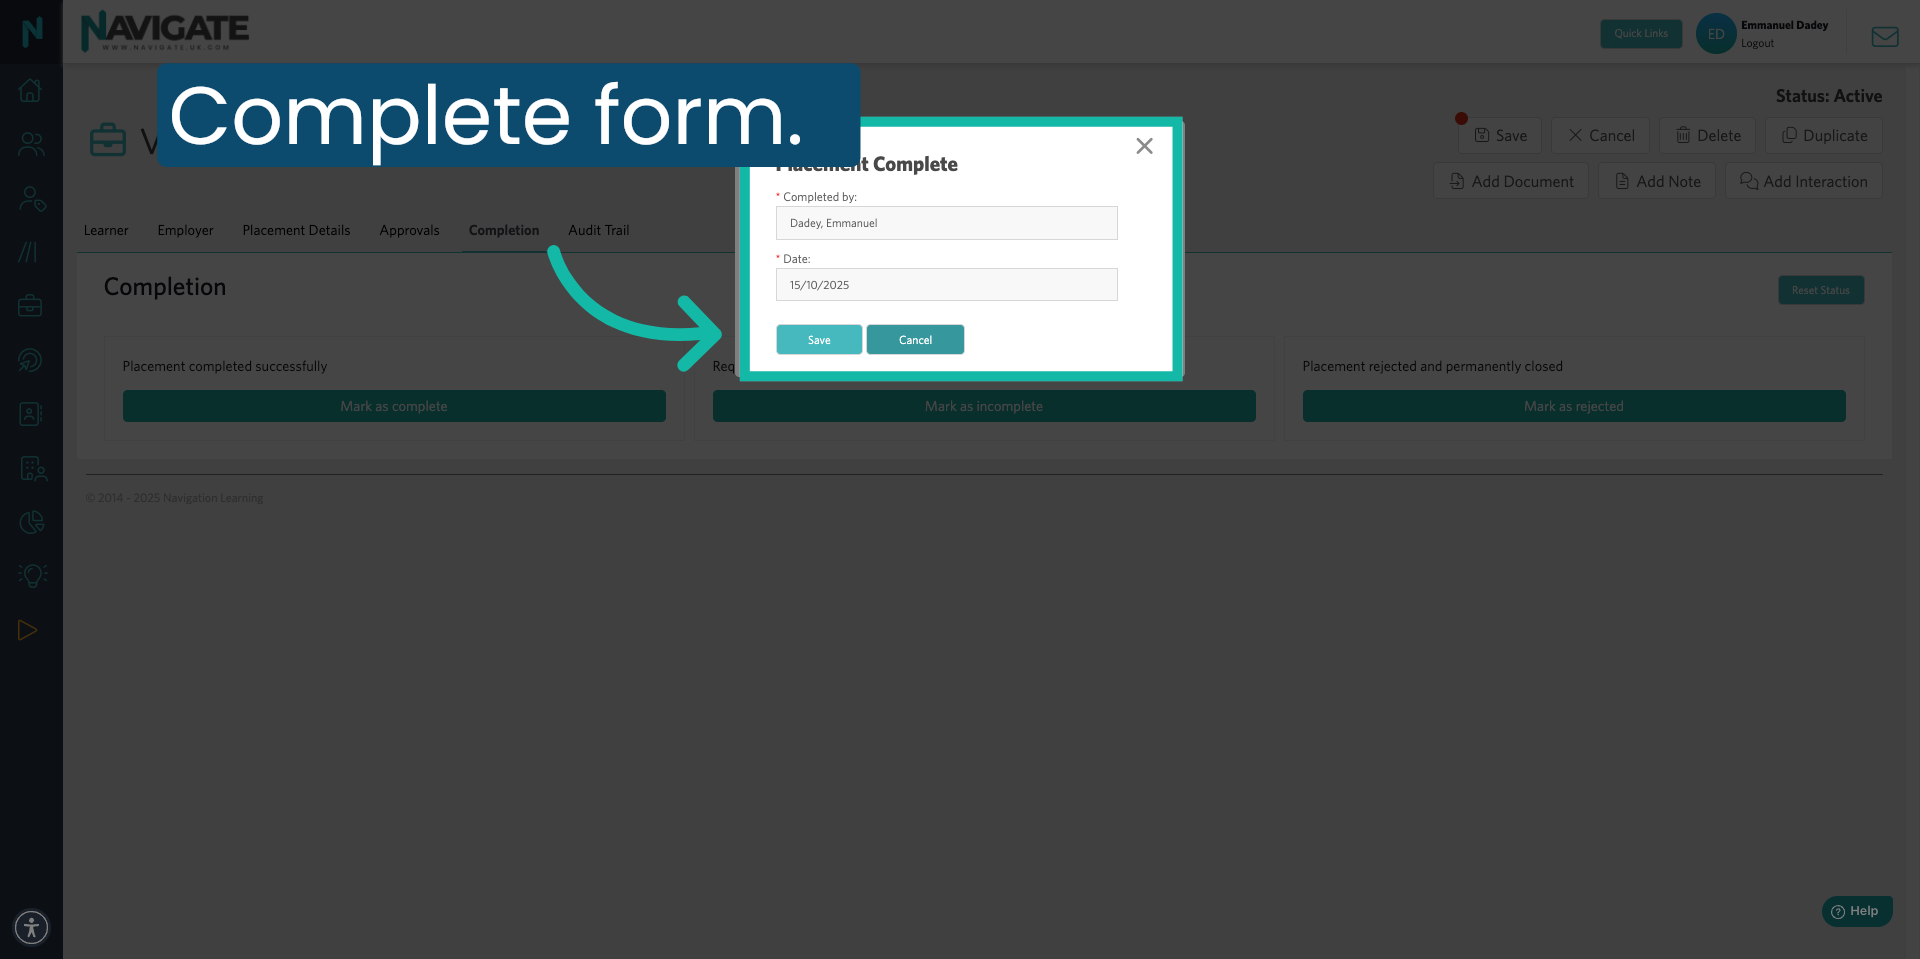
Enter your name and the date you are marking the placement as complete, then click "Save".
9. Mark Placement as Incomplete
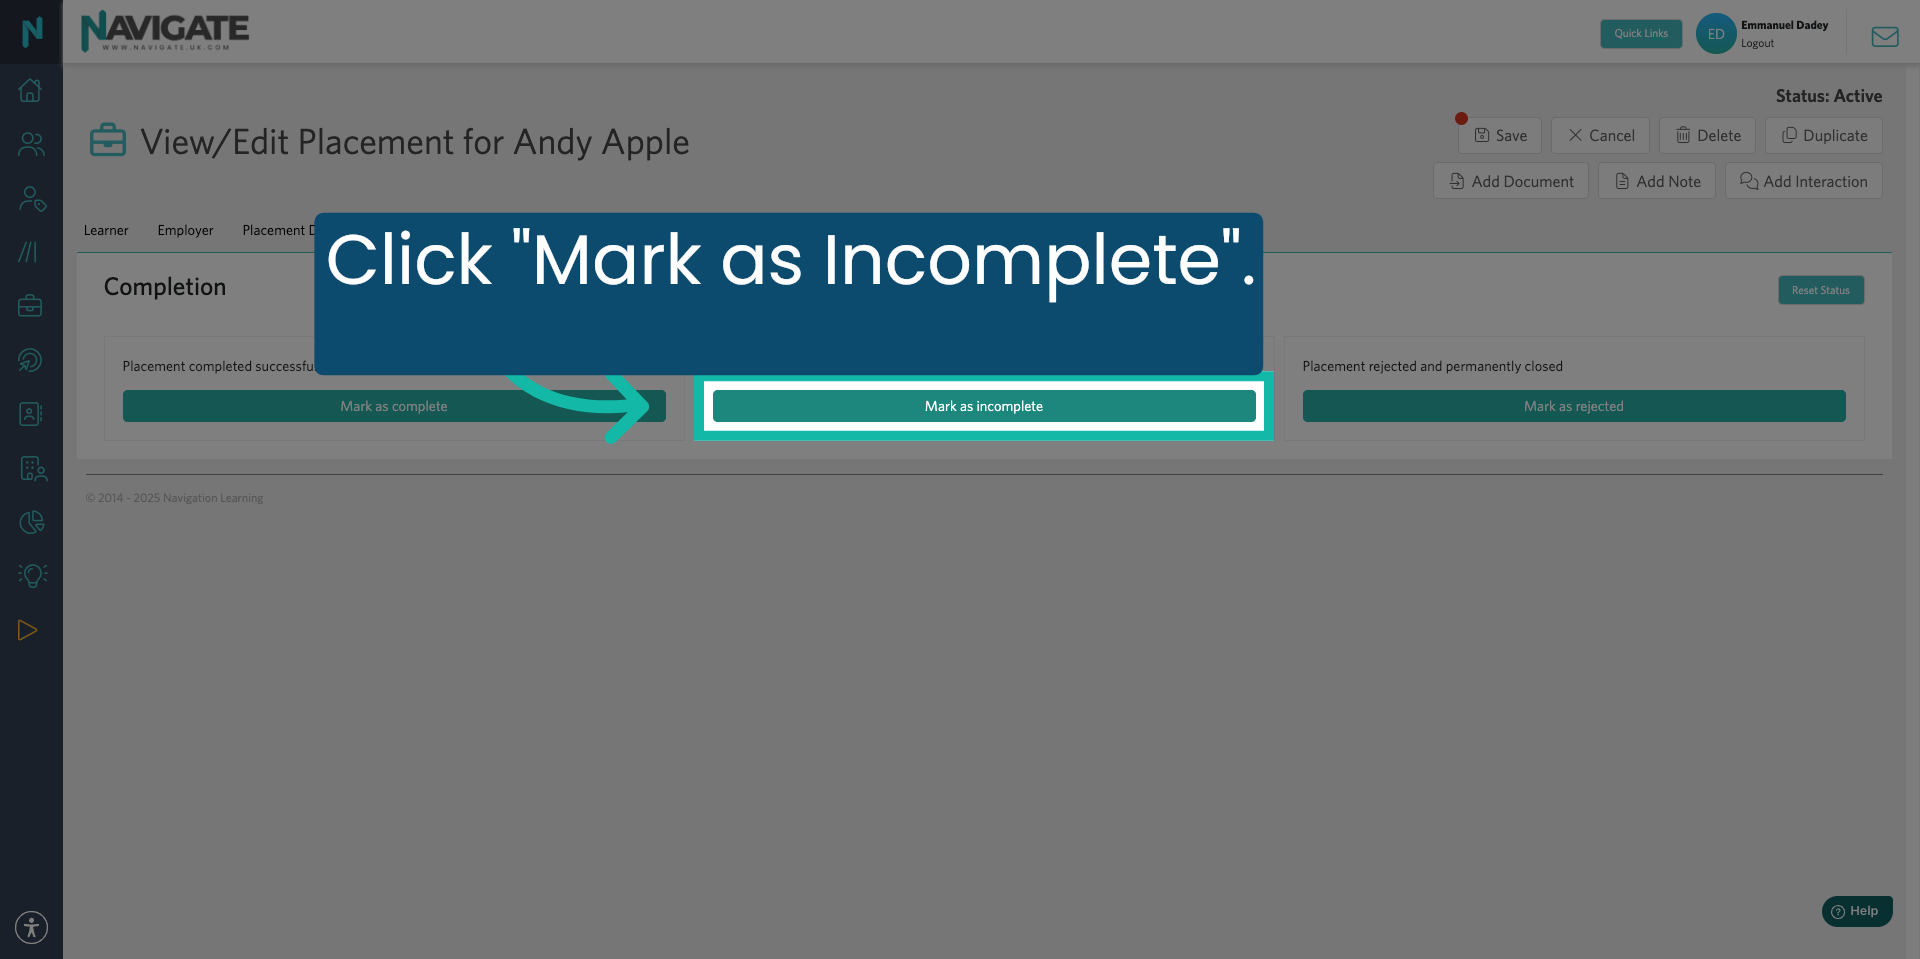
Mark the placement as incomplete. Click "Mark as Incomplete" if you would like to request further information from the student. For example, use this option if the student has not provided enough evidence in their placement journal entries or has not completed their placement feedback.
10. Complete Popup Form
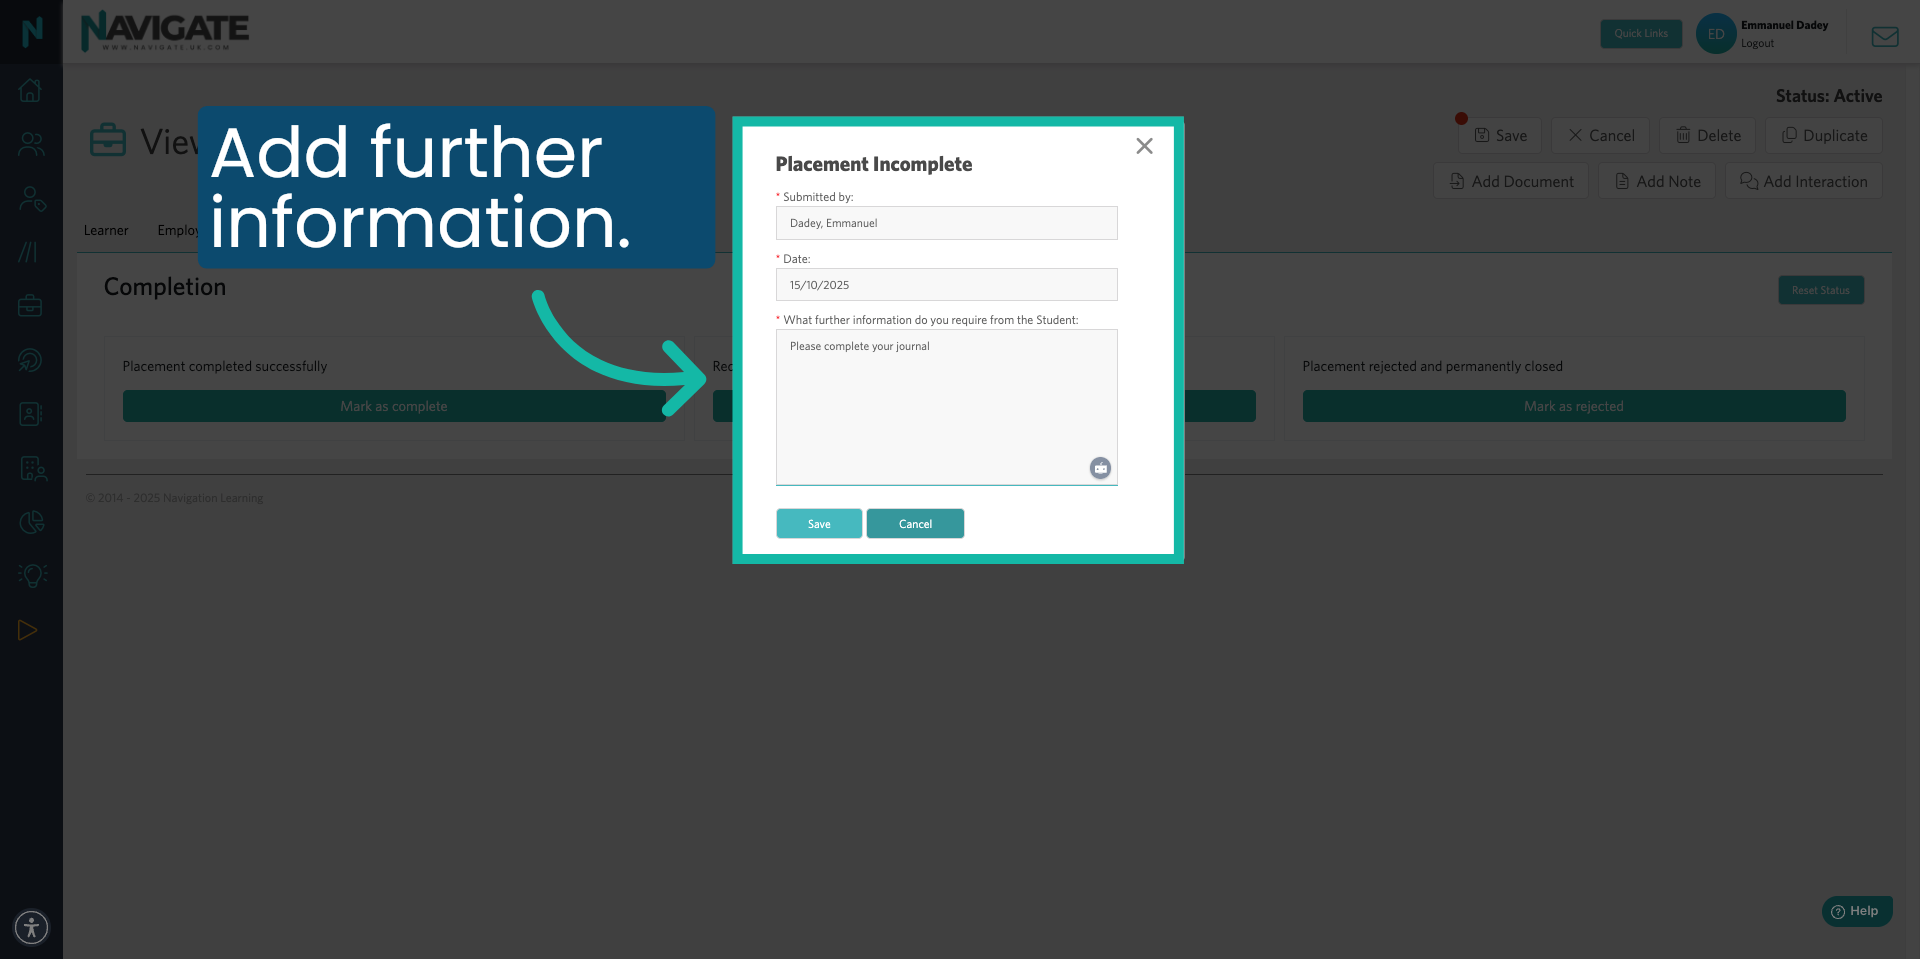
In the pop-up box, enter your name and the date. In the Further Information box, explain what additional information you require from the student. The student can then view this feedback on the student site.
11. Click Save
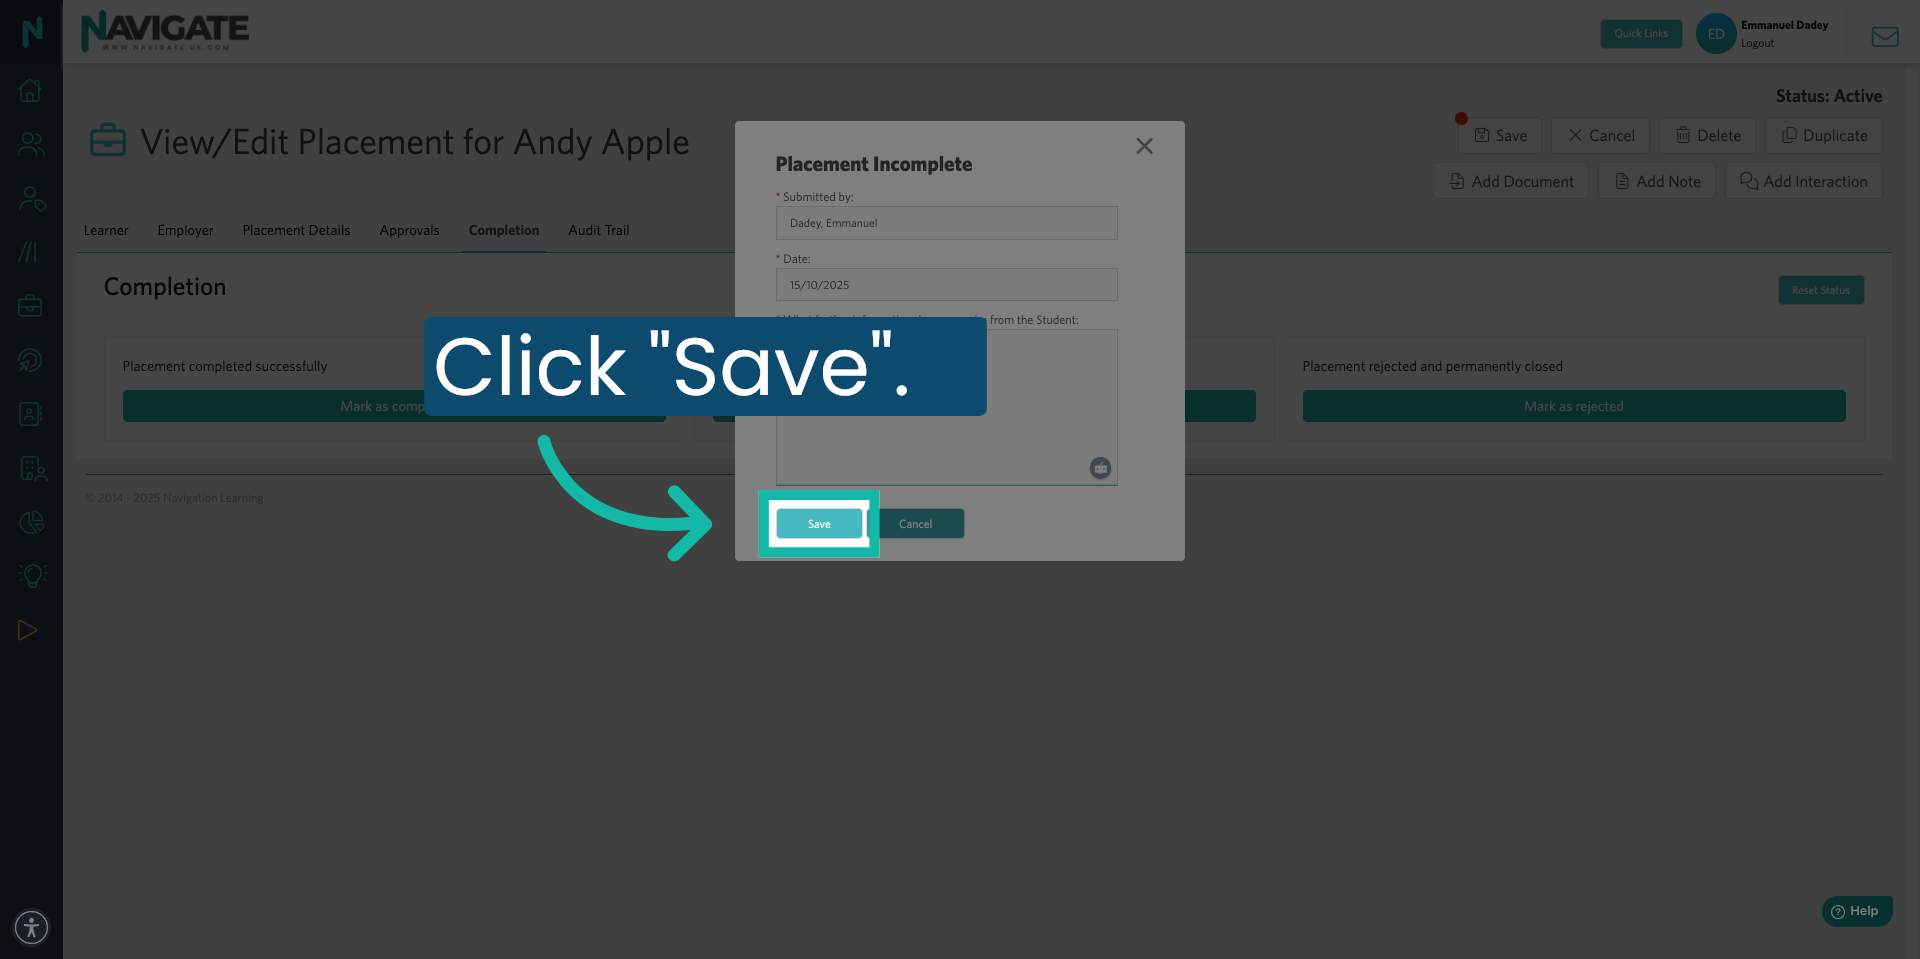
Click "Save" when you are done.
12. Mark Placement as Rejected
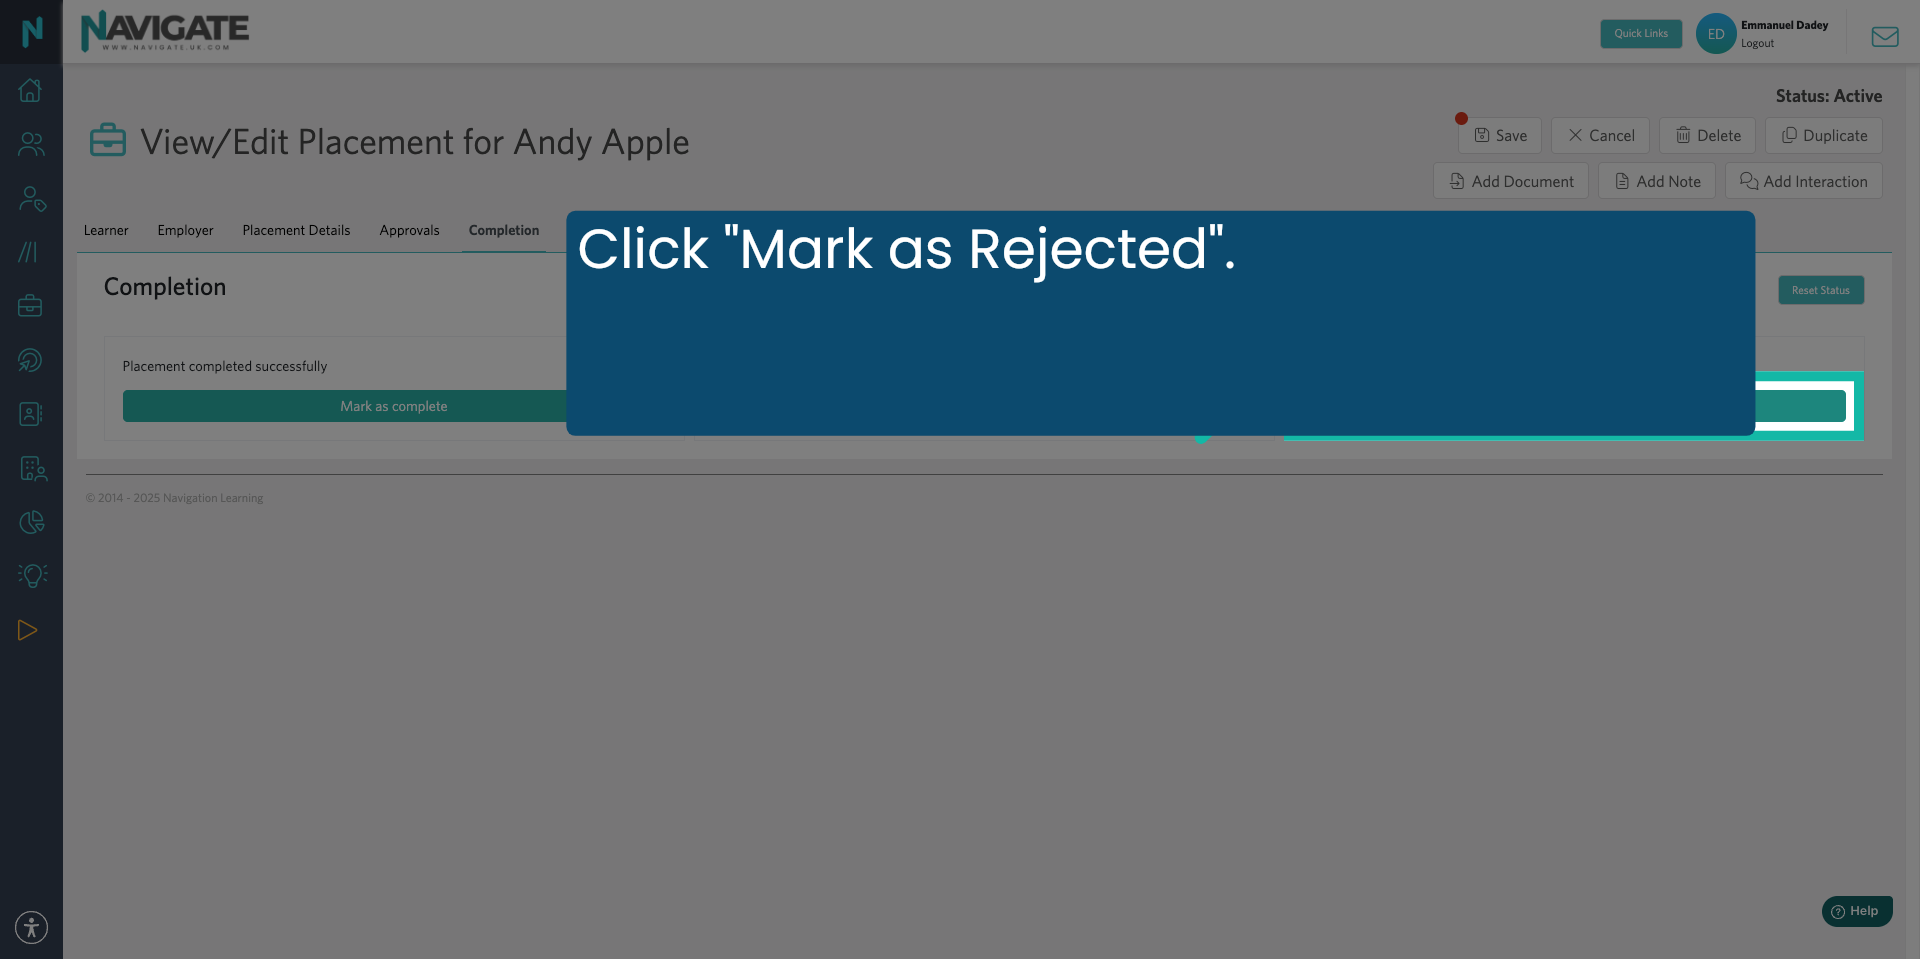
Mark the placement as rejected. Click "Mark as Rejected" to reject the placement and close it permanently.
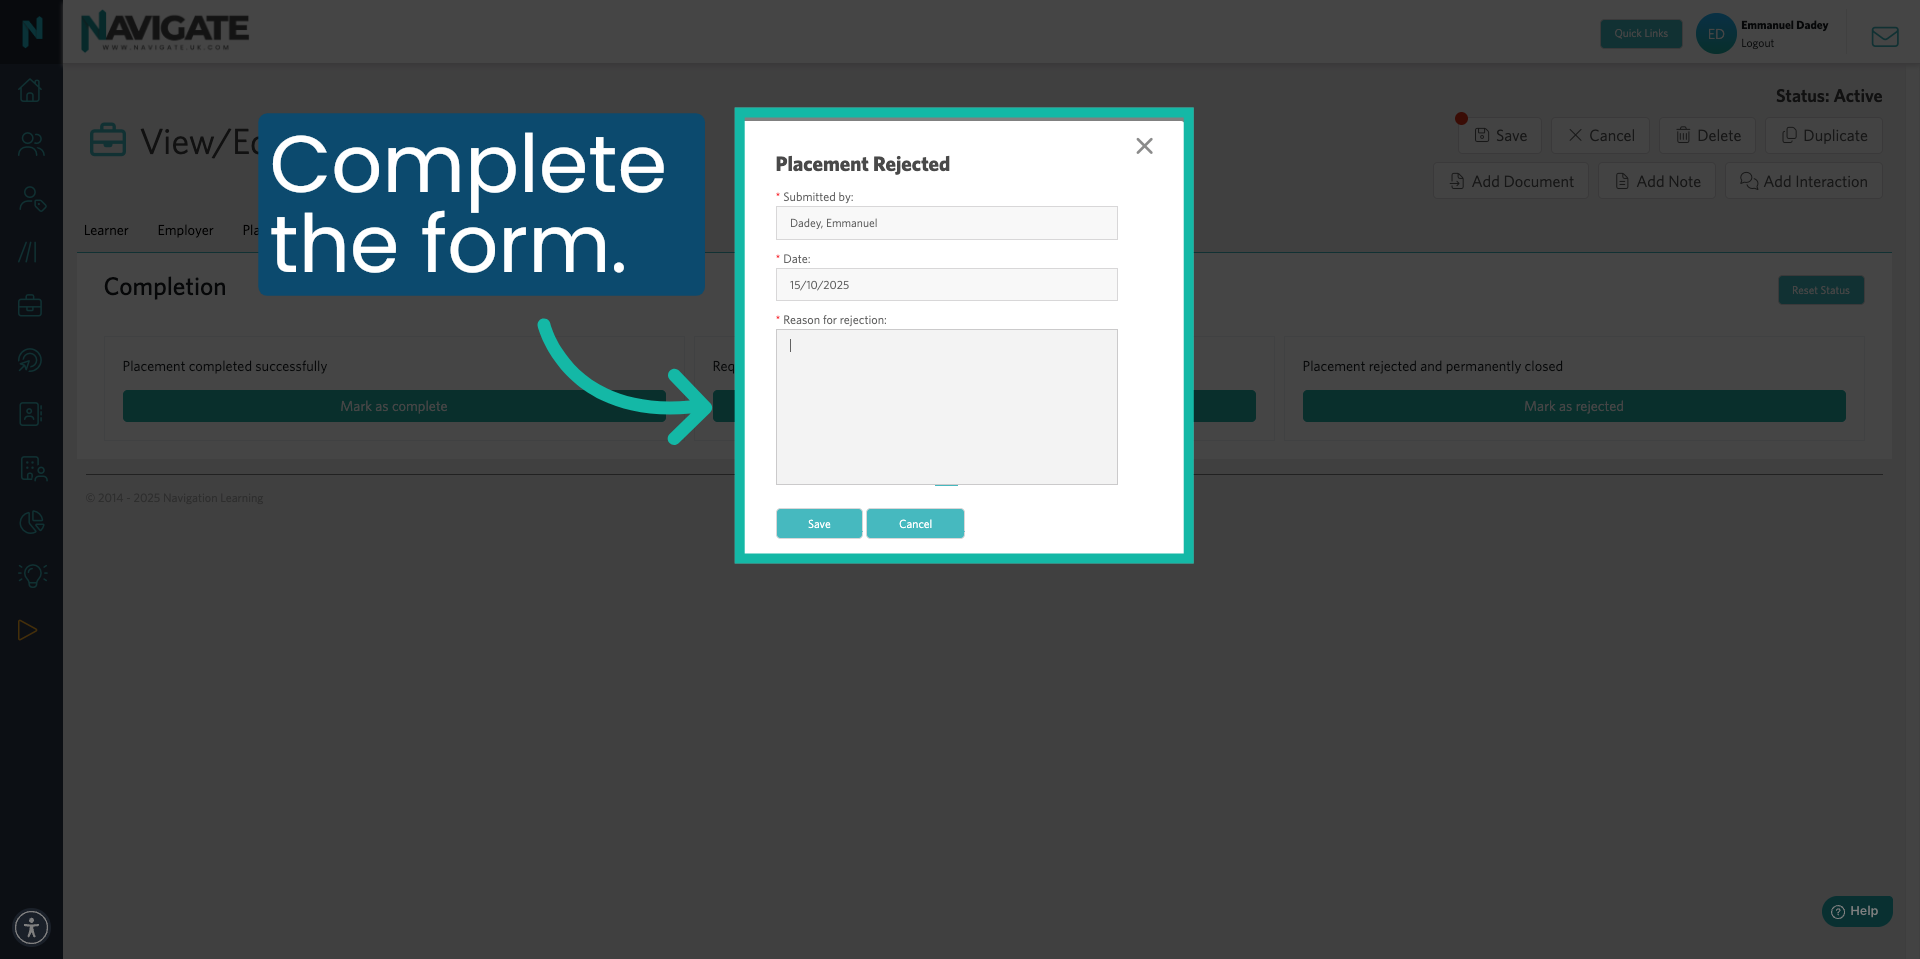
13. Complete the Popup
Click the Reason for Rejection field and enter why you are rejecting the placement. For example, use this option if the placement did not go ahead.
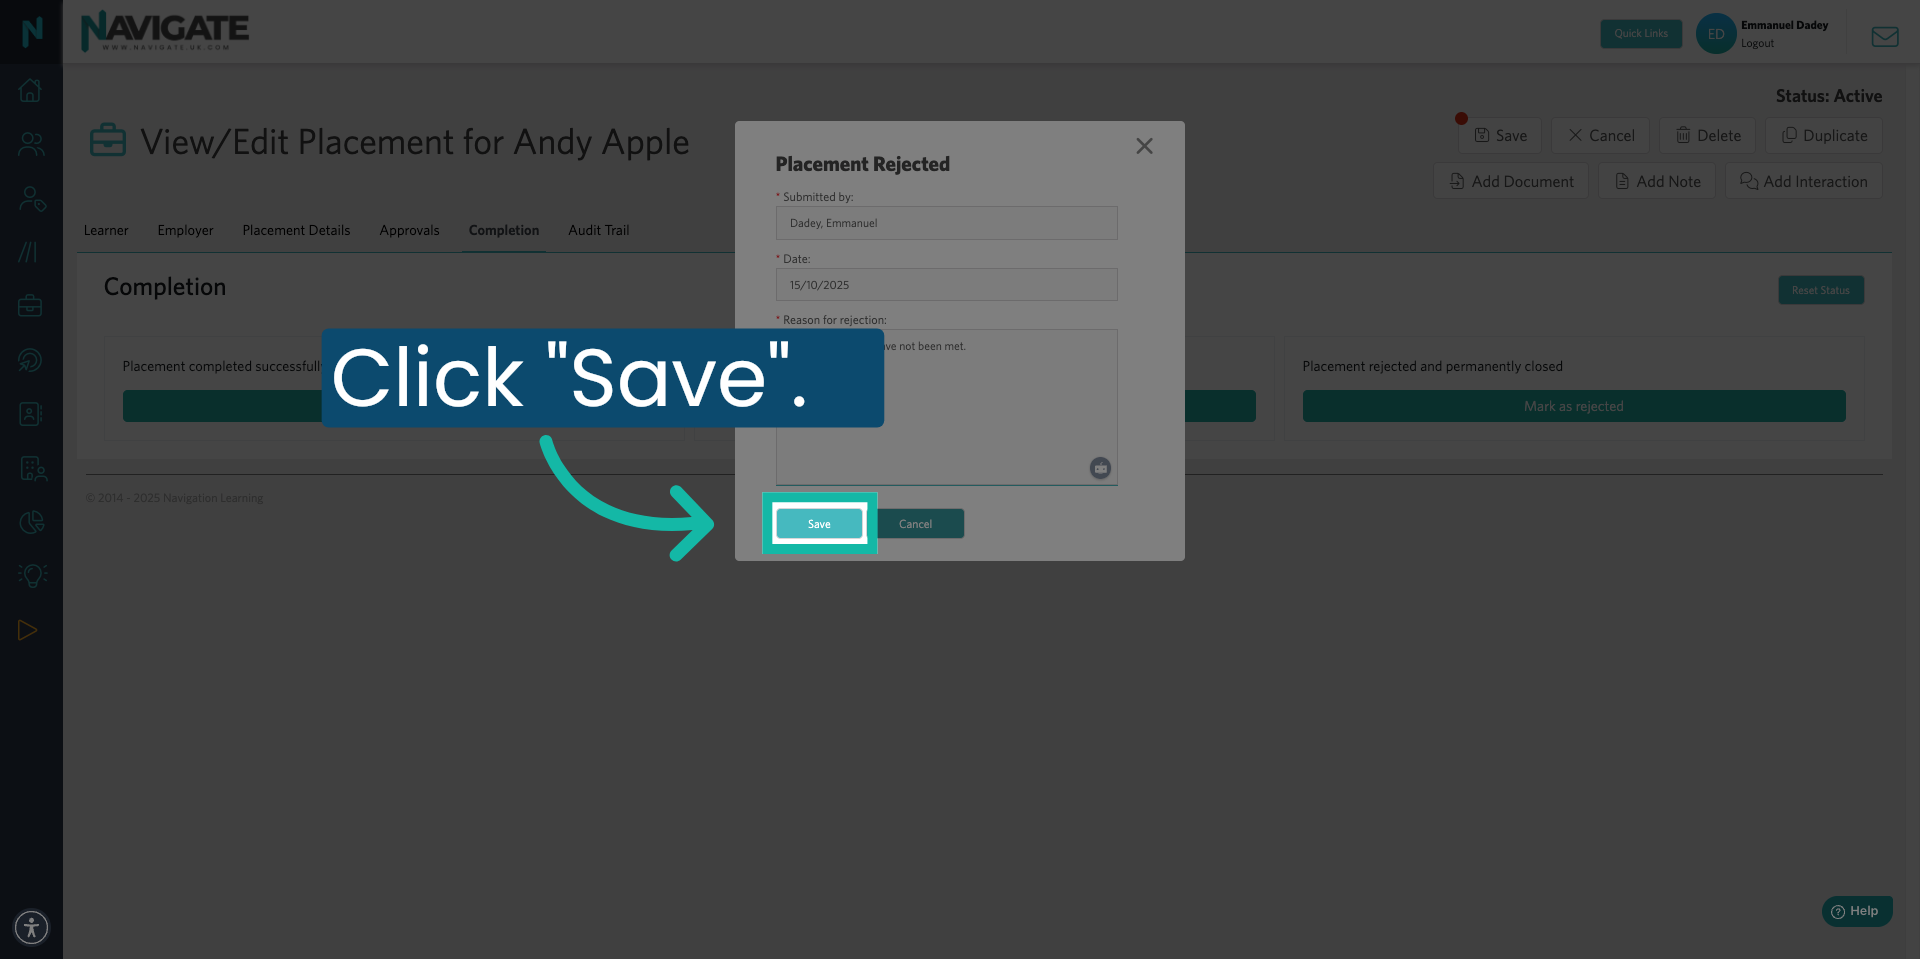
14. Click Save
Click "Save" when you are done. Once a placement has moved from Live to Complete, or to Complete with further information requested, you can no longer resend attendance emails to the employer.
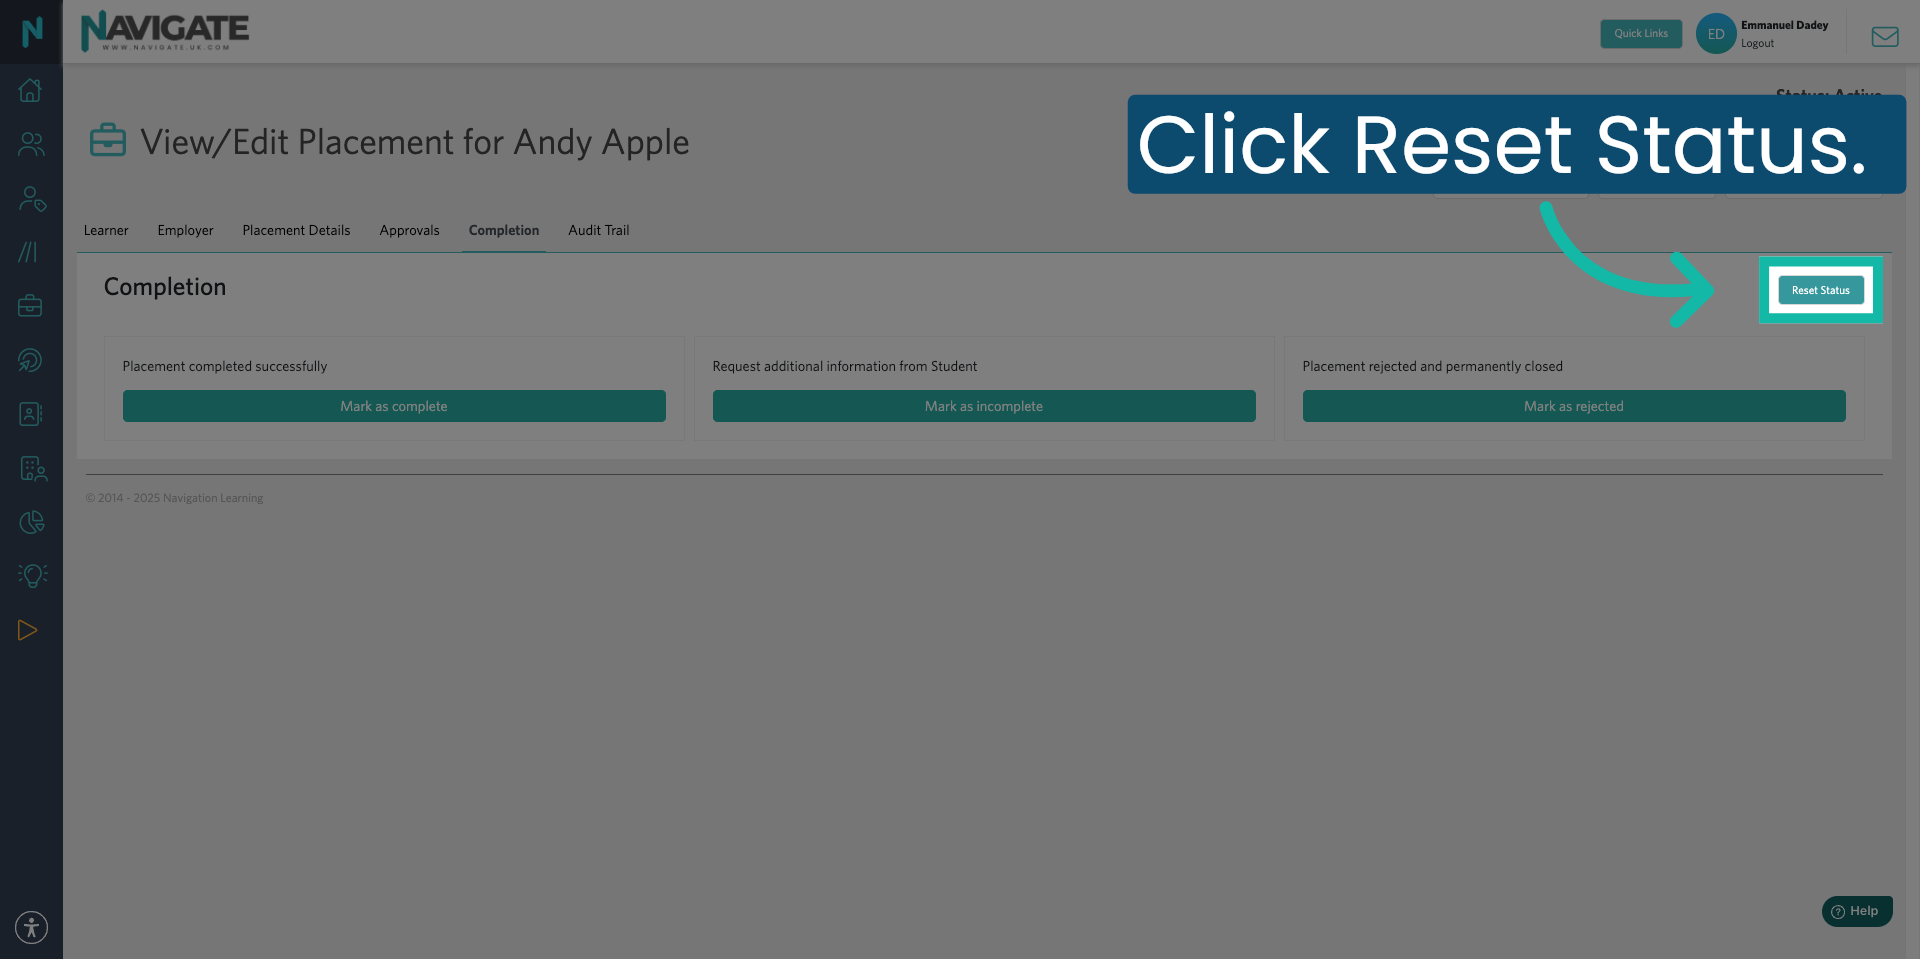
15. Reset Status
If a member of staff or a student needs to edit the placement or send emails after it has been marked as complete, change the placement's status by clicking "Reset Status".
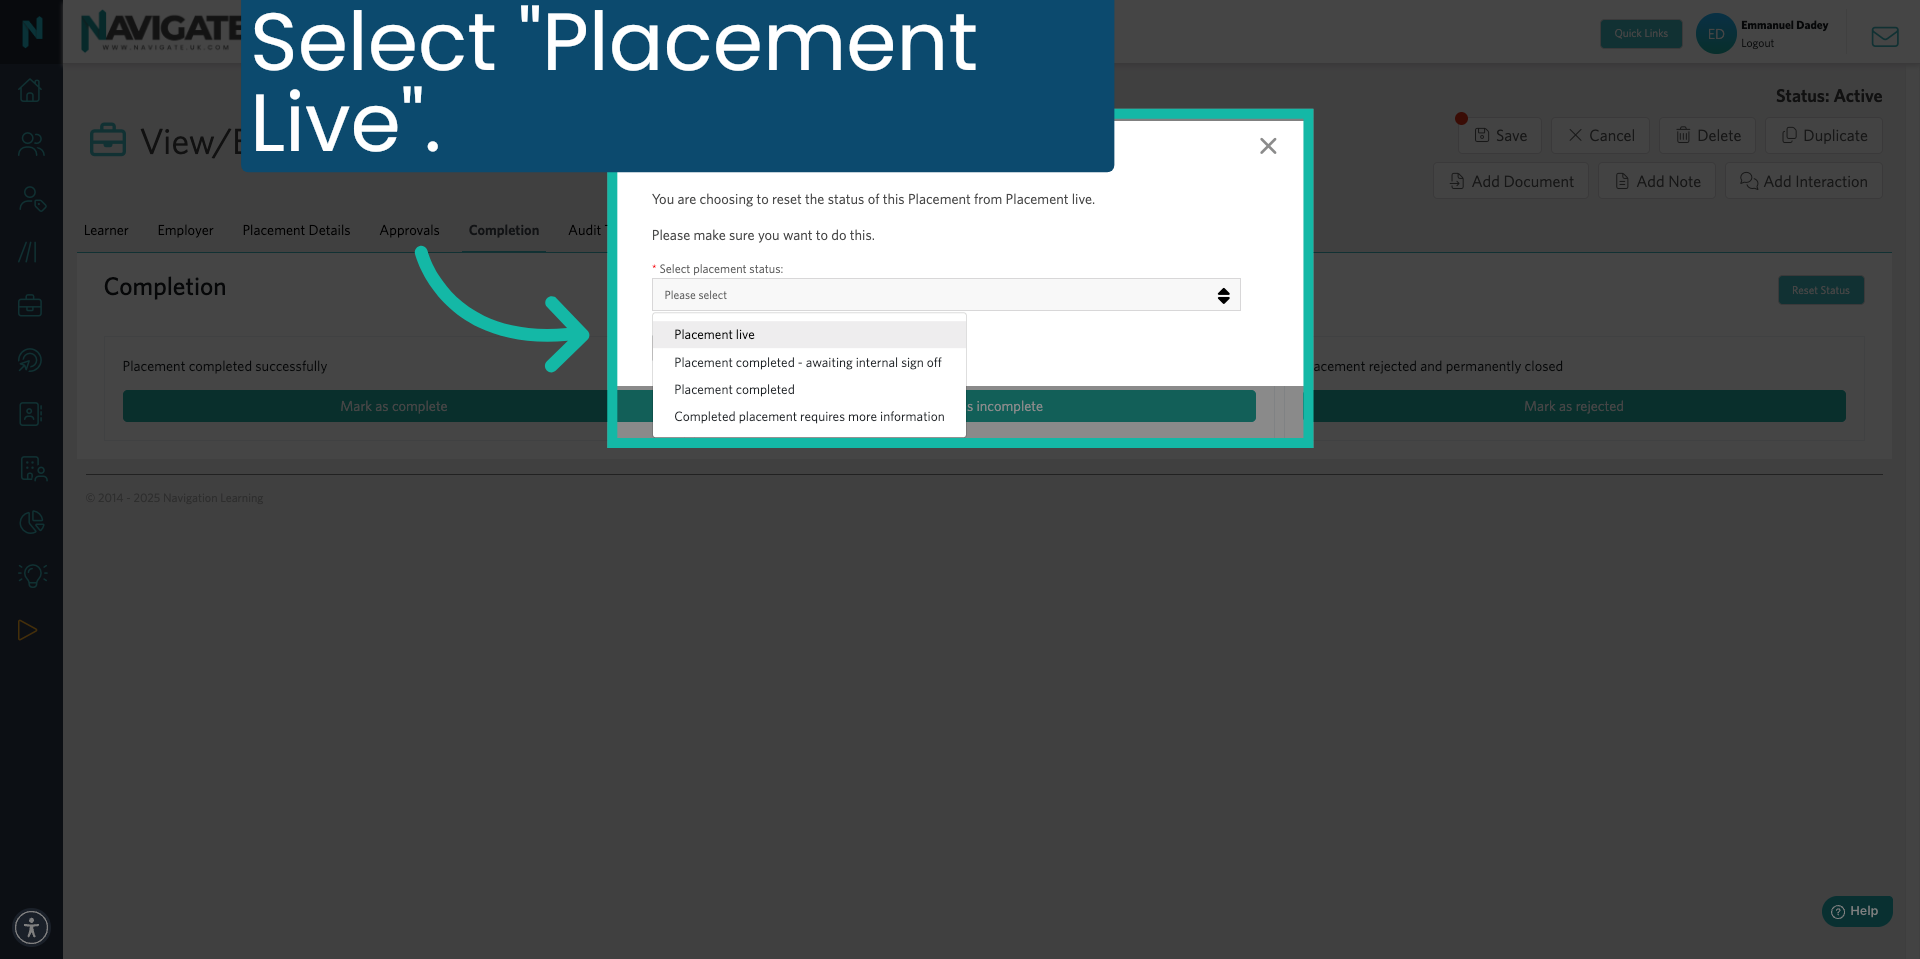
16. Select Status To Revert To
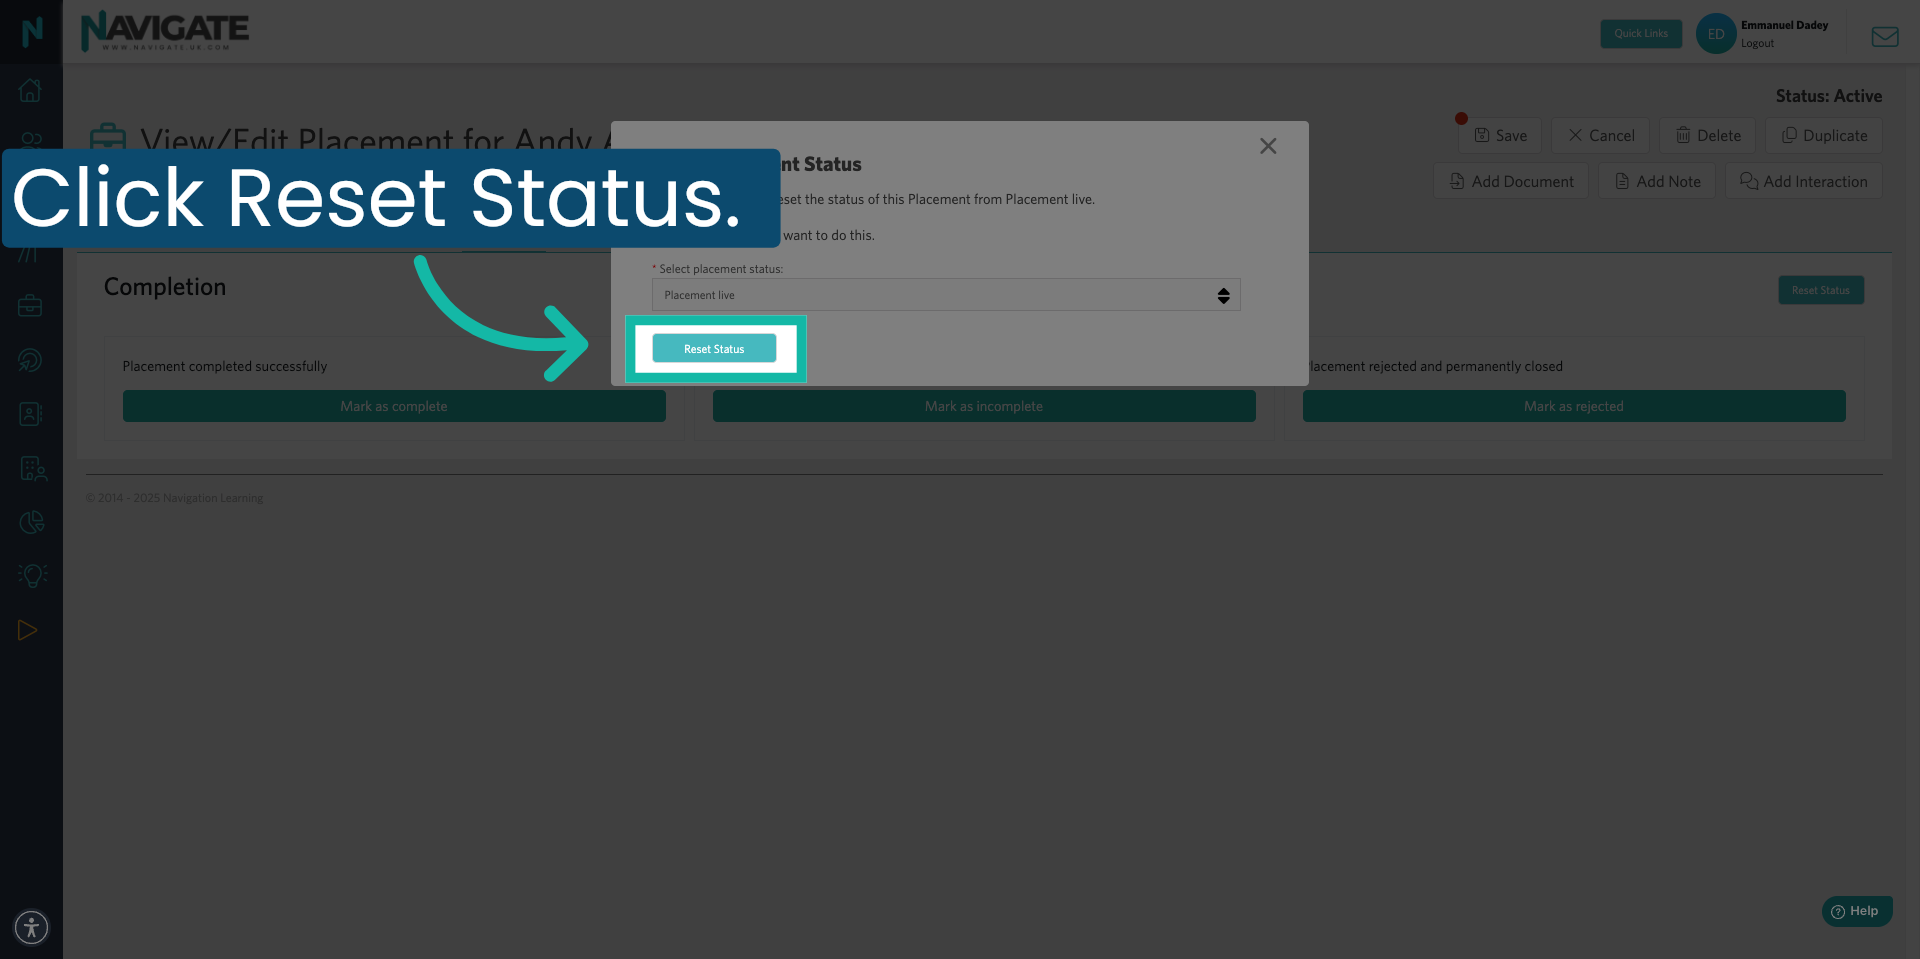
Select the status you want to revert to. To make changes to the placement, select "Placement Live". Once you have made your changes, you can mark the placement as complete again by following the previous steps.
17. Confirm Reset Status
Click "Reset Status" to apply the selected status and reset the placement.
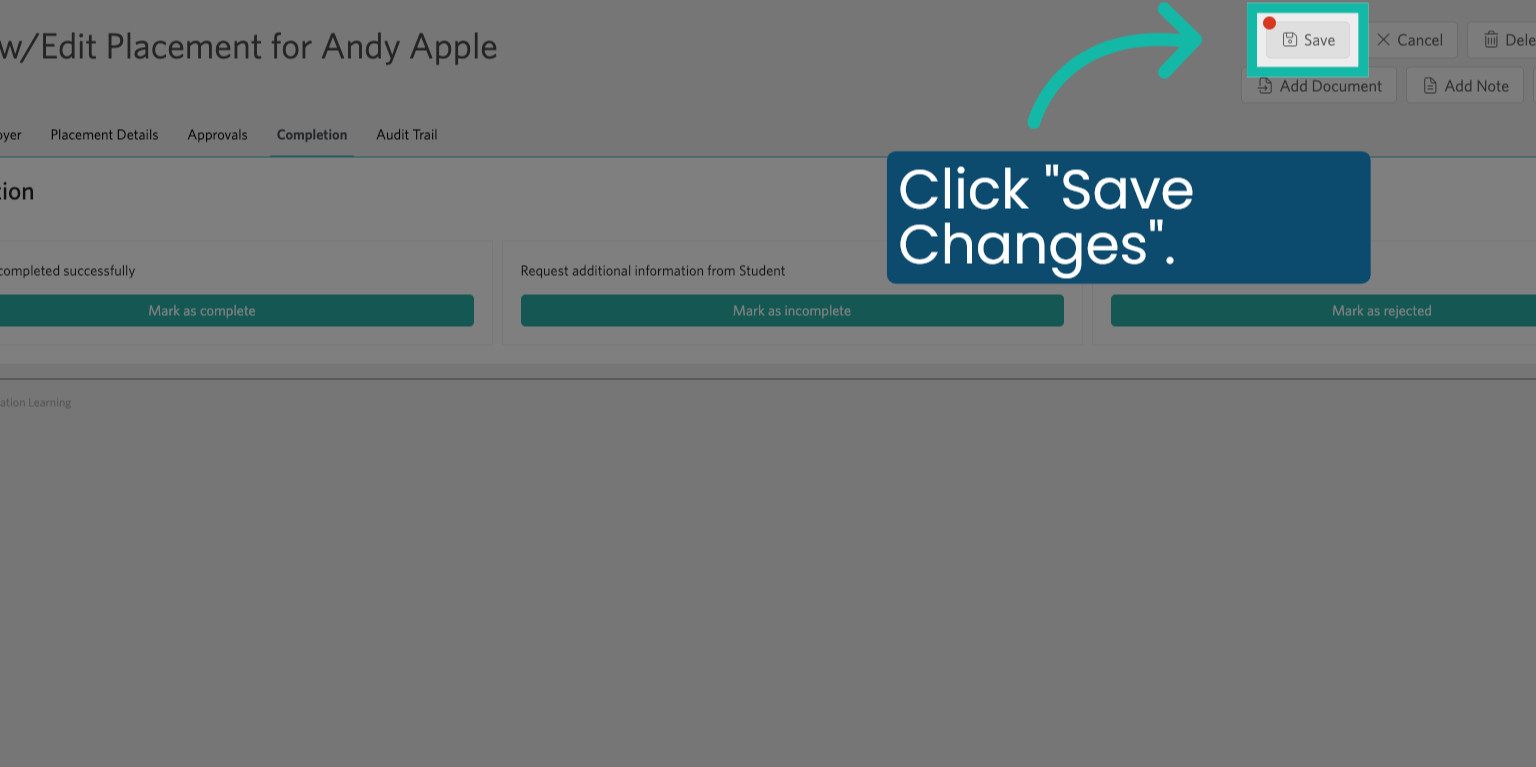
18. Save Changes to Placement
Always scroll to the top of the page and click "Save" after making changes to the placement record.
Was this article helpful?
That’s Great!
Thank you for your feedback
Sorry! We couldn't be helpful
Thank you for your feedback
Feedback sent
We appreciate your effort and will try to fix the article