This tutorial explains how to customise your home screen and manage student modules.
Go to login.navigate.uk.com
1. Hide Unneeded Tiles
Once you log in to Navigate, you will be directed to your Homepage. This page features a series of panels, not all of which may be relevan to your job role. You can conceal panels that are not relevant to you by clicking the eye icon located in the top right corner of each panel.
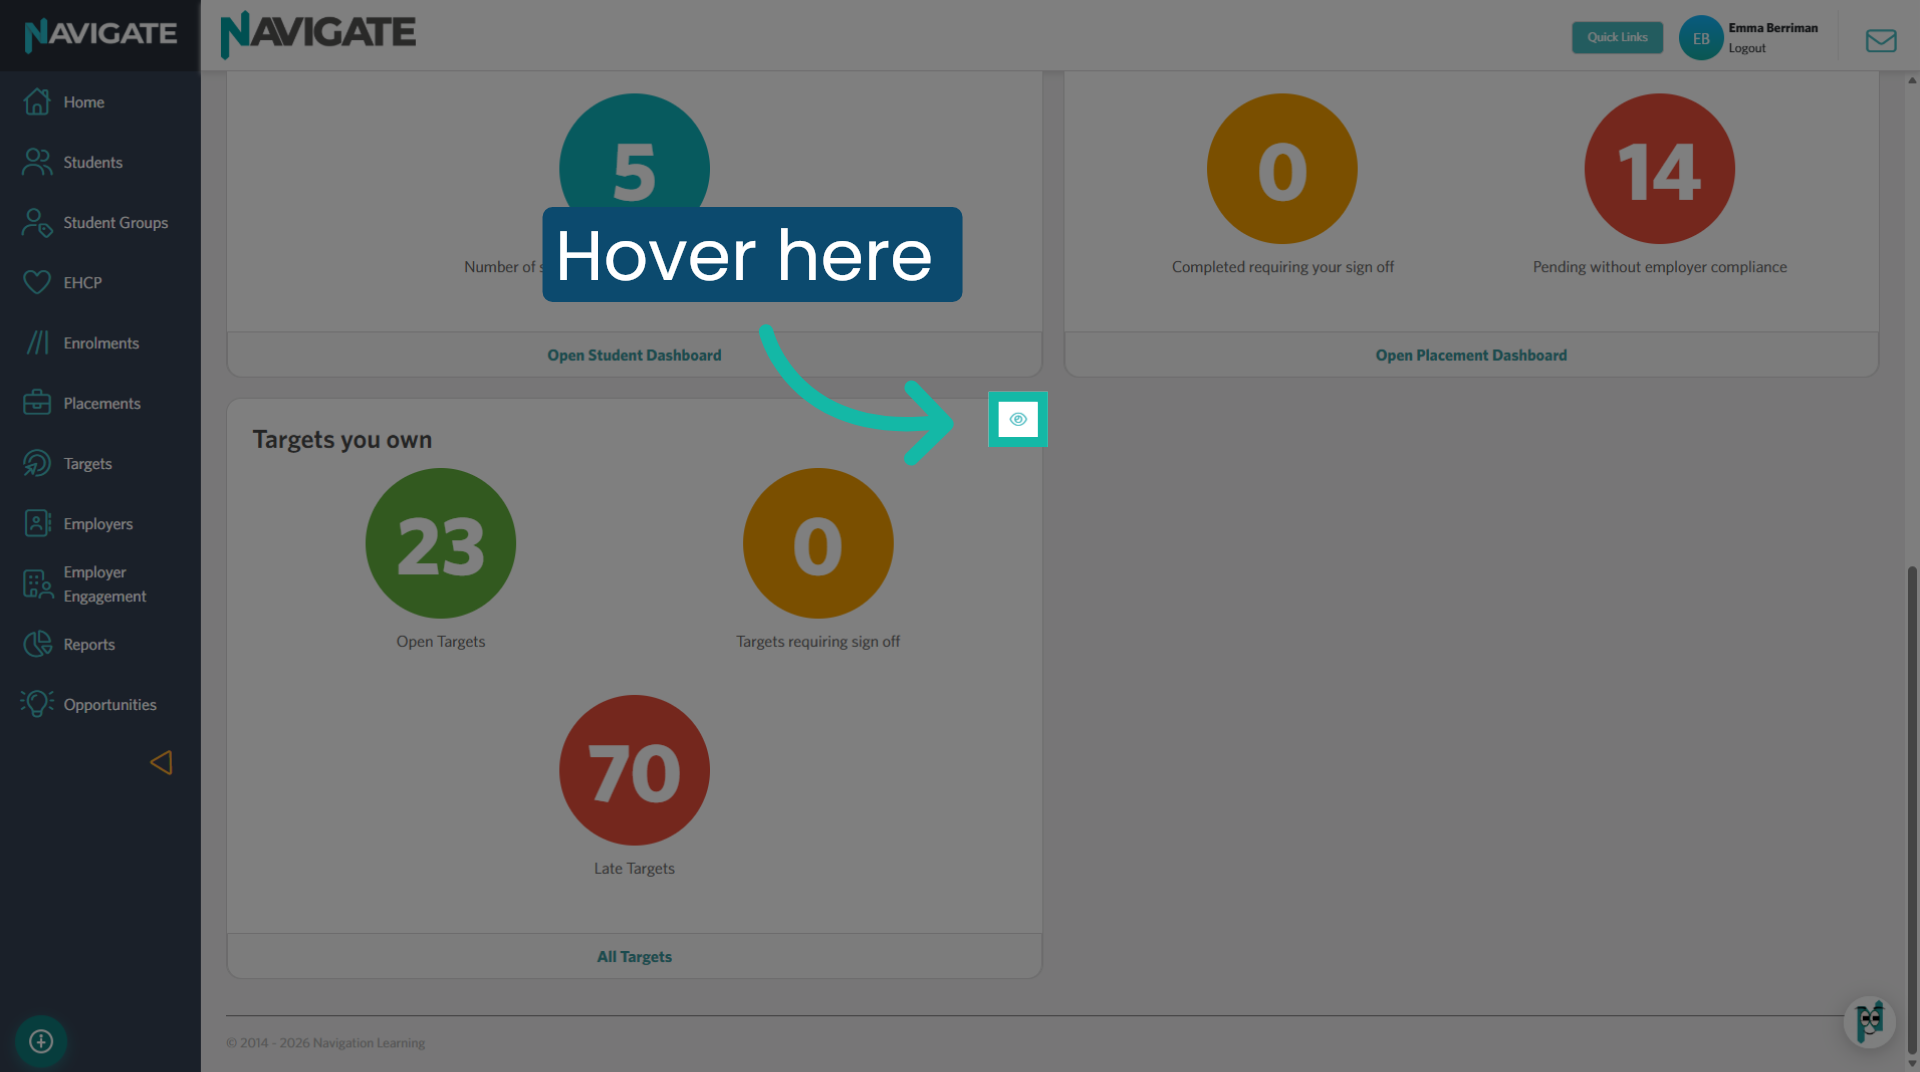
2. Restore Hidden Tiles
To restore previously hidden tiles, click the 'eye' button on the tile you want to bring back.
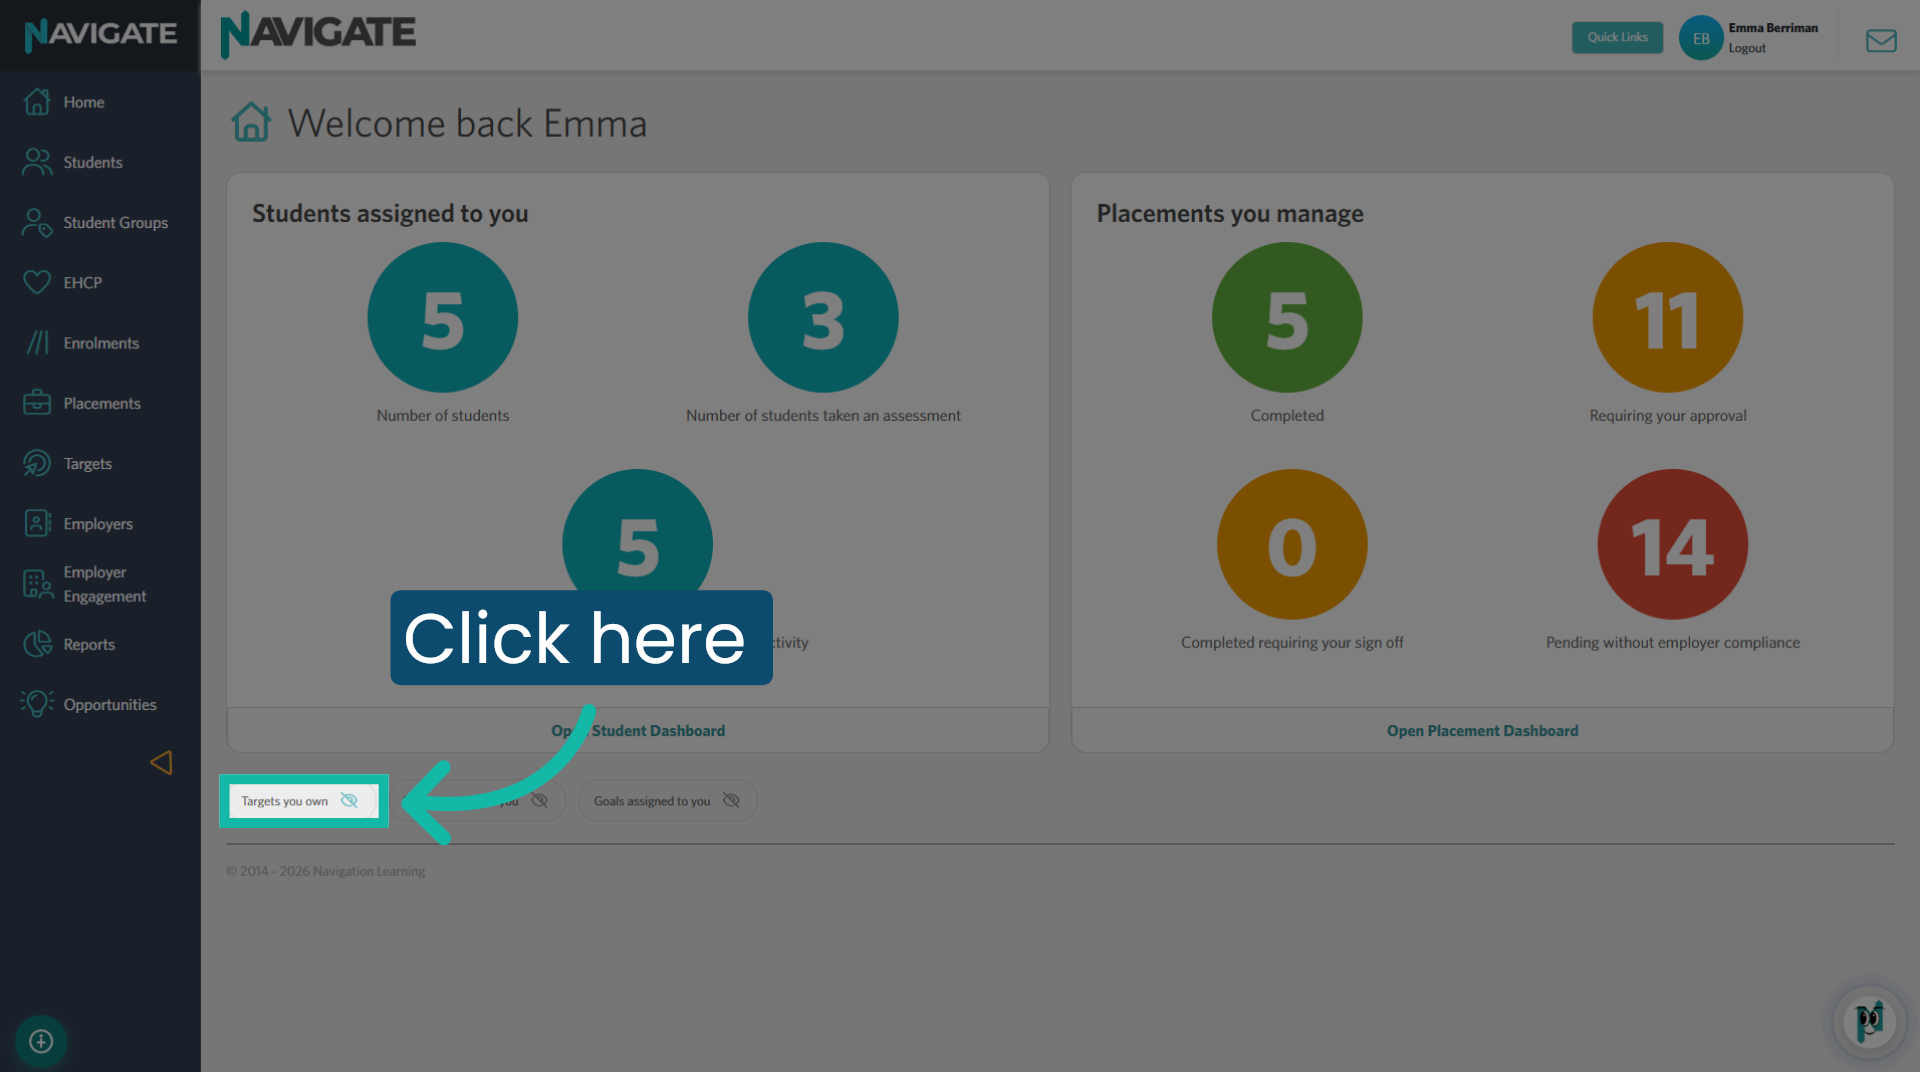
3. Rearrange Tiles Order
To rearrange the order of the tiles, click on the tile and drag it into the preferred order.
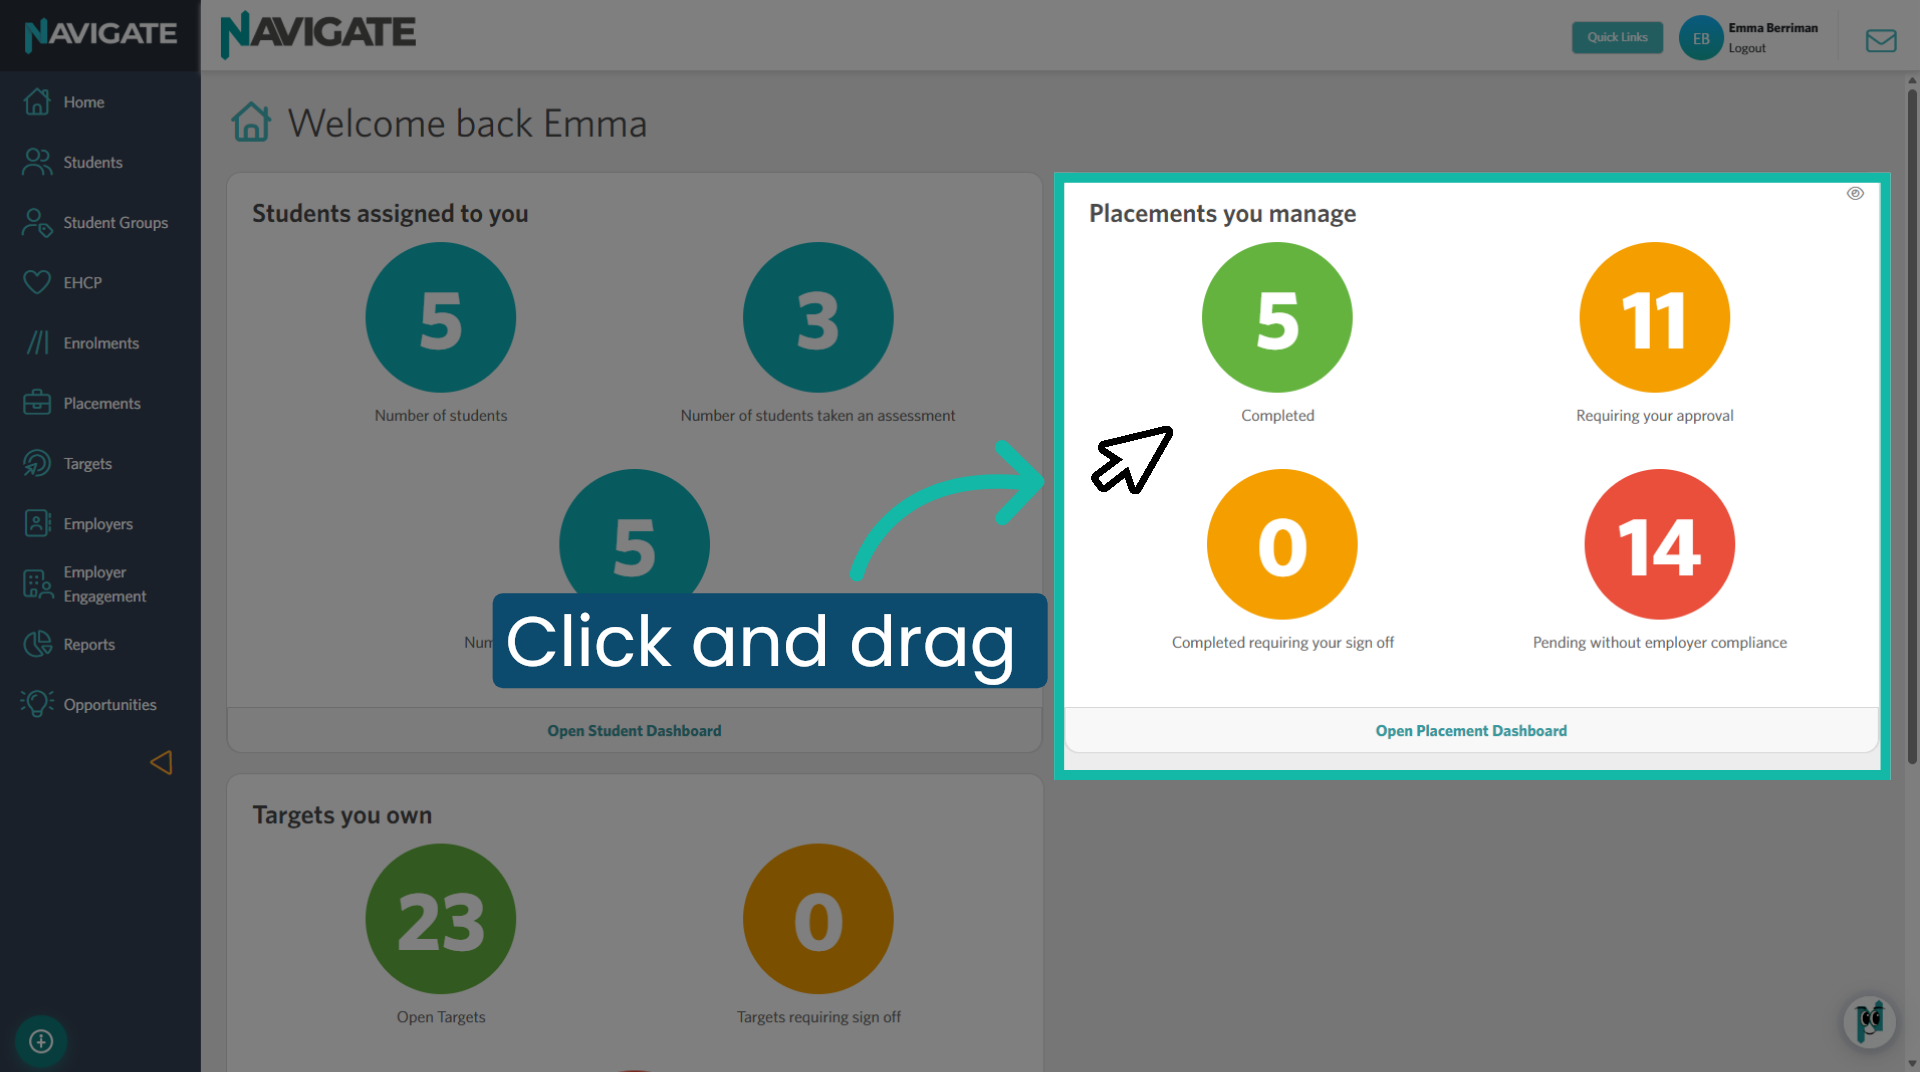
4. Access Quick Links Menu
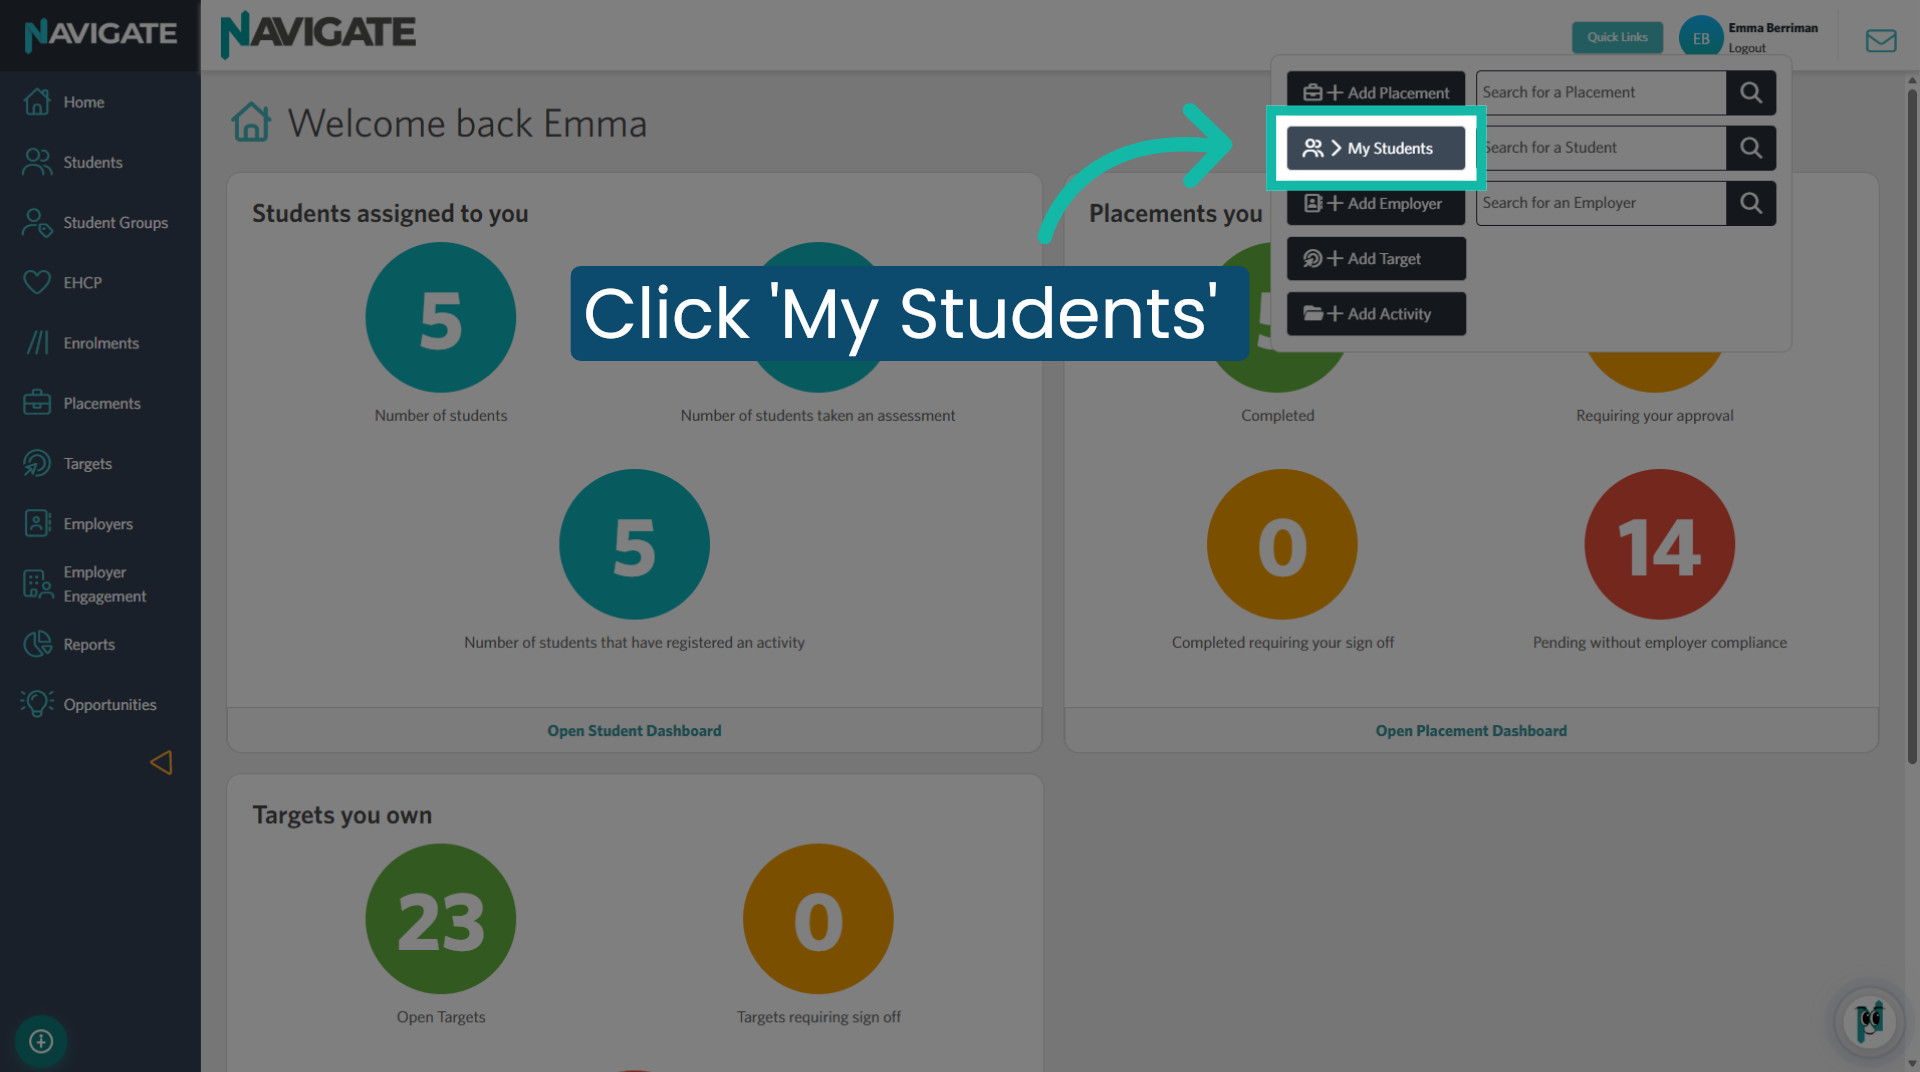
Open the Quick Links menu to access shortcuts and frequently used action
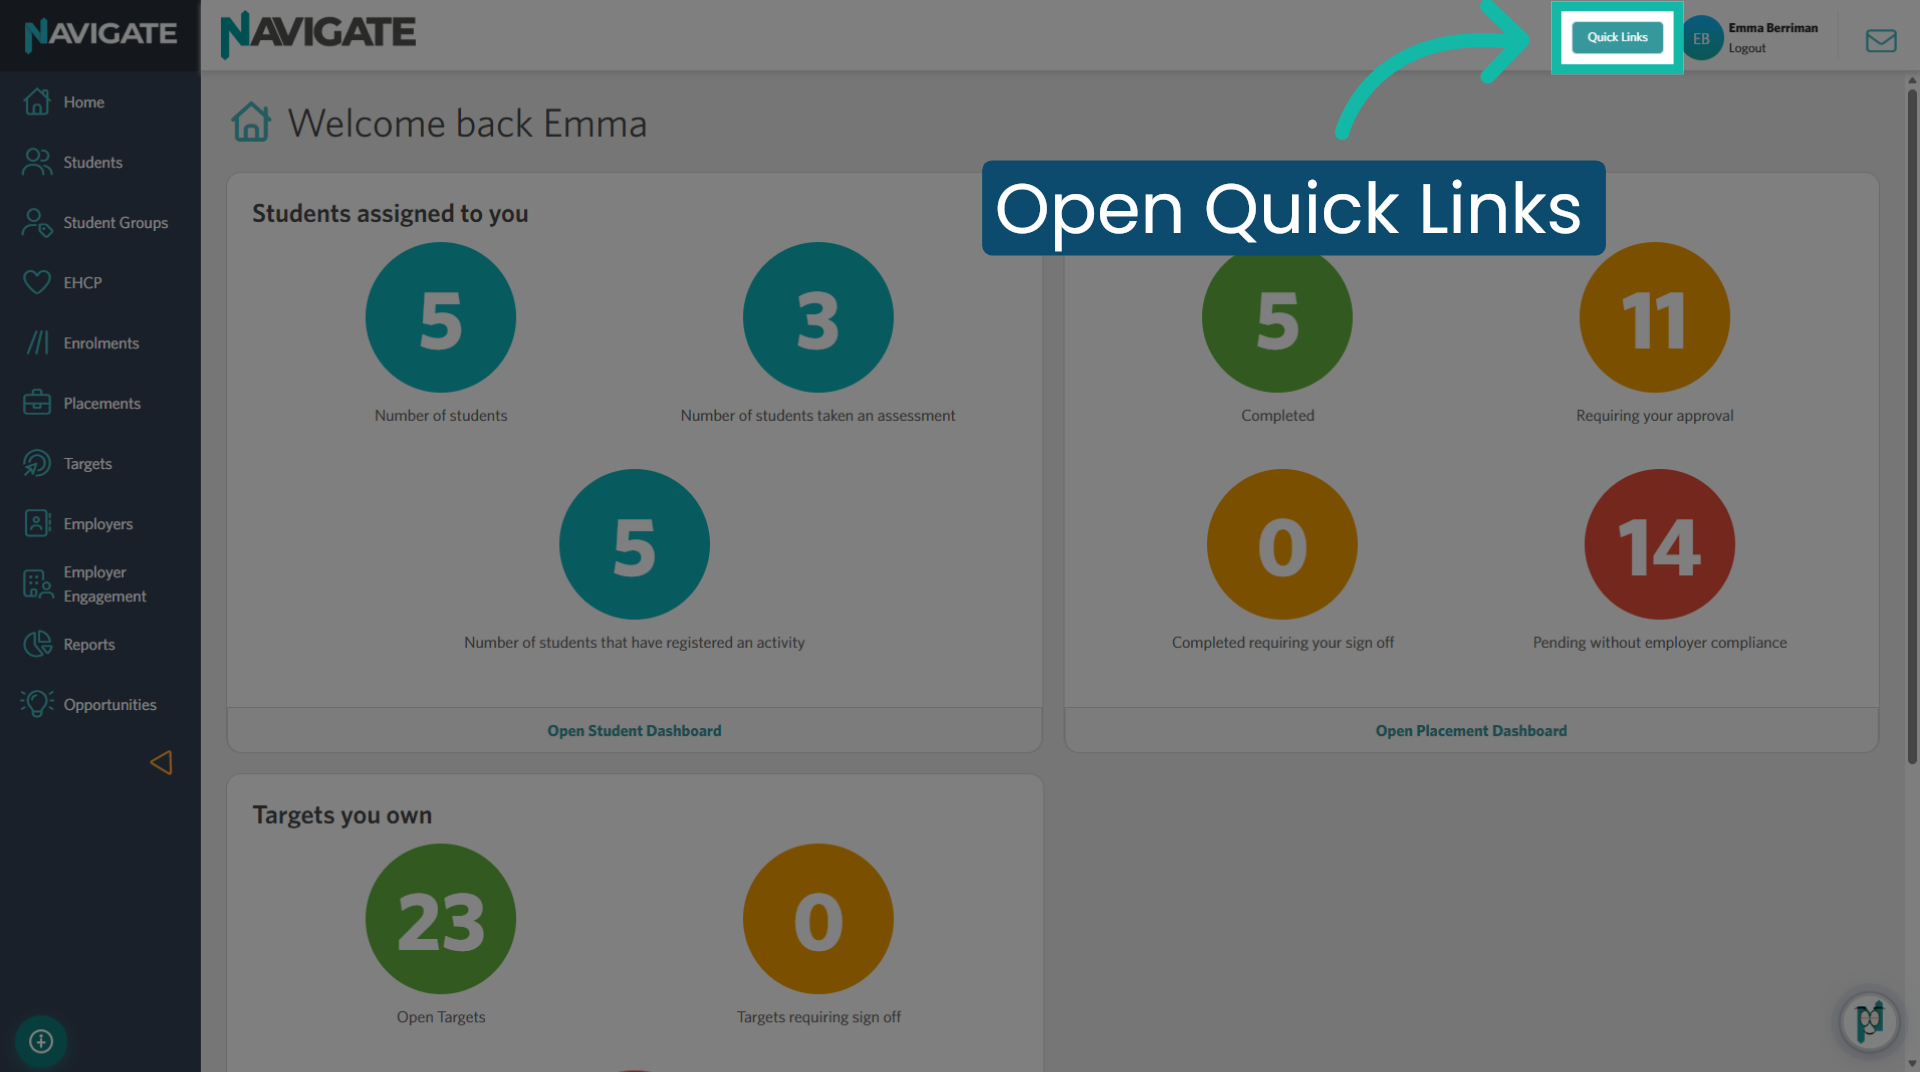
5. Quick access to 'My Students'
Click the 'My Students' button to access the 'Student Module'. If you have students assigned to you as a 'Tutor', they will be displayed here.
6. Find other cohorts of students
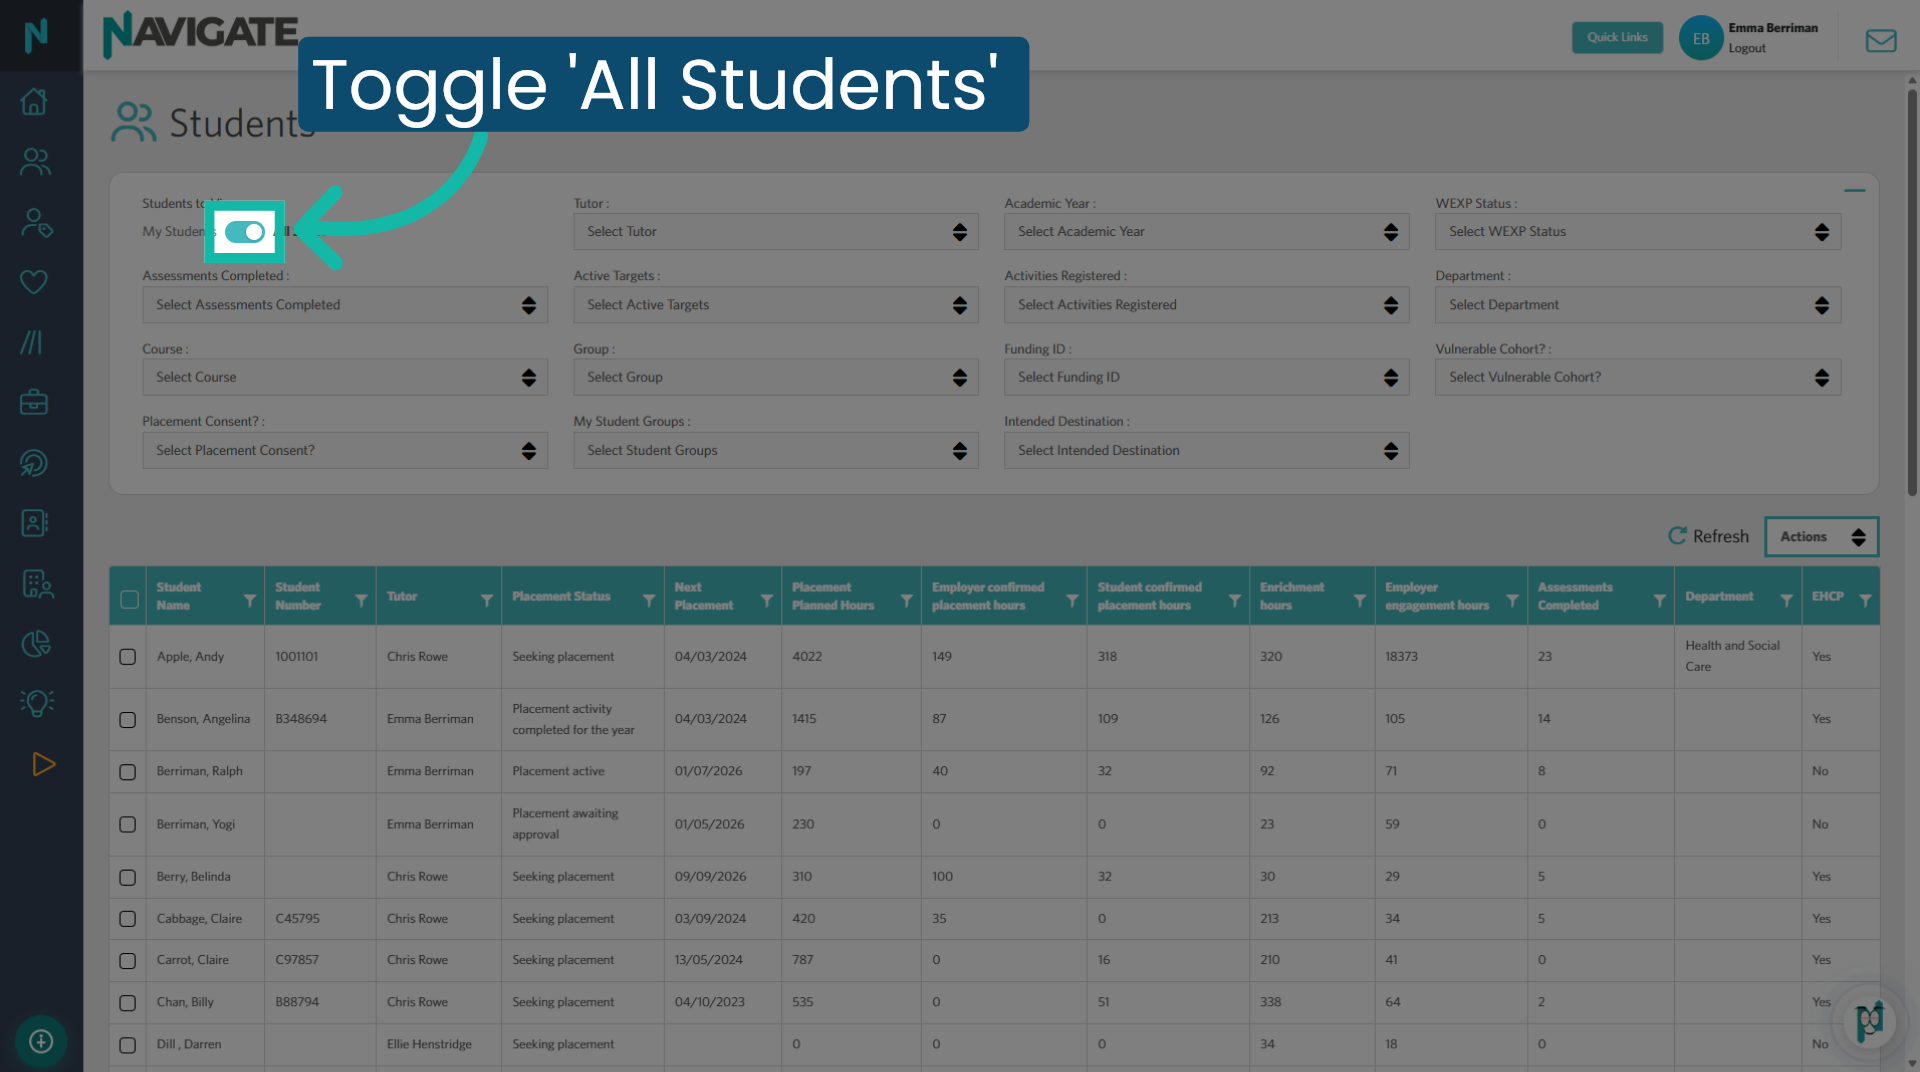
To access a different cohort of students, toggle the switch to 'All Students'. You can now apply filters to narrow down to the specific cohort you want to view.
7. Open Navbot
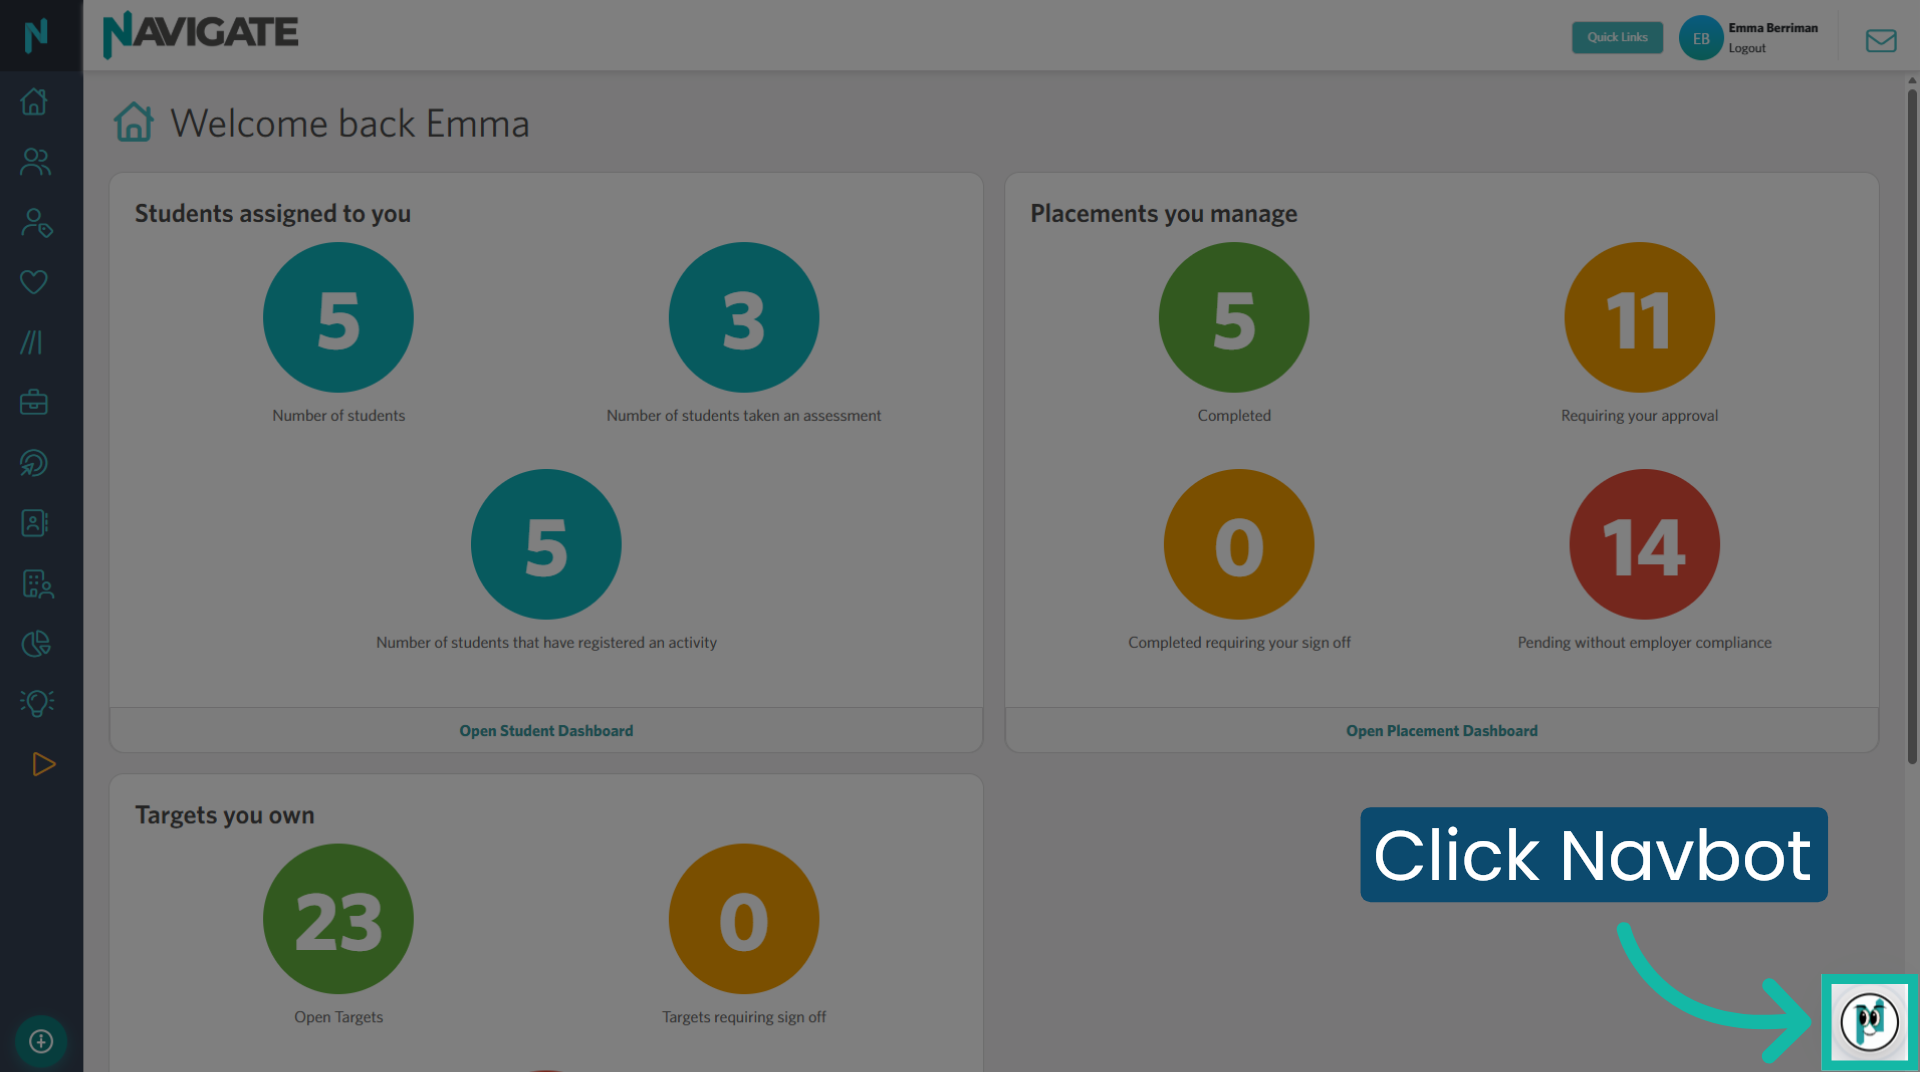
NavBot sits at the bottom right hand corner of the screen. He is an Ai chatbot who is available on the staff and student sites and can answer any question you might have whilst you’re becoming familiar with the platform.
8. Accessibility Widget
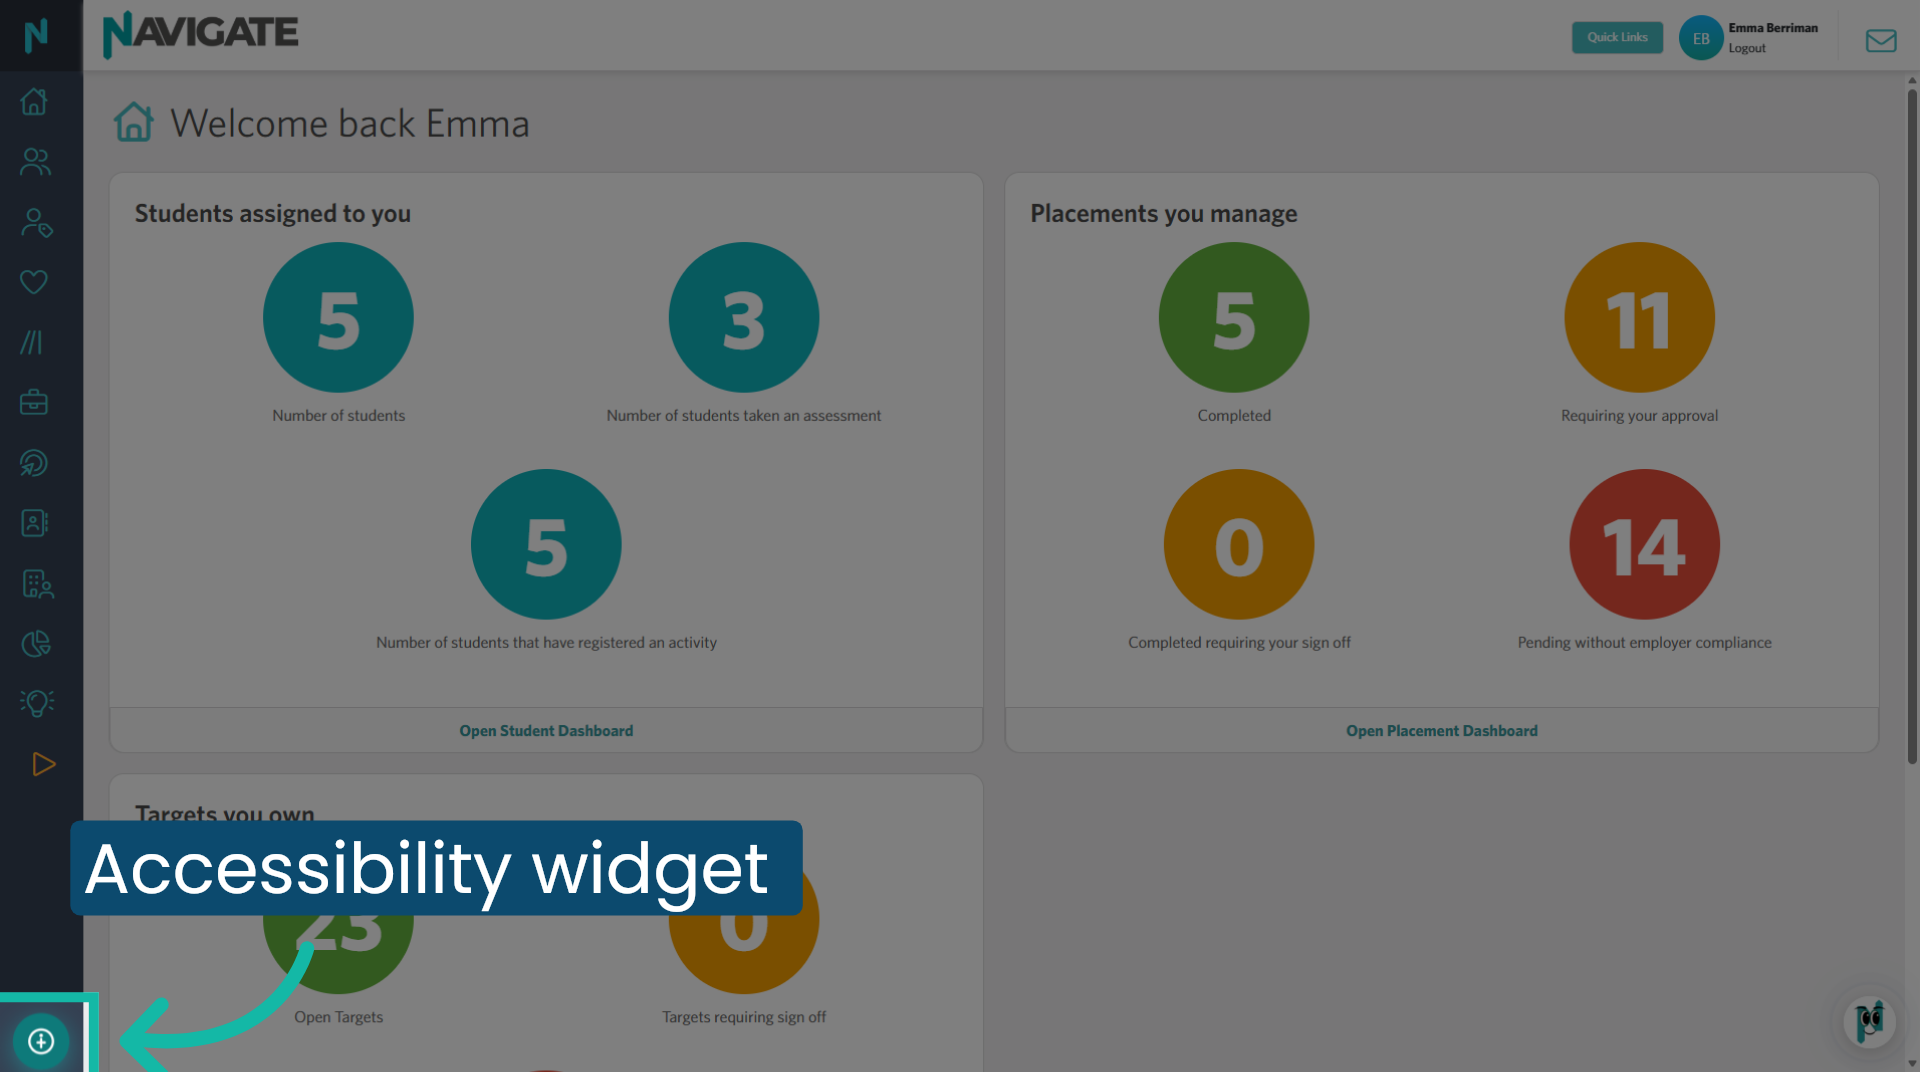
The accessibility widget is located in the bottom left corner of the screen. By clicking on it, you can further customise your Navigate site, including options to add a screen reader, change the font to be Dyslexia Friendly, or include a focus bar for those with ADHD. This feature is also accessible on the student site.
9. Select Relevant Action Tile
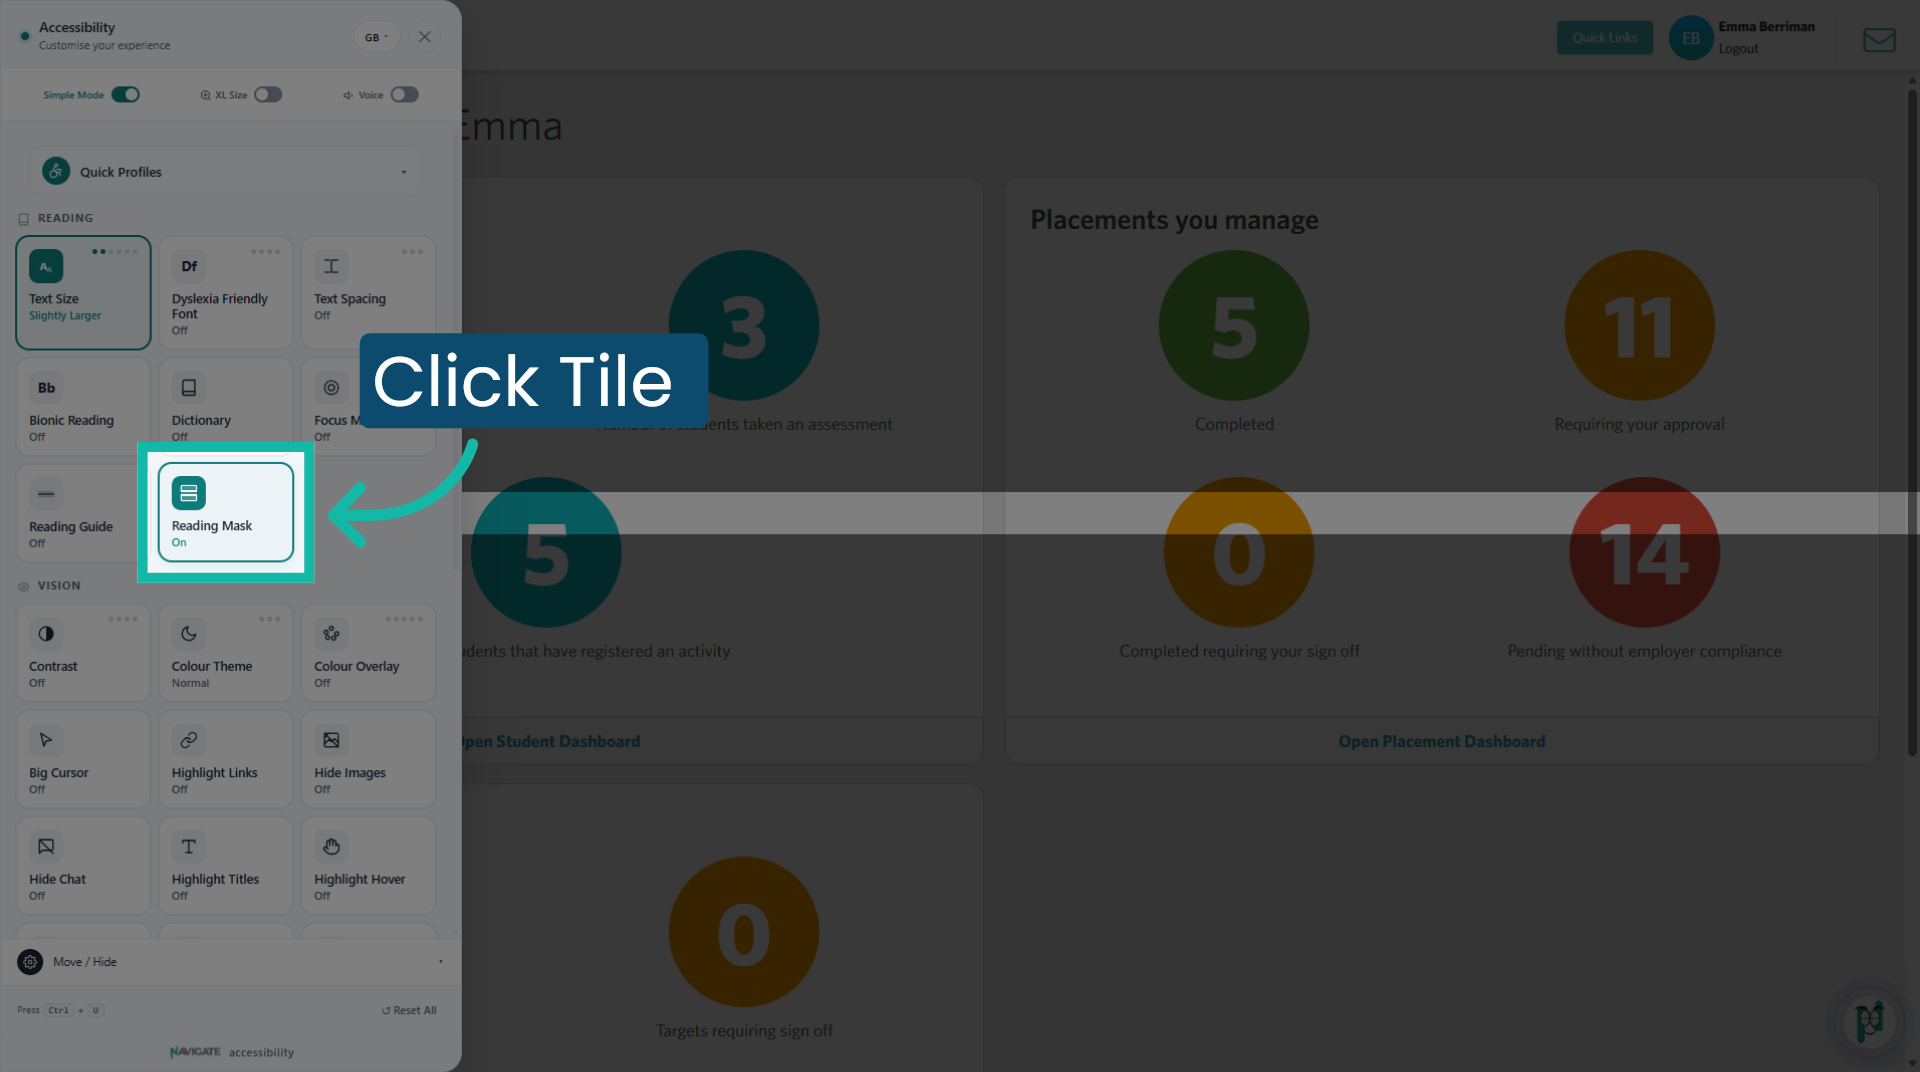
Click on the function tile you wish to activate. There may be multiple options available for each function, allowing you to click several times to explore them.
10. Reset Accessibility Settings
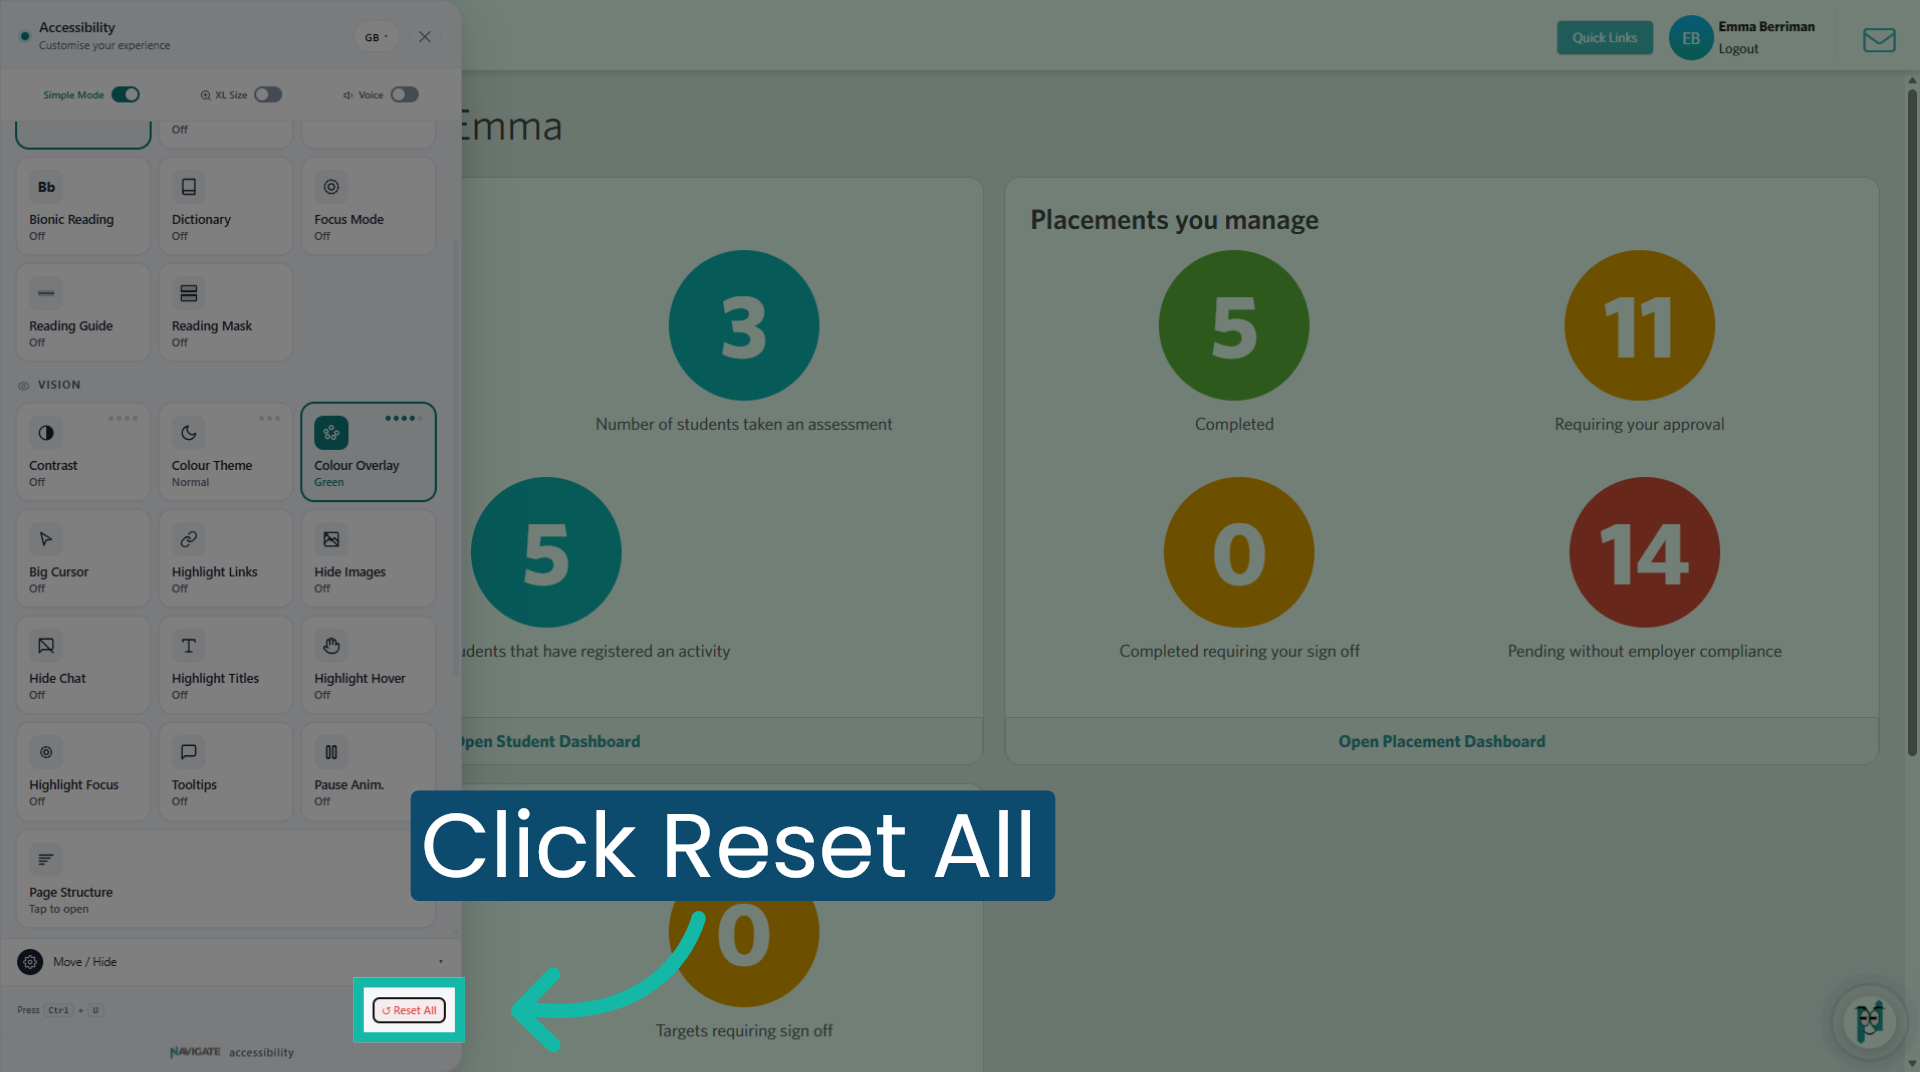
To reset the widget to its default state, simply click 'reset all' at the bottom of the pane.
11. Close Accessibility Menu
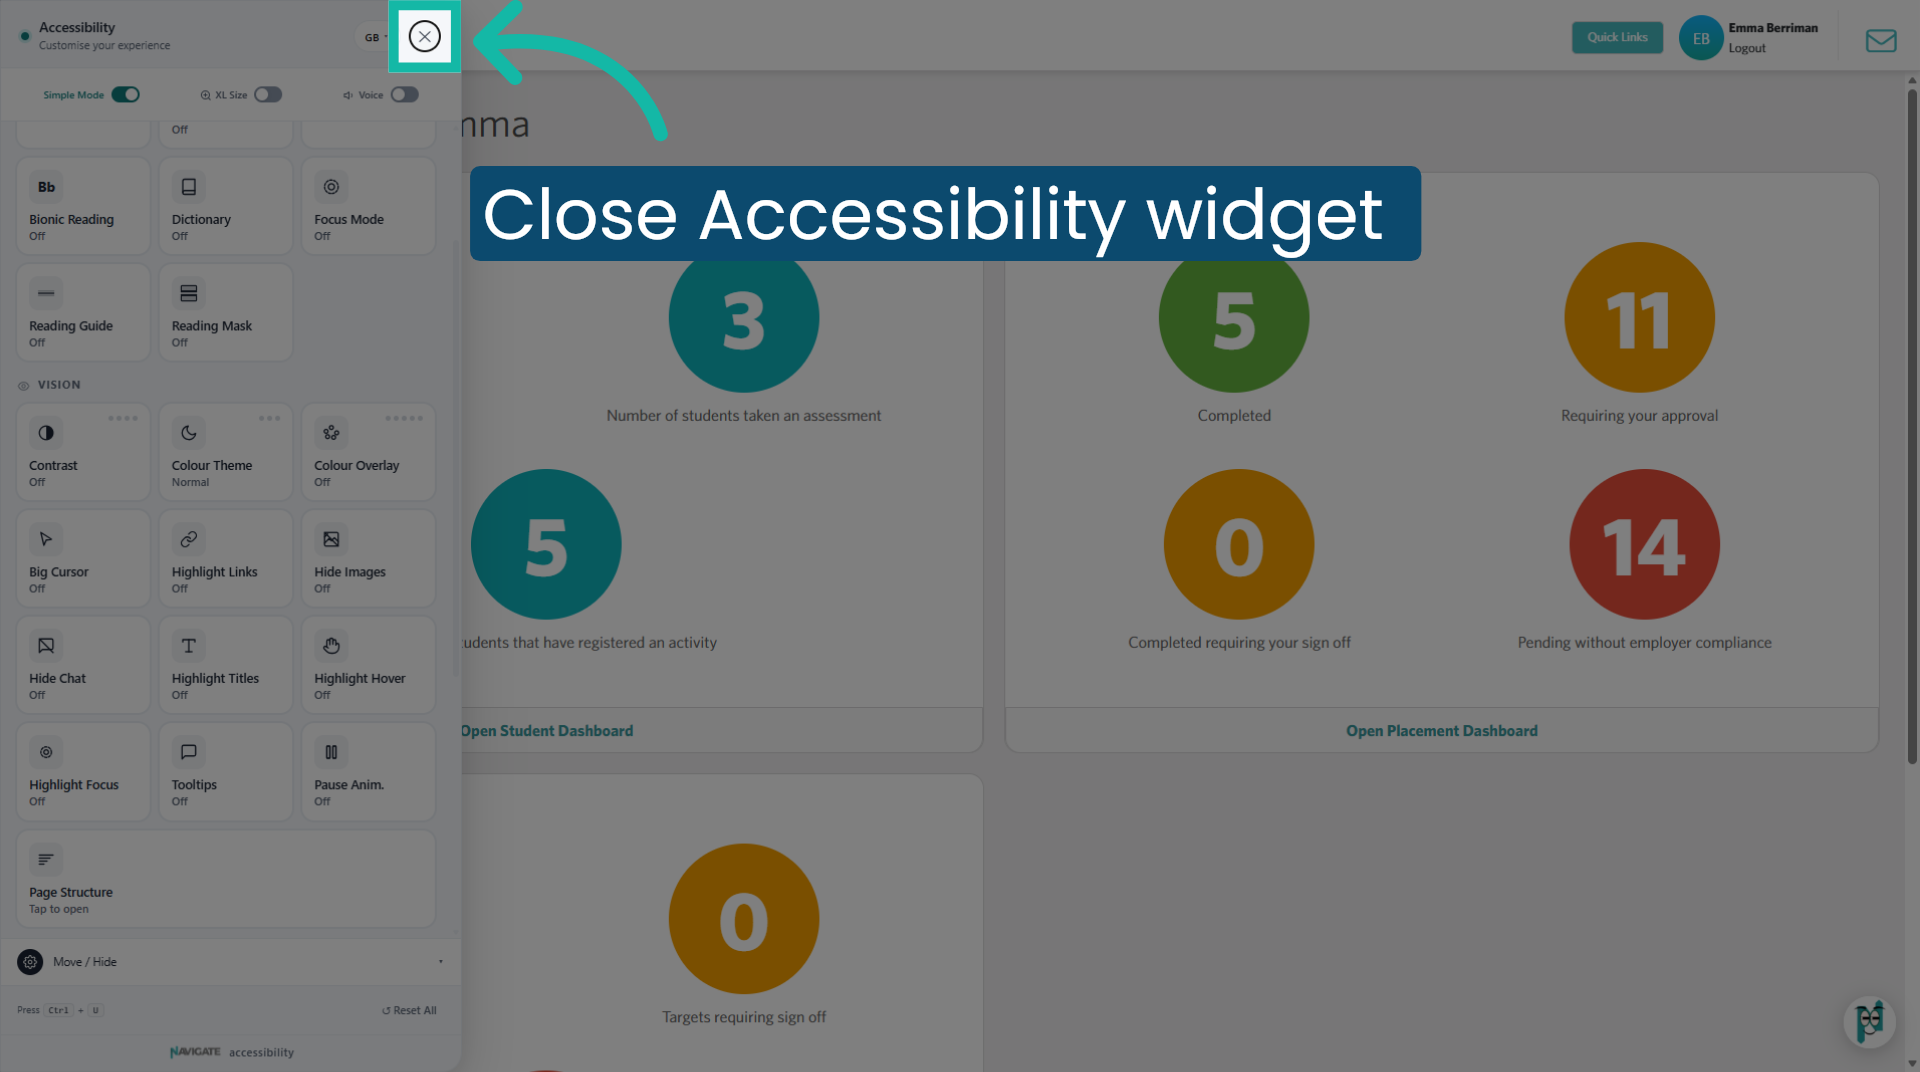
Exit the accessibility menu to return to the main Home screen.
This tutorial guides you through managing the Home interface by maximising, hiding, and rearranging tiles, navigating student modules, and adjusting accessibility settings for optimal usability.
Was this article helpful?
That’s Great!
Thank you for your feedback
Sorry! We couldn't be helpful
Thank you for your feedback
Feedback sent
We appreciate your effort and will try to fix the article